What Slicer Settings Actually Control
A slicer turns a 3D model into the instructions your printer follows. It decides layer height, shell paths, infill, temperatures, speeds, cooling, supports, travel moves, and start or end routines. Perfect prints do not come from maxing out every setting; they come from making those decisions match the model and material.
A: Match the model, material, settings, and finish plan to the purpose of the print.
A: Bed leveling, surface cleanliness, nozzle height, temperature, and material condition are the usual suspects.
A: No. Slower speeds can improve detail, but heat buildup and profile balance still matter.
A: Use the right material, more walls, smart orientation, enough infill, and realistic load testing.
A: Temperature, retraction, travel moves, moisture, and material type all contribute.
A: Diagnose rough surfaces, long print times, weak parts, support scars, and poor overhangs before buying parts.
A: Very important; it shows toolpaths, supports, layer changes, and possible weak spots before printing.
A: First layers, simple calibration prints, support cleanup, and basic material profiles.
A: Clean orientation, tuned settings, good material handling, and careful profile testing, preview checks, support cleanup, and final-fit adjustments.
A: It is most useful for makers who want better prints without changing hardware first.
What Slicer Settings Actually Control
A slicer turns a 3D model into the instructions your printer follows. It decides layer height, shell paths, infill, temperatures, speeds, cooling, supports, travel moves, and start or end routines. Perfect prints do not come from maxing out every setting; they come from making those decisions match the model and material.
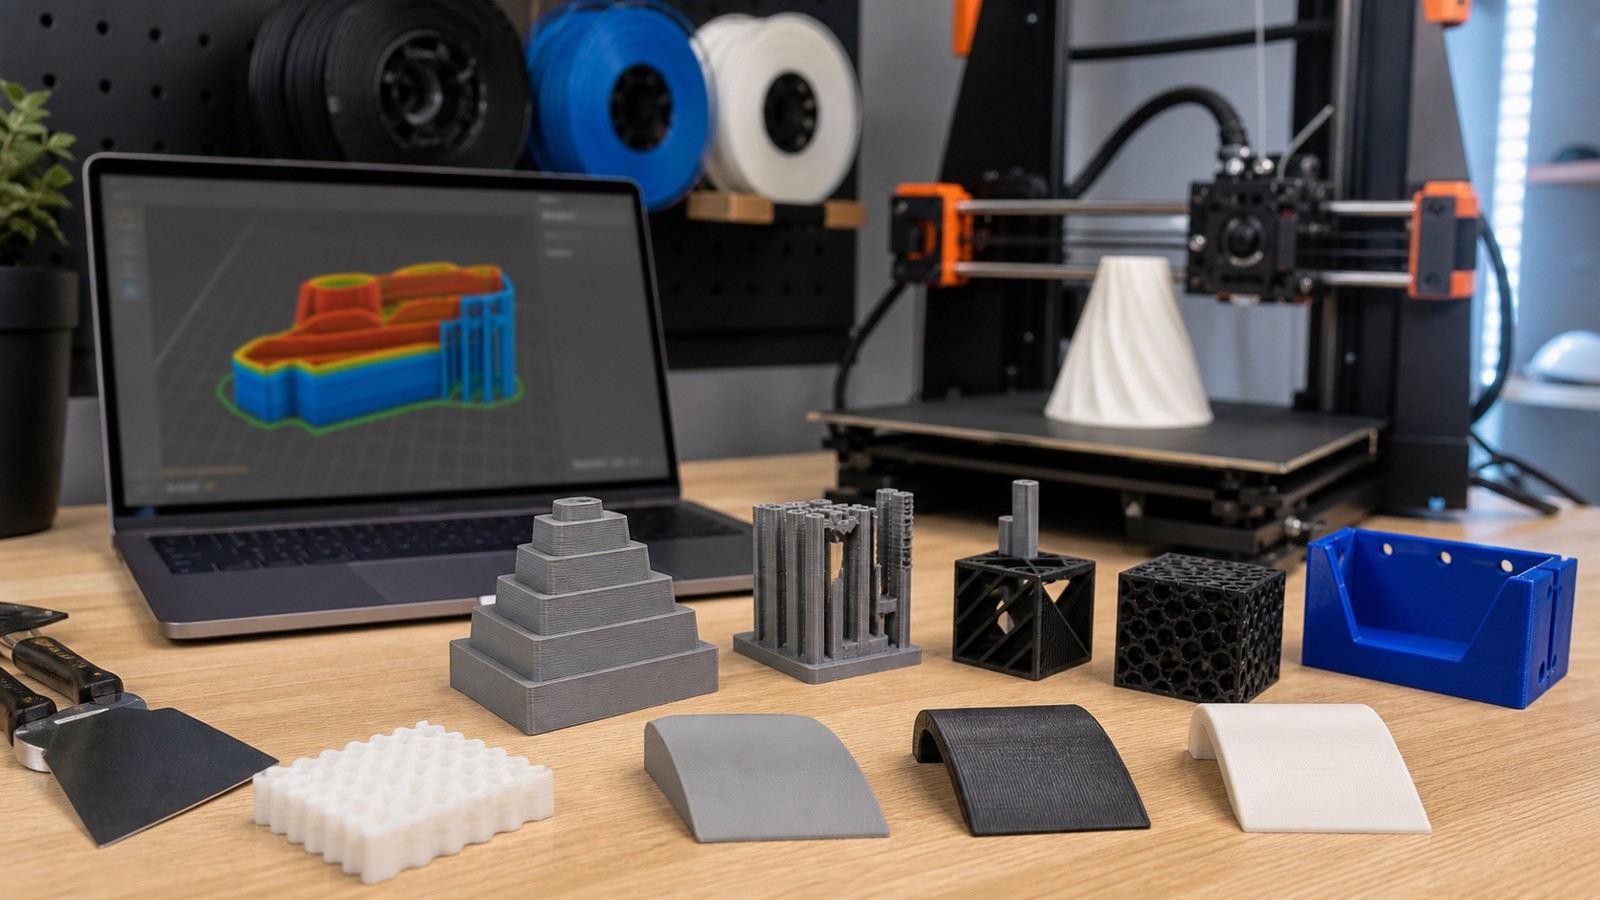
The most reliable approach is to separate settings into groups. Geometry settings decide what the part is made of. Material settings decide how plastic or resin behaves. Motion settings decide how the printer moves. Support settings decide how temporary structures are built and removed. Tuning becomes much easier when you know which group controls the defect you see.
First Layer Settings
The first layer sets the tone for the whole print. Nozzle height, bed temperature, first-layer speed, line width, and surface cleanliness all affect adhesion. A first layer that is too high may form round loose lines. A layer that is too low may scrape, ripple, or create elephant’s foot around the base.
Slow first layers are not wasted time. A controlled first layer gives the rest of the print a stable foundation. Many FDM profiles use a slower first-layer speed, slightly wider first-layer lines, and reduced cooling at the start. The right values depend on the bed surface and material.
Layer Height and Nozzle Size
Layer height affects detail, strength, and time. Smaller layers improve vertical detail and reduce stair-stepping on curves, but they increase print time and can magnify extrusion inconsistencies. Taller layers finish faster but need enough nozzle capacity and heat to maintain consistent flow.
Nozzle size sets the practical range. A 0.4 mm nozzle is versatile, a 0.25 mm nozzle helps with small detail, and a 0.6 mm or 0.8 mm nozzle can make large functional parts faster and stronger. The slicer profile should reflect the installed nozzle, not just the printer model.
Wall Count, Infill, and Strength
Wall count is one of the most important strength settings. Outer shells carry loads, protect infill, and define the surface. Increasing from two walls to three or four can make a functional part feel much more solid, especially around holes, clips, and edges.
Infill supports top surfaces and affects internal stiffness, but more is not always better. Grid, gyroid, cubic, and rectilinear patterns behave differently. For a display model, low infill may be enough. For a bracket, wall count, orientation, material, and local reinforcement may matter more than jumping to very high infill.
Temperature, Flow, and Cooling
Temperature controls how well material melts, bonds, and holds detail. If temperature is too low, layers may look dry or separate under stress. If it is too high, corners soften, bridges sag, and strings appear between travel moves. A temperature tower gives better evidence than guessing from one large print.
Flow settings should be adjusted carefully. Over-extrusion creates ridges, blobs, and tight fits. Under-extrusion creates gaps, weak walls, and rough top layers. Before changing flow dramatically, check filament diameter, nozzle condition, extruder tension, and whether the filament is dry.
Retraction, Travel, and Seams
Retraction pulls filament back before travel moves to reduce oozing. Direct-drive extruders usually need shorter retractions than Bowden extruders. Retraction distance, retraction speed, temperature, and travel speed work together, so a retraction tower is more useful than copying a random value.
Seam placement affects appearance. Aligned seams can hide on a rear corner, while random seams may scatter small marks across a curved surface. For mechanical parts, seam position may matter less than strength and fit. For decorative parts, seam control can make the difference between acceptable and polished.
Supports Without Surface Damage
Support settings decide how temporary structures touch the model. Support density, interface layers, Z distance, XY distance, angle threshold, and support pattern all affect removal and surface marks. Dense supports may hold better but scar the model; loose supports remove easily but may fail under long overhangs.
Design changes can reduce support dependence. Orient the model so important faces avoid supports, split complicated shapes into printable pieces, or use chamfers instead of unsupported ledges. Tree supports can help organic models, while standard supports may be more predictable for flat mechanical surfaces.
Profile Strategy for Reliable Results
Keep separate profiles for different outcomes: fast draft prints, visual display models, functional PETG parts, flexible TPU parts, and fine-detail miniatures. Each profile should have a purpose, material, nozzle, and quality target. This prevents one set of compromises from being stretched across every project.
When a print fails, record the symptom and setting change. A small log of temperature, speed, retraction, layer height, wall count, and filament condition becomes more valuable than memory. Good slicer tuning is not about endless adjustment; it is about building a few trusted profiles that behave consistently.
FAQ
What slicer settings should beginners tune first?
Tune first-layer height, temperature, speed, cooling, wall count, and retraction before exploring advanced experimental settings.
Is slower always better for print quality?
Slower outer walls often improve surfaces, but excessive slowness can cause heat buildup on small features. Speed should match material, cooling, and geometry.
How many walls should a 3D print have?
Two walls can work for decorative models, while three to five walls are common for stronger functional FDM parts. The best choice depends on load, nozzle size, and material.