Begin With One Print Problem
Slicer settings are easiest to improve when you begin with one visible problem instead of changing ten values at once. Stringing, rough top layers, weak walls, poor first-layer adhesion, elephant’s foot, ringing, gaps, and blobs each point to different settings. A clean workflow isolates the symptom, changes one or two settings, then checks the result on a small test model.
A: Match the model, material, settings, and finish plan to the purpose of the print.
A: Bed leveling, surface cleanliness, nozzle height, temperature, and material condition are the usual suspects.
A: No. Slower speeds can improve detail, but heat buildup and profile balance still matter.
A: Use the right material, more walls, smart orientation, enough infill, and realistic load testing.
A: Temperature, retraction, travel moves, moisture, and material type all contribute.
A: Diagnose rough surfaces, long print times, weak parts, support scars, and poor overhangs before buying parts.
A: Very important; it shows toolpaths, supports, layer changes, and possible weak spots before printing.
A: First layers, simple calibration prints, support cleanup, and basic material profiles.
A: Clean orientation, tuned settings, good material handling, and careful profile testing, preview checks, support cleanup, and final-fit adjustments.
A: It is most useful for makers who want better prints without changing hardware first.
Begin With One Print Problem
Slicer settings are easiest to improve when you begin with one visible problem instead of changing ten values at once. Stringing, rough top layers, weak walls, poor first-layer adhesion, elephant’s foot, ringing, gaps, and blobs each point to different settings. A clean workflow isolates the symptom, changes one or two settings, then checks the result on a small test model.
The slicer translates a 3D model into toolpaths, temperatures, speeds, cooling commands, and extrusion moves. Better print quality comes from matching those commands to the printer, filament, model geometry, and room conditions. The right setting is not universal; it is the setting that creates a stable melt flow and predictable motion on your machine.
Calibrate the Baseline First
Before chasing advanced settings, confirm the basics: nozzle size, filament diameter, extrusion multiplier, bed leveling, first-layer height, and material temperature range. A slicer profile cannot hide a loose belt, damp filament, dirty bed, worn nozzle, or incorrect Z offset. Good tuning begins with a printer that can repeat a simple cube or single-wall test.
For common 1.75 mm PLA on a 0.4 mm nozzle, many users start around 0.2 mm layer height, 0.42 mm to 0.48 mm line width, moderate cooling, and a manufacturer-recommended temperature range. Those values are not final answers. They are a controlled starting point for measuring what needs to change.
Temperature and Cooling
Temperature affects flow, layer bonding, stringing, gloss, and detail. Printing too cool can cause under-extrusion, weak layers, and rough surfaces. Printing too hot can cause stringing, sagging, blobs, and soft details. A temperature tower helps show where a specific spool prints cleanly on a specific printer.
Cooling is just as important. PLA usually likes strong part cooling after the first layers, while PETG often needs less cooling to preserve layer strength and avoid brittle surfaces. ABS and ASA typically need controlled cooling and an enclosure to reduce warping. Small parts may need slower speeds or minimum layer time so each layer can firm up before the next one arrives.
Speed, Acceleration, and Motion Artifacts
Print speed is not only a number in millimeters per second. Acceleration, jerk or junction deviation, input shaping, line width, temperature, and extrusion limits all determine whether the printer can maintain quality at that speed. Ringing near corners often points to motion limits, while dull or uneven extrusion can point to flow limits.
A practical tuning path is to set outer walls slower than infill, keep small perimeters under control, and increase speed only after walls and top surfaces look consistent. For visible parts, a slower outer wall can improve the surface without making the entire print dramatically longer.
Layer Height, Line Width, and Detail
Layer height controls vertical resolution and also affects strength, print time, and surface texture. A 0.12 mm layer can improve fine detail but takes longer and may reveal inconsistent extrusion. A 0.28 mm layer can finish faster but may make curves look stepped. With a 0.4 mm nozzle, 0.16 mm to 0.24 mm is a common practical range for general parts.
Line width changes how toolpaths bond and fill spaces. Slightly wider lines can improve wall strength and reduce gaps, while narrow lines can capture small details. If a model has thin walls, adjust the wall thickness in the model when possible rather than depending on the slicer to guess how to fill awkward spaces.
Walls, Infill, and Top Surface Quality
For stronger or cleaner parts, wall count often matters more than high infill. Three or four perimeters can give functional parts a solid outer shell, while 15 percent to 30 percent infill is enough for many non-critical objects. High infill increases print time and heat buildup, and it does not always improve the failure mode that matters.
Top layers need enough thickness to bridge over infill without sagging. If pillowing appears, increase top layers, improve cooling, slow top-surface speed, or use an infill pattern that supports the surface better. A smooth top surface is usually a balance among extrusion, cooling, top layer count, and infill density.
Retraction and Travel Moves
Stringing is usually tied to temperature, retraction distance, retraction speed, travel speed, and filament condition. Direct-drive extruders often need less retraction than Bowden systems. Too little retraction leaves hairs between features; too much can grind filament, create gaps, or cause clogs.
Travel planning also matters. Z-hop can prevent scars on tall parts, but it may add time and stringing. Combing, avoid-crossing-perimeters, and wipe settings can reduce visible travel marks. Test these on a small model with several towers before applying them to a complex print.
Use Test Prints With a Purpose
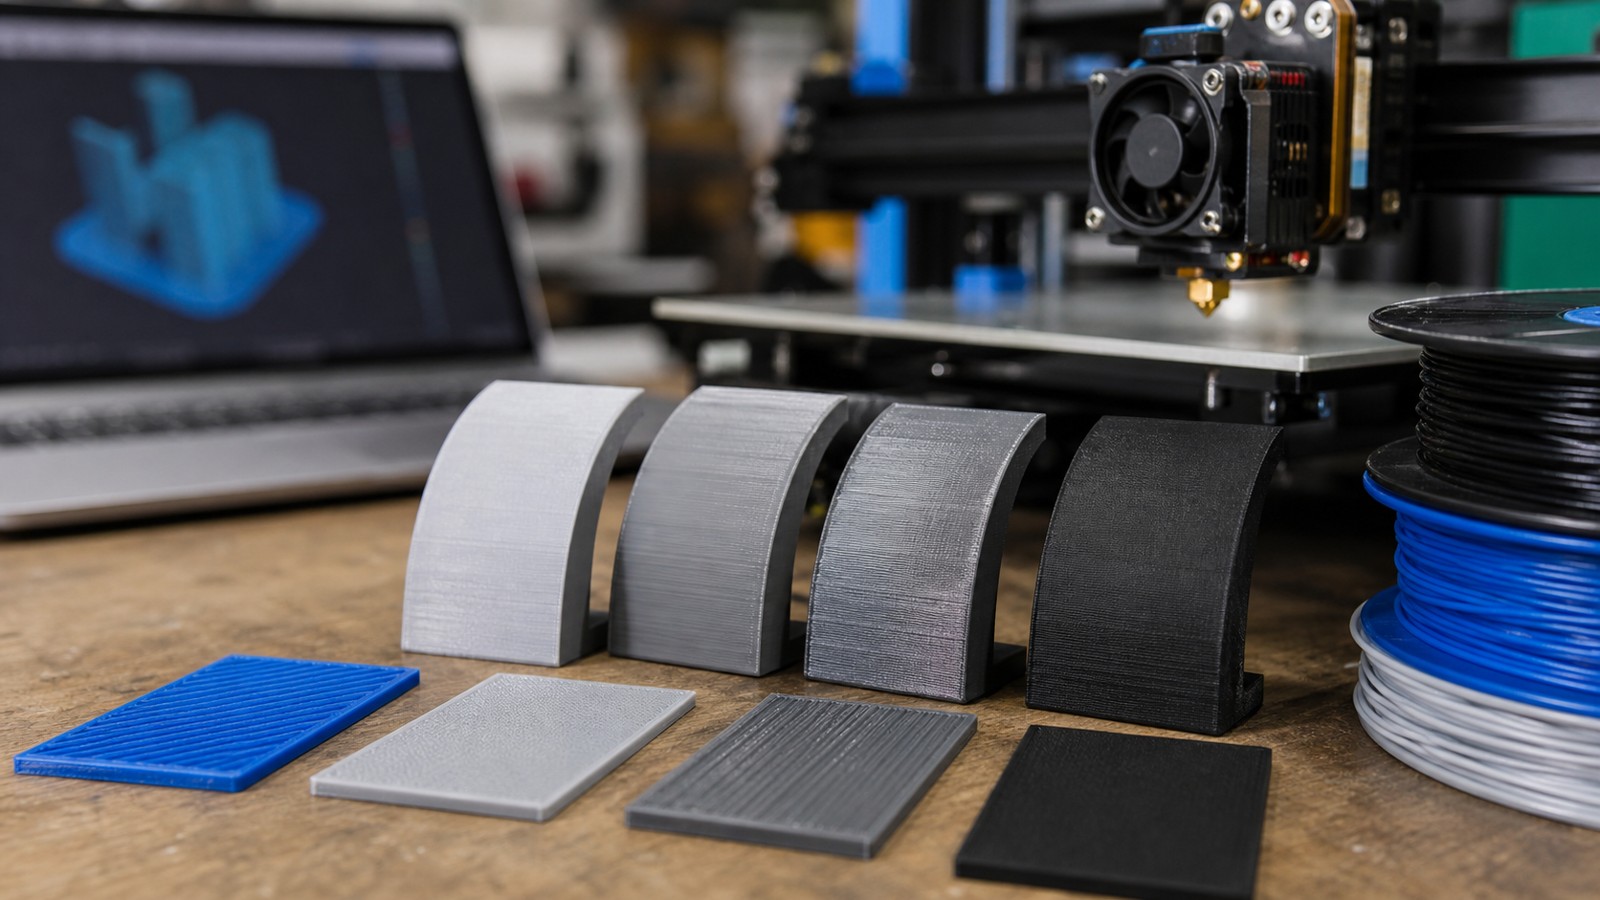
A useful test print is tied to one decision. Use a temperature tower for temperature, a retraction tower for stringing, a first-layer patch for bed adhesion, and a tolerance gauge for fit. Keep notes for the printer, filament brand, nozzle size, room temperature, and slicer version so good results can be repeated.
When quality improves, save the profile under a specific name rather than overwriting a generic default. A profile for PLA miniatures, PETG brackets, TPU gaskets, or large vase-mode prints may need different settings even on the same printer.
FAQ
Which slicer setting improves print quality the most?
There is no single setting, but temperature, first-layer calibration, speed, cooling, wall count, and retraction usually solve the most common quality problems.
Should I copy slicer settings from someone with the same printer?
Use them as a starting point, not a guarantee. Filament, nozzle wear, room conditions, firmware, and machine condition can change the result.
Why did my print get worse after changing settings?
Too many changes at once make troubleshooting difficult. Return to a known-good profile, change one variable, and test on a small model.