What DfAM Means
Design for additive manufacturing is a way of designing parts specifically for 3D printing. Instead of drawing a shape and asking whether a printer can copy it, DfAM asks how the printer will build the part layer by layer, where the material needs support, which surfaces must be accurate, and what the finished object must survive.
A: Match the model, material, settings, and finish plan to the purpose of the print.
A: Bed leveling, surface cleanliness, nozzle height, temperature, and material condition are the usual suspects.
A: No. Slower speeds can improve detail, but heat buildup and profile balance still matter.
A: Use the right material, more walls, smart orientation, enough infill, and realistic load testing.
A: Temperature, retraction, travel moves, moisture, and material type all contribute.
A: Diagnose thin walls, unsupported features, tight fits, bad meshes, and weak load paths before buying parts.
A: Very important; it shows toolpaths, supports, layer changes, and possible weak spots before printing.
A: First layers, simple calibration prints, support cleanup, and basic material profiles.
A: Clean orientation, tuned settings, good material handling, and careful test fits, inserts, sanding, assembly, and revision notes.
A: It is most useful for makers designing parts that need to fit, move, or survive use.
What DfAM Means
Design for additive manufacturing is a way of designing parts specifically for 3D printing. Instead of drawing a shape and asking whether a printer can copy it, DfAM asks how the printer will build the part layer by layer, where the material needs support, which surfaces must be accurate, and what the finished object must survive.
For beginners, the key shift is simple: a 3D printer is not a tiny factory that ignores physics. It has layer lines, nozzle width, resin peel forces, powder removal limits, heat, shrinkage, tolerances, and support marks. DfAM helps you design around those realities early enough that they become advantages rather than surprises.
Why 3D Printed Parts Need Different Design Choices
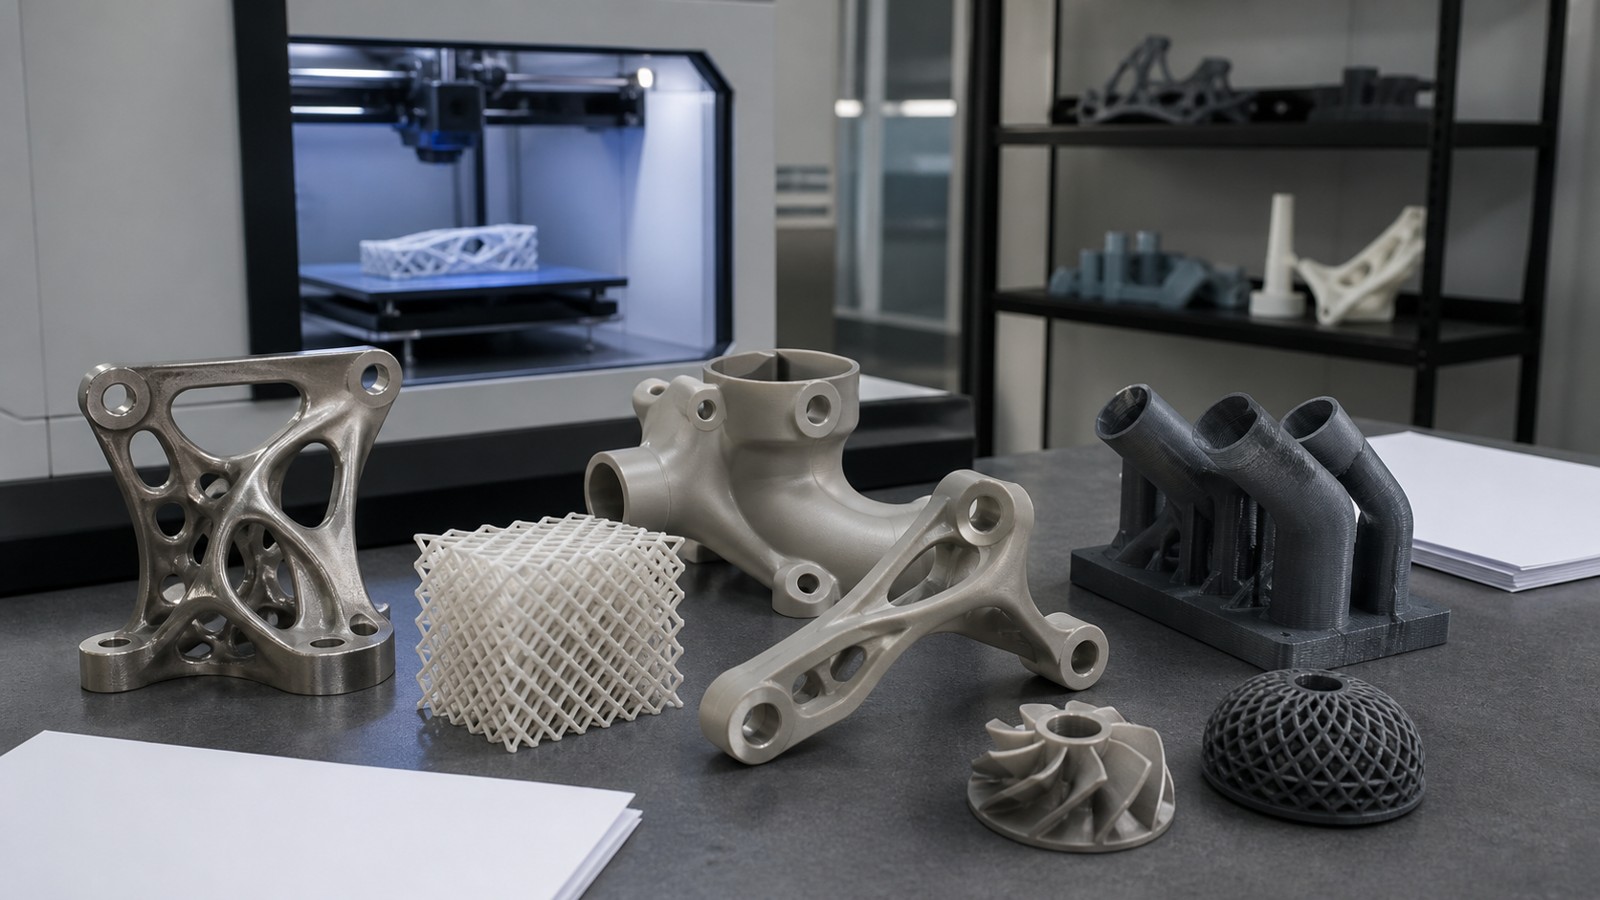
A part made by machining starts as a block and has material removed. A printed part starts with nothing and has material added only where the machine can place or cure it. That difference changes what is easy. Internal channels, lattice structures, lightweight shells, and organic curves can be practical in additive manufacturing, while unsupported ceilings, thin isolated walls, and poorly oriented clips can be difficult.
The same file can behave very differently across processes. FDM prints with melted filament, resin printers cure liquid photopolymer, SLS fuses powder, and metal additive systems use their own thermal constraints. A beginner does not need to master every process immediately, but the design should match the machine and material that will actually make the part.
The Beginner Workflow
Start with the job the part must do. Is it a visual model, a bracket, a jig, a replacement knob, a costume piece, or a prototype enclosure? Then choose the printing process, material, and basic orientation before adding small details. This keeps strength, surface finish, and assembly from becoming afterthoughts.
Next, identify the risky features. Thin walls, snap-fits, living hinges, screw bosses, mating surfaces, tall narrow posts, and long flat panels deserve attention before the final export. If one feature matters most, print a small test section first. A 20 minute test can prevent a 10 hour disappointment.
Wall Thickness and Clearances
Wall thickness is one of the easiest places for beginners to improve a design. Very thin walls may slice unpredictably, flex too much, or fail during support removal. For many FDM parts, walls around 1.2 mm to 2.4 mm are a useful starting range because they line up with several nozzle passes on common 0.4 mm nozzles.
Clearance is the space between parts that need to fit together. A tight CAD fit is usually too tight for printing. Hinges, lids, pegs, and sliding joints often need 0.2 mm to 0.5 mm of clearance per side on a typical tuned FDM printer, while resin or industrial processes may allow tighter fits. The best number is the one proven on your machine.
Orientation, Supports, and Surface Quality
Orientation decides which direction the layers run and where supports touch the part. A decorative face should usually avoid support marks. A loaded hook should avoid layer lines that peel open. A cylinder printed vertically may look rounder on the side, while the same cylinder printed horizontally may need supports and show a stepped top surface.
Supports are sometimes necessary, but DfAM tries to reduce them with design choices. Replace a flat unsupported roof with a chamfered or arched shape. Turn circular horizontal holes into teardrop holes when function allows. Split a complicated object into two pieces if that makes both parts stronger and cleaner.
DfAM for Common Beginner Projects
For a phone stand, put material around the hinge or support leg instead of making the whole object solid. For a tool holder, thicken the screw areas and add fillets where hooks meet the back plate. For a cosplay detail, hollow large resin pieces, add drain holes where appropriate, and avoid thin spikes that break during cleanup.
For a prototype enclosure, design around assembly. Add bosses for inserts, leave room for wires, avoid sharp internal corners, and test lid clearances before printing the full shell. These changes are not complicated, but they separate a printable model from a part that feels engineered.
Mistakes That DfAM Prevents
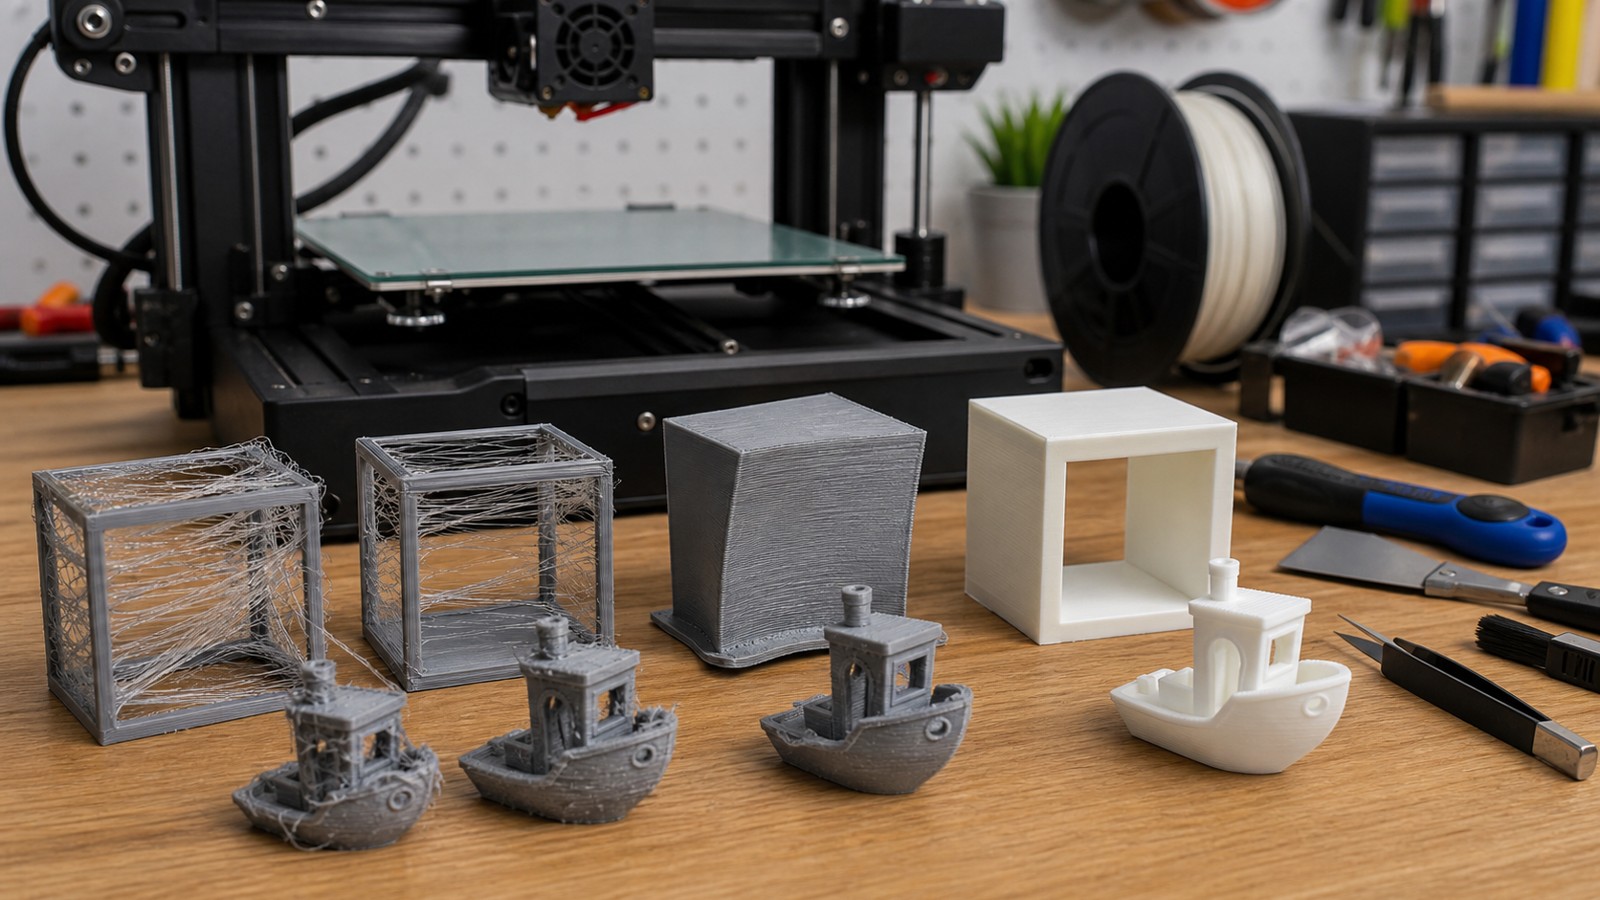
Many beginner failures come from treating a printed part like a perfect CAD object. The common symptoms are lids that do not close, holes that need drilling, supports fused to important surfaces, clips snapping at the base, and broad corners lifting from the bed. DfAM catches those risks while they are still easy to change.
The goal is not to make every part complicated. Sometimes DfAM means simplifying the design: fewer unsupported ledges, wider contact patches, friendlier radii, and more consistent wall thickness. A simple part that prints cleanly is better than a clever part that only works in the model viewer.
A Simple DfAM Checklist
Before exporting the file, ask: which direction carries the load, which face must look best, what surfaces need supports, what clearances have been tested, and how will the part be assembled or repaired? These questions take a few minutes and improve both print success and final performance.
For a first pass, use generous fillets, avoid walls thinner than the printer can reliably make, test critical holes, and label material assumptions in the file notes. As projects become more demanding, add process-specific rules for resin, SLS, metal, or flexible materials.
FAQ
Is DfAM only for engineers?
No. Hobbyists, product designers, artists, and students all use DfAM whenever they adjust a model so it prints better, fits better, or lasts longer.
Can I apply DfAM after a model is finished?
You can improve a finished model, but DfAM works best early. Orientation, wall thickness, supports, and assembly strategy are easier to fix before small details are locked in.
What is the fastest way to learn DfAM?
Print small tests for wall thickness, holes, clips, and surface finish on your own machine. Those test results turn general rules into reliable settings for your workflow.