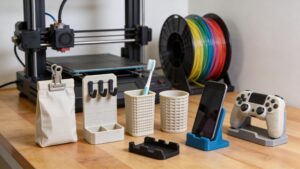
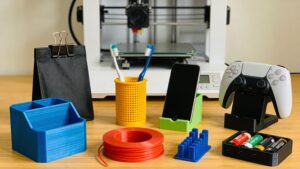
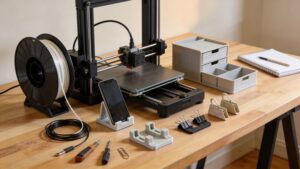
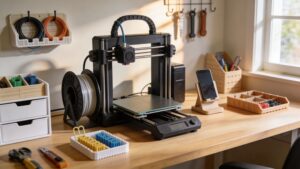
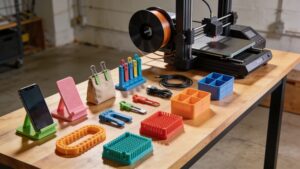
DIY Projects is the heartbeat of 3D Printing Street—where everyday problems get solved with clever prints, weekend builds get a serious upgrade, and “I can make that” becomes a habit. This category is packed with practical, satisfying projects that turn your printer into a home workshop superpower: custom organizers, repairs, tool add-ons, mounts, brackets, clips, jigs, and little quality-of-life parts you’ll use every single day. You’ll find step-by-step ideas that start simple and scale up, with tips for measuring, modeling, test-printing, and dialing in strength so your projects don’t just look good—they last. We’ll cover beginner-friendly wins like cable guides and drawer dividers, plus more ambitious builds like modular storage systems, shop helpers, and printable upgrades that make tools safer and more comfortable. Expect material advice, print settings that boost durability, and finishing tricks that make your creations feel polished. Whether you’re fixing a broken latch, designing a custom solution for a weird space, or building something just because it’s fun, this hub is your launchpad for prints that earn their keep. Print it today—use it tonight.
A: A simple organizer or cable clip—quick, useful, and easy to iterate.
A: PETG is a solid default; TPU for flexible parts; avoid PLA for hot or stressed spots.
A: Adjust tolerances—print a small test piece and measure the real result.
A: Add more walls and better geometry (ribs/fillets) instead of maxing infill.
A: Yes for many uses—add straps/screws, avoid thin sections, and test under load.
A: Use screws, inserts, command-style adhesives where appropriate, and design for real fasteners.
A: Add foam pads, rubber feet, or textured contact surfaces.
A: Measure, sketch, model the interface, then iterate with small test prints.
A: Not always—redesign overhangs and add chamfers to avoid support scars.
A: Standardize sizes, label bins, and keep your CAD files versioned for quick reprints.