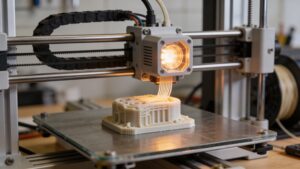
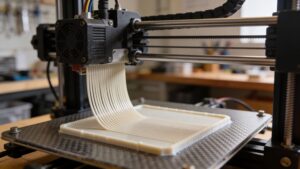
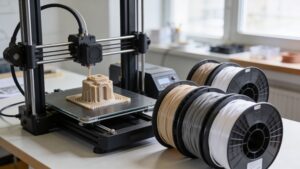
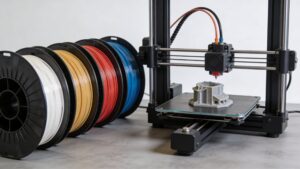
PLA Filament is the friendly front door to 3D printing—and it’s still one of the most versatile materials on the street. Known for easy adhesion, crisp detail, and reliable prints, PLA lets you move from idea to object fast, whether you’re prototyping parts, printing display models, or dialing in a new machine. It prints at relatively low temperatures, warps less than many alternatives, and comes in a huge range of finishes that change the vibe of a project instantly: matte, glossy, silk, translucent, speckled, and more. But PLA isn’t “basic.” With the right settings, you can push beautiful surfaces, sharp corners, and surprisingly strong prints for everyday use. This PLA Filament hub on 3D Printing Street explores the little choices that make a big difference—temperature windows, cooling strategy, layer bonding, moisture control, and when to step up to tougher PLA blends. If you want clean first layers, smooth walls, and predictable results, PLA is your dependable workhorse—and your best teacher.
A: Yes—easy adhesion, low warping, and dependable detail make it a top starter filament.
A: Not always, but mild bed heat often improves first-layer consistency.
A: Retraction, temperature, and moisture are the big three—tune and dry as needed.
A: For light-duty use, yes; for heat, impact, or outdoor exposure, consider tougher materials.
A: Limited—sunlight and heat can degrade it; shaded/temporary use is safer.
A: It can be brittle, especially with thin sections, sharp corners, or poor layer bonding.
A: Use finer layers, slower outer walls, tuned temperature, and optional ironing on flats.
A: Moisture in filament or overheating—dry the spool and re-check temps.
A: Matte for clean looks, silk for shine, translucent for glow and internal structure.
A: A calibration cube and a small functional organizer—fast wins that teach settings.