The Simple Version
A 3D printer turns a digital model into a physical object by building it in layers. The printer does not understand the model as a finished object. It follows instructions that tell it where each layer of material belongs.
A: Match the model, material, settings, and finish plan to the purpose of the print.
A: Bed leveling, surface cleanliness, nozzle height, temperature, and material condition are the usual suspects.
A: No. Slower speeds can improve detail, but heat buildup and profile balance still matter.
A: Use the right material, more walls, smart orientation, enough infill, and realistic load testing.
A: Temperature, retraction, travel moves, moisture, and material type all contribute.
A: Diagnose poor first layers, weak parts, stringing, warping, and rough surfaces before buying parts.
A: Very important; it shows toolpaths, supports, layer changes, and possible weak spots before printing.
A: First layers, simple calibration prints, support cleanup, and basic material profiles.
A: Clean orientation, tuned settings, good material handling, and careful support removal, sanding, painting, fitting, and practical testing.
A: It is most useful for makers who want cleaner prints and fewer wasted attempts.
The Simple Version
A 3D printer turns a digital model into a physical object by building it in layers. The printer does not understand the model as a finished object. It follows instructions that tell it where each layer of material belongs.
The workflow has five basic stages: create or download a model, prepare it in a slicer, send the file to the printer, build the part layer by layer, then remove supports or finish the surface.
The Digital Model
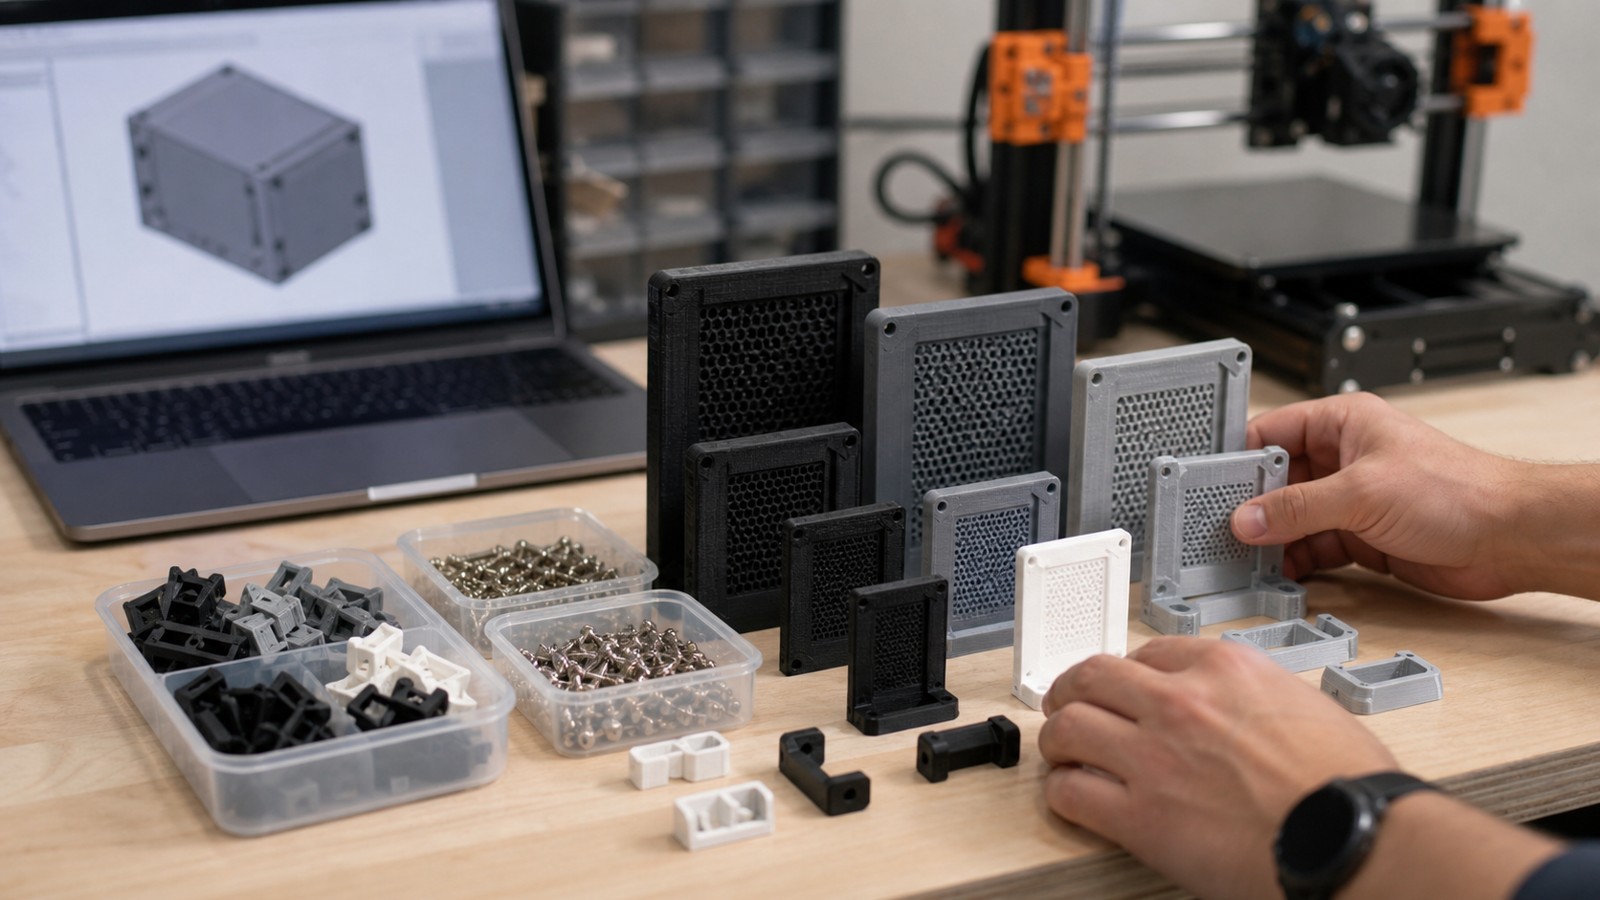
The model begins in CAD, sculpting software, a 3D scan, or an online file library. It must have the right scale, enough wall thickness, and clean geometry. A model that looks fine on screen may still have holes, flipped faces, or tiny features that cannot print.
Common export formats include STL and 3MF. STL stores surface geometry, while 3MF can carry more manufacturing information. The slicer uses that file as the starting point for toolpaths or exposure layers.
The Slicer
The slicer divides the model into thin layers and creates machine instructions. For FDM, it sets nozzle paths, temperatures, layer height, wall count, infill, speed, cooling, and supports. For resin, it prepares exposure layers and support structures.
The slicer preview is one of the most important beginner tools. It shows whether walls will print, where supports go, how infill is built, and whether the part has unexpected gaps or islands.
The Printer Builds Layers
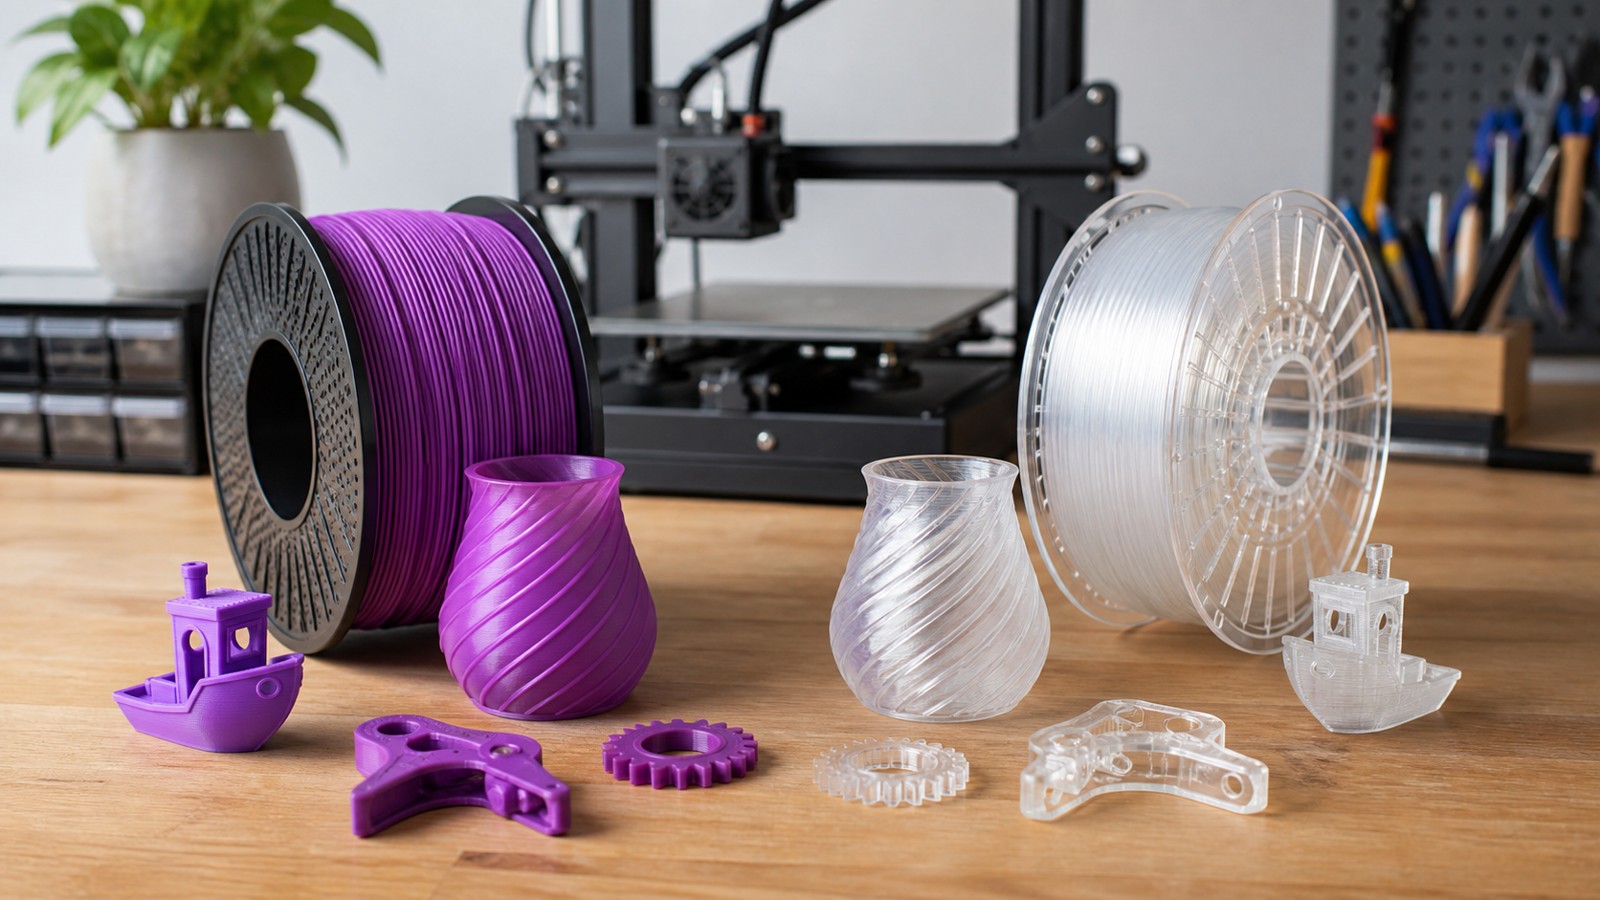
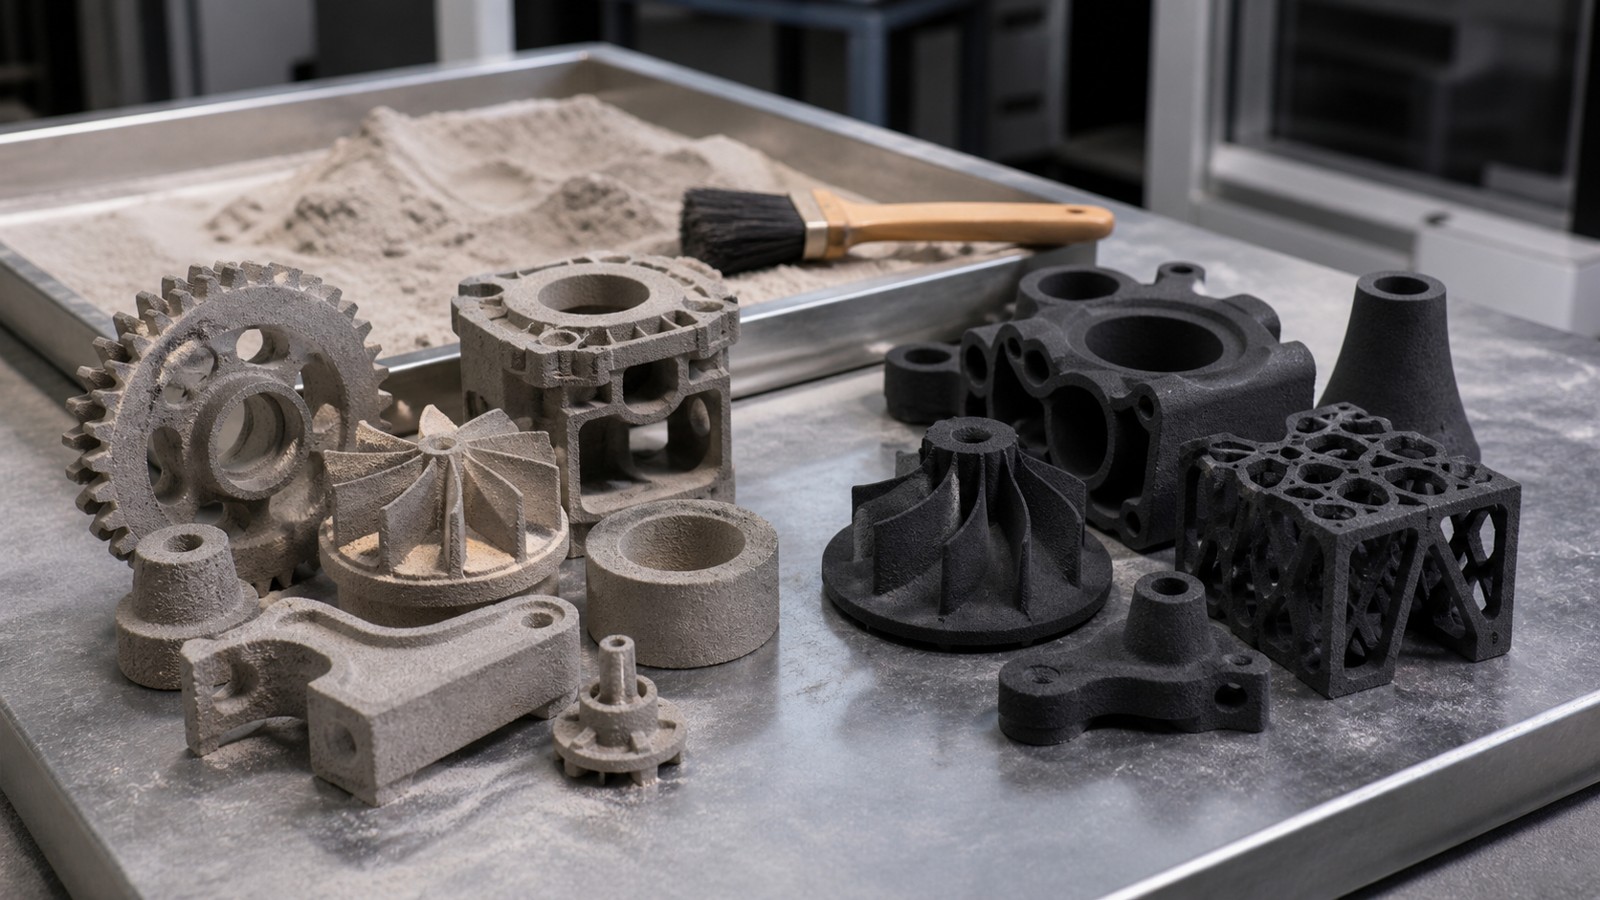
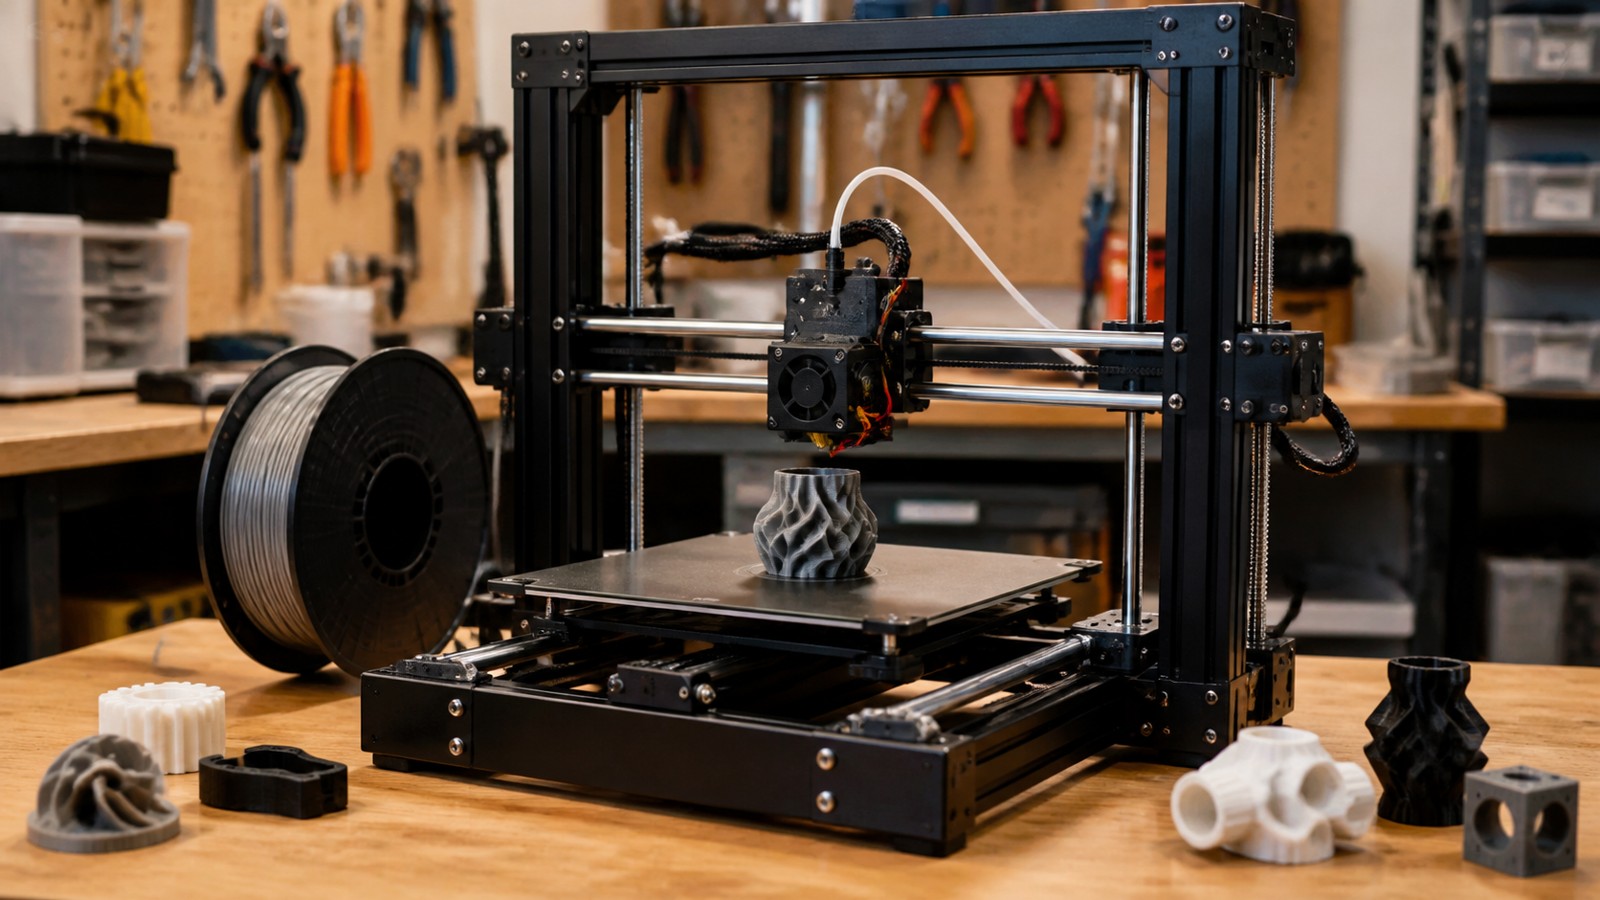
An FDM printer heats filament and pushes it through a nozzle, drawing each layer on the build plate. A resin printer uses light to cure liquid resin one layer at a time. An SLS printer spreads powder and fuses each layer with a laser.
Different printers use different materials, but the layer-by-layer idea is the shared foundation. Layer height, material behavior, and machine control determine the final detail and strength.
Why Prints Fail
Prints fail when the digital plan and the physical process do not match. Bad first-layer adhesion, weak supports, wet filament, poor exposure, clogged nozzles, warped parts, and impossible geometry are common causes.
Beginners get better by changing one variable at a time. A small test print teaches more than a huge failed model because the cause is easier to isolate.
What Happens After Printing
Most prints need some cleanup. FDM prints may need support removal, sanding, or insert installation. Resin prints need washing and curing. SLS prints need cooldown, depowdering, and blasting.
Post-processing is part of 3D printing, not an optional afterthought. The finished part depends on cleanup as much as the machine build.
FAQ
What does a slicer do?
A slicer turns a 3D model into layer-by-layer machine instructions for the printer.
Do all 3D printers use filament?
No. Some use filament, some use liquid resin, some use powder, and industrial systems may use metal or other materials.
Why does orientation matter?
Orientation affects strength, supports, surface quality, print time, and whether the part is easy to finish.