The Basic Step-by-Step Workflow
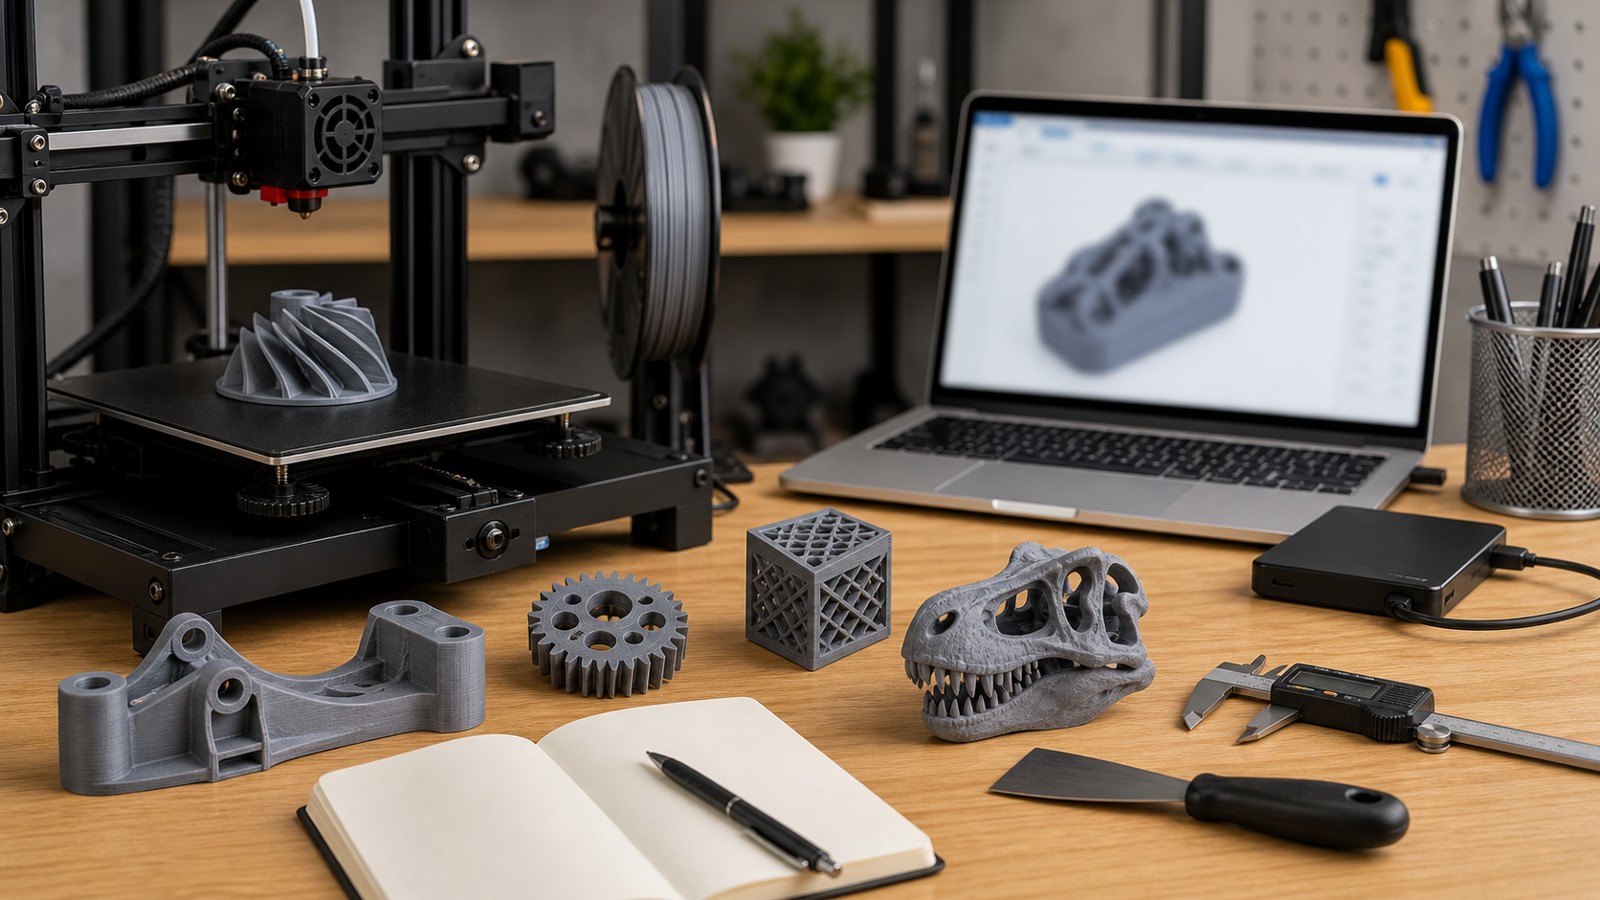
A 3D printer works by turning a digital model into a physical object one layer at a time. The exact hardware changes by process, but the workflow follows the same broad path: model, slice, prepare, print, cool or cure, then finish.
A: Match the model, material, settings, and finish plan to the purpose of the print.
A: Bed leveling, surface cleanliness, nozzle height, temperature, and material condition are the usual suspects.
A: No. Slower speeds can improve detail, but heat buildup and profile balance still matter.
A: Use the right material, more walls, smart orientation, enough infill, and realistic load testing.
A: Temperature, retraction, travel moves, moisture, and material type all contribute.
A: Diagnose poor first layers, weak parts, stringing, warping, and rough surfaces before buying parts.
A: Very important; it shows toolpaths, supports, layer changes, and possible weak spots before printing.
A: First layers, simple calibration prints, support cleanup, and basic material profiles.
A: Clean orientation, tuned settings, good material handling, and careful support removal, sanding, painting, fitting, and practical testing.
A: It is most useful for makers who want cleaner prints and fewer wasted attempts.
The Basic Step-by-Step Workflow
A 3D printer works by turning a digital model into a physical object one layer at a time. The exact hardware changes by process, but the workflow follows the same broad path: model, slice, prepare, print, cool or cure, then finish.
The printer is not making a solid object all at once. It follows a series of layer instructions that describe where material belongs and how the machine reaches those points.
Step 1: Create or Download the Model
The process begins with a 3D file from CAD software, sculpting software, a scanner, or a model library. The file must be scaled correctly and must have geometry the printer can make. Thin walls, open mesh edges, and tiny unsupported details can cause trouble before printing even begins.
Common files include STL and 3MF. STL describes surface geometry, while 3MF can carry more manufacturing data. Either way, the model still needs checking before slicing.
Step 2: Slice the Model
Slicing software divides the model into layers and creates machine instructions. For FDM, it sets nozzle paths, temperatures, speed, supports, infill, walls, and cooling. For resin, it creates exposure layers and support geometry. For SLS, it prepares layers for powder-bed fusion.
The preview is where many mistakes become visible. Gaps, missing walls, excessive supports, wrong scale, and impossible overhangs can often be caught before the printer starts.
Step 3: Prepare the Printer and Material
Preparation depends on the process. FDM needs filament loaded, a clean bed, correct Z offset, and the right temperature profile. Resin needs a clean vat, safe handling, and enough resin. SLS needs powder management and a controlled build setup.
Material condition matters. Wet filament strings and pops. Resin can settle or age. Powder needs clean handling and proper refresh practices.
Step 4: Build the Part
During printing, the machine repeats a layer cycle. FDM deposits melted filament through a nozzle. Resin printers cure liquid resin with light. SLS machines spread powder and fuse selected areas with a laser.
Layer height controls vertical detail, while speed, temperature, exposure, and cooling affect quality. The printer’s motion system and material behavior work together, so print quality is both mechanical and chemical.
Step 5: Finish the Print
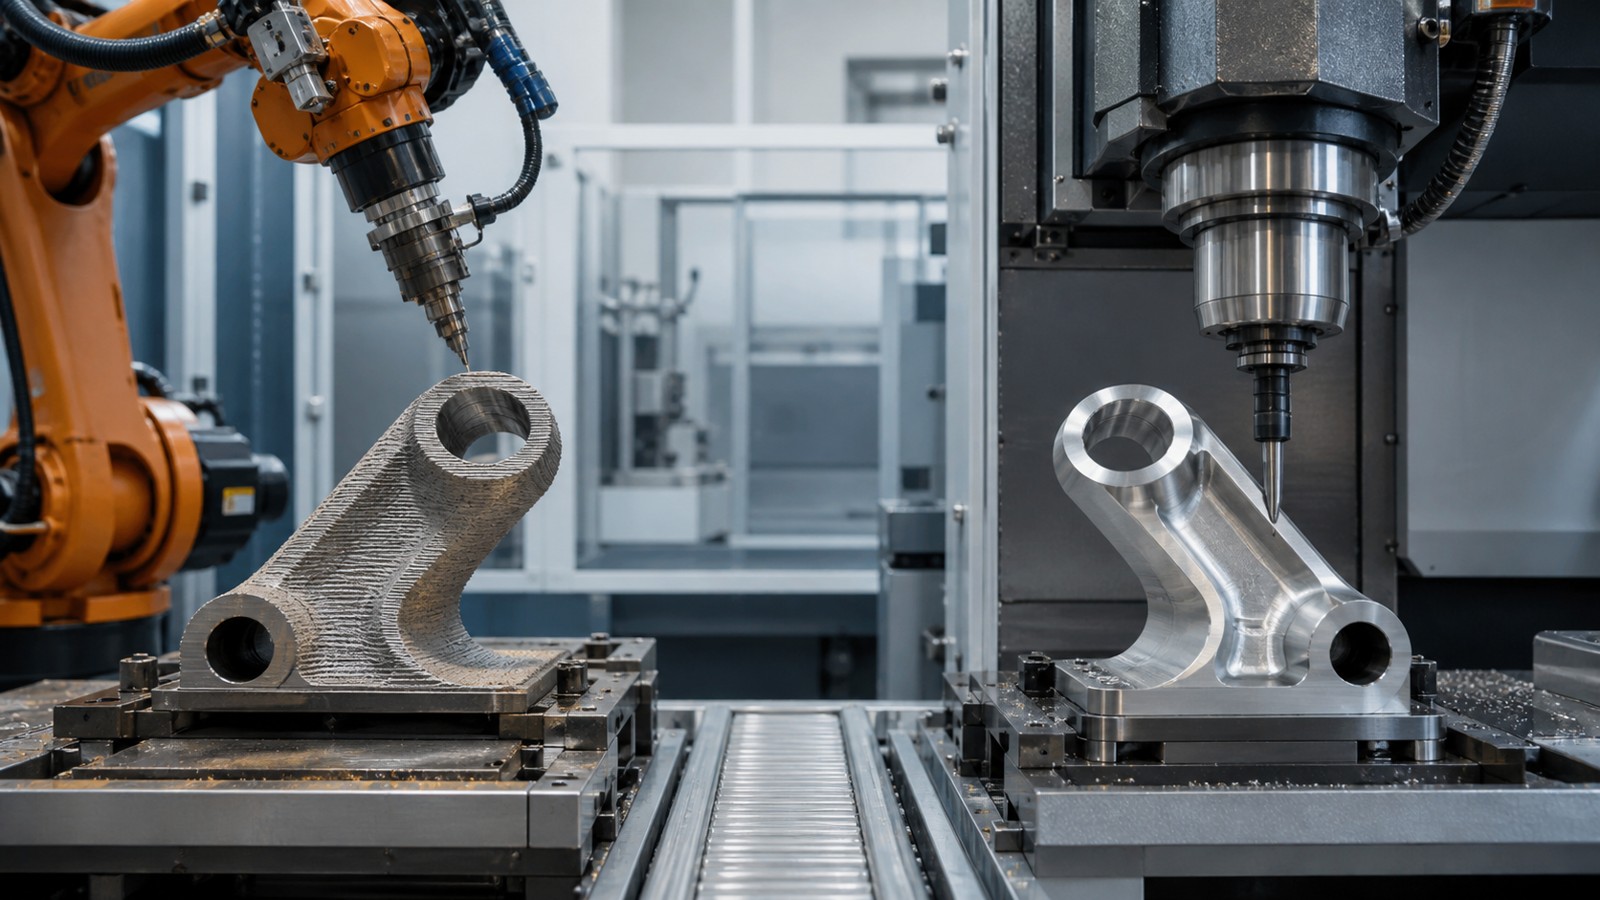
Finished prints usually need cleanup. FDM parts may need support removal and sanding. Resin parts need washing and curing. SLS parts need cooldown, depowdering, and blasting. Functional parts may also need drilling, inserts, or inspection.
The final object is the result of the whole workflow. Good files, good slicing, good machine setup, and good finishing all matter.
FAQ
What is the most important step in 3D printing?
Slicing and setup are often the most important because they translate a good model into printer-specific instructions.
Do all 3D printers work the same way?
No. They share a layer-by-layer idea, but filament, resin, powder, and metal systems use different materials and machine actions.
Why does a print fail even when the model looks good?
The model may have printability issues, or the slicer, material, first layer, supports, temperature, or machine calibration may not match the design.