Start With the Print, Not the File Extension
An STL file is only a mesh format. Designing a good STL starts with deciding what the print has to do: hold weight, fit another object, display a shape, survive handling, or show a concept. That purpose controls dimensions, wall thickness, tolerances, infill assumptions, and material choice.
A: Match the model, material, settings, and finish plan to the purpose of the print.
A: Bed leveling, surface cleanliness, nozzle height, temperature, and material condition are the usual suspects.
A: No. Slower speeds can improve detail, but heat buildup and profile balance still matter.
A: Use the right material, more walls, smart orientation, enough infill, and realistic load testing.
A: Temperature, retraction, travel moves, moisture, and material type all contribute.
A: Diagnose thin walls, unsupported features, tight fits, bad meshes, and weak load paths before buying parts.
A: Very important; it shows toolpaths, supports, layer changes, and possible weak spots before printing.
A: First layers, simple calibration prints, support cleanup, and basic material profiles.
A: Clean orientation, tuned settings, good material handling, and careful test fits, inserts, sanding, assembly, and revision notes.
A: It is most useful for makers designing parts that need to fit, move, or survive use.
Start With the Print, Not the File Extension
An STL file is only a mesh format. Designing a good STL starts with deciding what the print has to do: hold weight, fit another object, display a shape, survive handling, or show a concept. That purpose controls dimensions, wall thickness, tolerances, infill assumptions, and material choice.
Beginners often treat STL export as the design step. It is really the final handoff from modeling software to slicer. The important work happens before export.
Measure and Sketch the Object
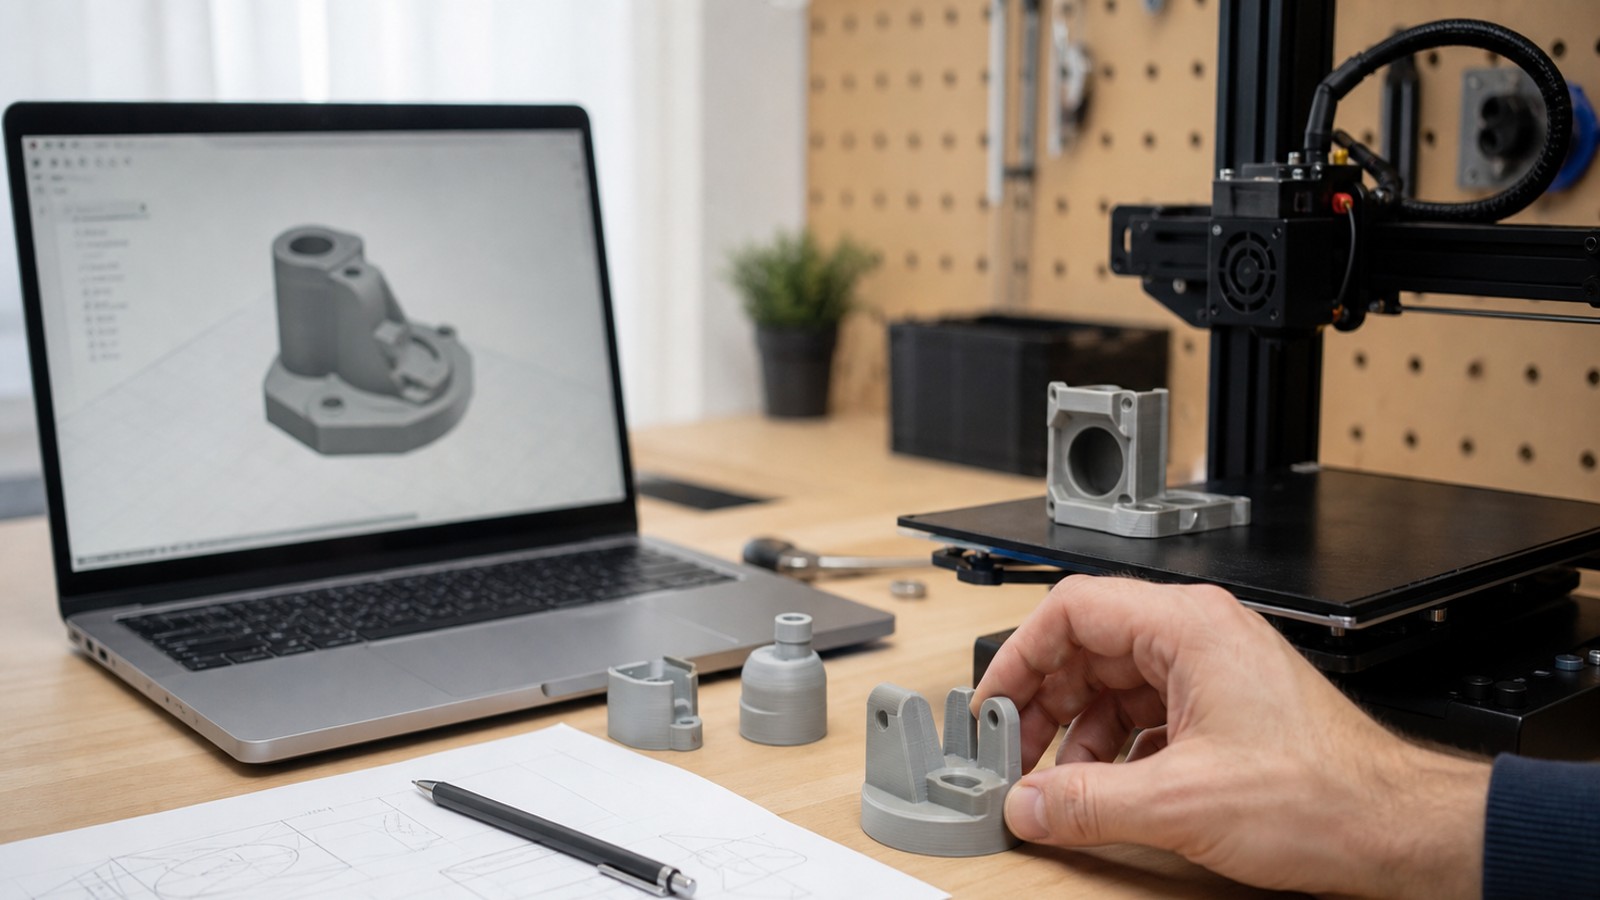
For a functional part, measure the mating object with calipers and sketch the important dimensions. Identify holes, tabs, clearances, load direction, and surfaces that must touch other parts. Add tolerance for the printer and material instead of copying the measured value exactly.
For a decorative part, decide the scale, base, fragile details, and visible surfaces. Thin spikes, unsupported overhangs, tiny embossed text, and delicate edges may need adjustment before slicing.
Build the Model in the Right Tool
Use Tinkercad for simple shape assembly, Fusion or FreeCAD for dimensioned mechanical parts, Onshape for browser-based CAD collaboration, Blender for sculpted or organic models, and Rhino for controlled surfaces. The tool matters less than using it in a way that creates clean, closed geometry.
For CAD models, build from sketches and editable features. For mesh models, keep an eye on normals, holes, self-intersections, and wall thickness. Both paths can produce printable STL files when modeled carefully.
Check Printability Before Export
Before exporting, inspect wall thickness, overhangs, bridging areas, bed contact, supports, orientation, and part strength. Add fillets to reduce stress concentration, flatten a face for better bed adhesion, and split large models if the printer cannot handle the whole part.
If the model must fit another part, make a small test coupon first. A ten-minute tolerance test can save hours of failed full-size printing.
Export and Slice Carefully
Export STL at a sensible resolution. Too coarse creates visible facets; too fine creates huge files without practical benefit. Then open the file in a slicer and check layer preview, supports, seams, thin walls, estimated time, and material use.
If the slicer shows missing surfaces or strange toolpaths, go back to the model. Repair tools can help, but a clean source model is more reliable than repeated mesh rescue.
FAQ
What software can make STL files?
Tinkercad, Fusion, FreeCAD, Onshape, Blender, Rhino, SketchUp, and many other modeling tools can export STL or export through another printable format.
Is STL the best format for 3D printing?
STL is common, but 3MF can carry more print information. STEP is often better for moving editable CAD geometry between programs.
How do I know if an STL is printable?
Open it in a slicer and inspect the preview for closed geometry, wall thickness, supports, overhangs, and realistic part orientation.