Choose the Process Around the Part’s Job
An enclosure can look excellent on a printer’s build plate and still fail the project because its lid will not close, its mounting tabs bend, or its surface needs hours of cleanup. Choosing a 3D printing technology starts with those practical outcomes, rather than with a machine’s headline resolution or a striking sample photograph. A useful decision connects the part’s purpose to material behavior, geometry, dimensional requirements, finishing, quantity, and the workspace available to make it. That approach works whether you are selecting a desktop printer, ordering from a service bureau, or deciding which machine in a workshop should handle a new design. The following process turns a broad question into a short list that you can test. Instead of searching for a universal winner, you will identify which production route can deliver your particular part, in its required condition, with a manageable amount of uncertainty.
A: No; it does not establish material suitability, tolerance, or total production effort.
A: Only if its material and processing are representative of the thermal requirement.
A: Use a representative section containing the latch, mating edge, and critical opening.
A: Setup and build occupancy can be distributed differently, so request a new quotation rather than multiplying the sample price.
A: They may include different materials, finishing, inspection, quantities, or delivery conditions.
A: It can, provided the design allows access and the cost fits the project.
A: Ask for representative samples with the proposed orientation and finishing.
A: No; cleanup, cooling, curing, and assembly may dominate delivery time.
A: Identify the failed requirement and test a change that addresses its cause.
A: Yes. An appearance model and a functional trial can use different routes when each object's purpose is clearly identified.
Write a Brief That a Sample Can Prove
Begin with a short description of what the object must do after printing. A display model needs to communicate shape and appearance; a drill fixture must hold location under repeated handling; a flexible cover must deform without tearing or losing its fit. Include the working environment, the expected loads, and the surfaces that touch other components. These details narrow the decision more effectively than a general request for strength or quality.
Turn vague requirements into observable acceptance criteria wherever possible. Identify the mounting holes that must align, the latch that must survive repeated opening, or the visible face that must look clean at normal viewing distance. You do not need a laboratory specification for every hobby project, but you do need a way to distinguish success from a merely completed print. A supplier can offer much better guidance when the critical interfaces and acceptable finishing operations are clear.
Also state what the prototype is allowed to represent imperfectly. An early ergonomic mockup may tolerate a different material if its size and grip are representative. A thermal test usually cannot make the same compromise. This separation prevents an inexpensive visual prototype from being mistaken for proof of service performance, while allowing early designs to move forward without unnecessarily expensive manufacturing.
Choose Two Plausible Processes Early
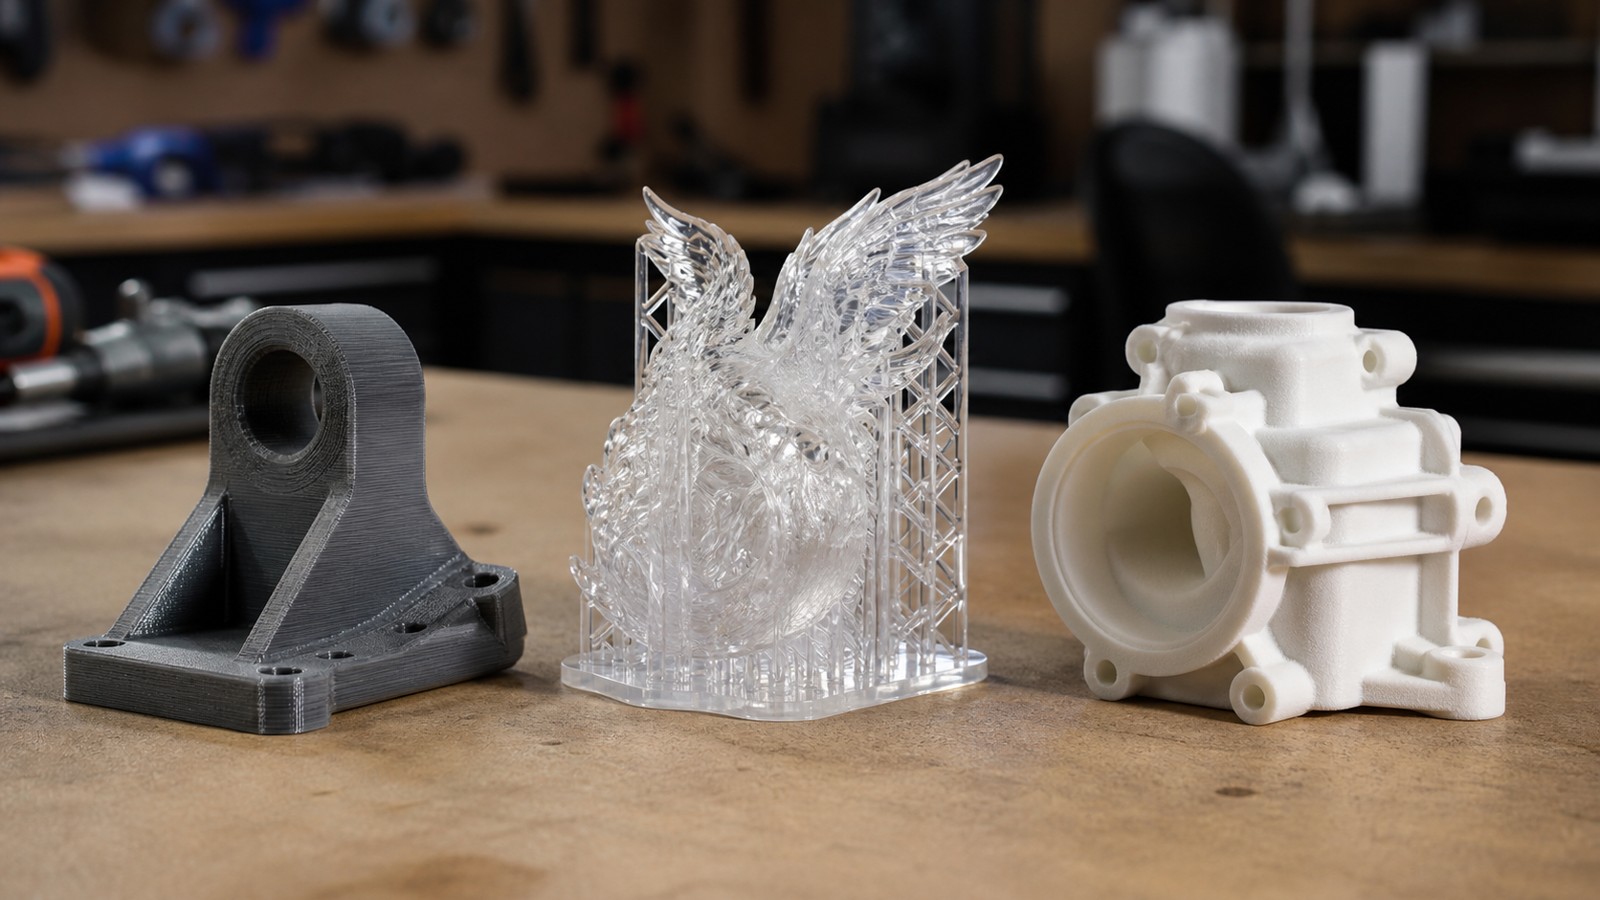
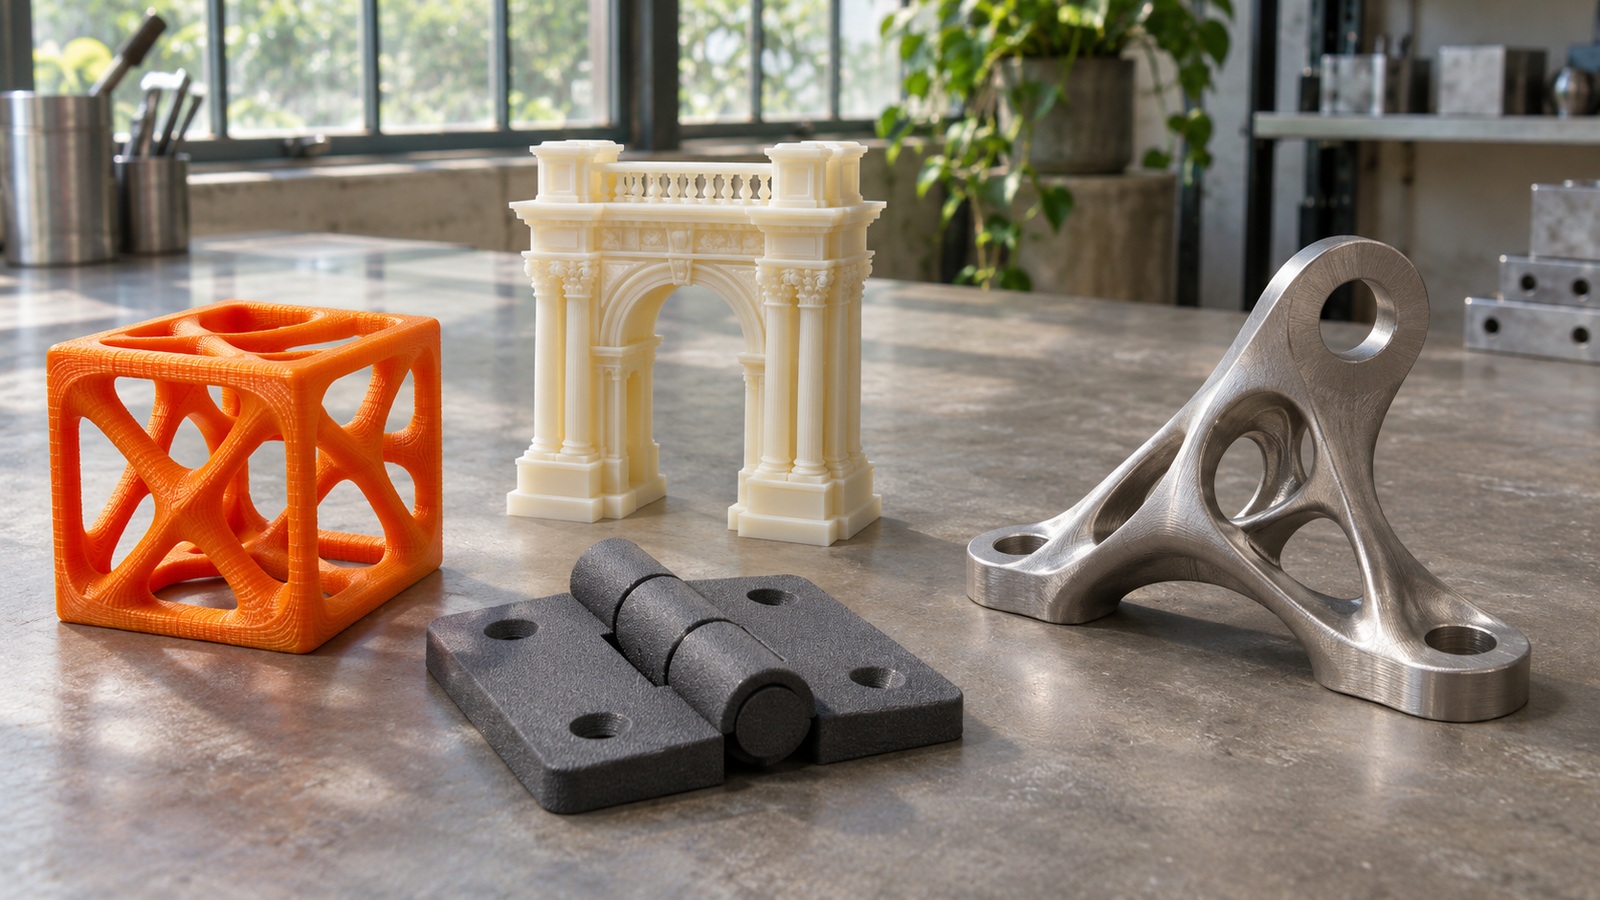
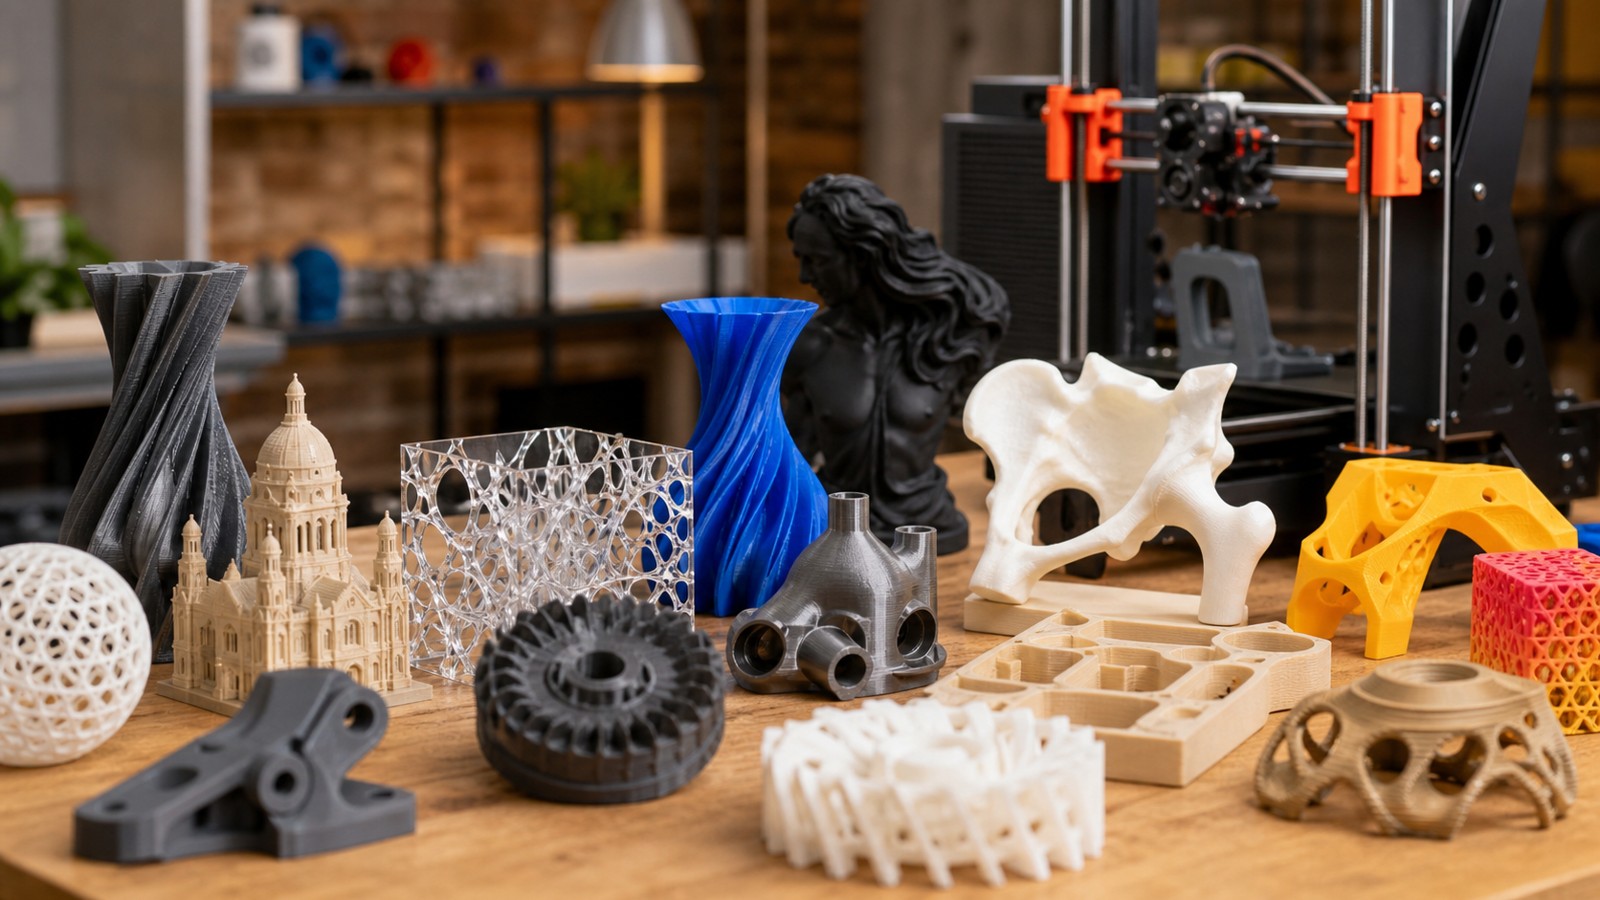
Start with the job the first object must perform. Filament extrusion is a useful initial candidate for a quick shape or assembly mockup, while a suitable resin process deserves consideration for fine visual detail. A polymer powder-bed route can suit complex geometry without the same attached scaffolding, provided powder can leave the part. Metal production belongs on the shortlist when the required final material or duty calls for it, rather than simply because the object looks industrial. NIST’s process overview explains the mechanisms behind these choices. Keep two plausible routes, then use the requirements below to reject the one that cannot do the actual job.
Eliminate Incompatible Materials Before Comparing Detail
A process is only useful if it can produce the material behavior the job needs. Thermoplastic extrusion, resin curing, polymer powder-bed processing, and metal manufacturing offer different material sets and different ways to achieve final properties. Consider temperature exposure, stiffness, impact, chemical contact, sunlight, and sustained loading. Compare data for the actual grade and processed condition, rather than assuming that every resin is brittle or every nylon behaves identically.
Printed properties also reflect orientation, conditioning, and post-processing. A molded-plastic datasheet does not automatically describe a filament-printed component, and a resin’s published performance may depend on a particular curing schedule. Ask how the relevant data was obtained and whether it represents the production route you are considering. For a critical requirement, a representative sample test is more persuasive than a material name or a broad comparison chart.
Read the Geometry for Manufacturing Constraints
Examine the model for thin walls, narrow slots, enclosed cavities, long unsupported spans, and delicate features that could break during cleanup. Filament extrusion has to place roads of material through a nozzle; resin printing has to control support and separation forces; powder-based methods need a route to remove trapped powder. These are different constraints, so a shape that suits one process may need redesign for another. Treat a hollow object as a cleaning and drainage problem as well as a weight-saving opportunity. If a supplier cannot explain how a hidden cavity will be cleared and inspected, the geometry is not ready for production simply because it can be uploaded successfully.
Distinguish Fine Detail From Reliable Fit
A process can reproduce tiny surface features without meeting every dimensional requirement of an assembly. Advertised pixel size, nozzle diameter, or layer height describes part of the manufacturing system, not a universal tolerance guarantee. Actual fit can vary with feature orientation, material contraction, support contacts, calibration, and the position of the feature within the build. Small holes and mating edges deserve particular attention because they often behave differently from broad external dimensions.
Mark the interfaces that matter and discuss them directly. If a bearing seat can be machined after printing, that may open up an otherwise suitable process. If the part must snap together straight from the machine, the allowable variation is more restrictive. A small fit coupon using the actual mating geometry can reveal much more than a generic calibration cube, especially when several candidate processes produce different surface textures.
Surface appearance should receive its own acceptance criterion. A painted display model may tolerate sanding and primer, while a textured functional housing may work well with visible layers. Separate visible faces from hidden or supported surfaces when requesting a sample. This makes it possible to orient the part intelligently instead of paying for a globally finer process to solve one local cosmetic concern.
Include the Work Between Printing and Delivery
The build ending is one event in a longer production route. Resin parts may require washing and post-curing, polymer powder-bed parts need cooling and depowdering, and metal components may need heat treatment, support removal, and machining. Even a straightforward filament print can require support cleanup, insert installation, or assembly. List these operations alongside the printing step so that a fast machine does not hide a slow hand-finishing process.
Access and repeatability matter as much as the nominal operation. A support trapped inside an enclosure can be difficult to remove consistently, and a delicate feature may survive printing but fail during cleanup. Ask what the delivered condition includes and what work remains for you. A quote for an unfinished part and a quote for an inspected, assembled component describe different products even when they begin with the same model.
Compare Quantity, Lead Time, and Whole-Part Cost
One prototype and several hundred parts create different decisions. A desktop filament printer can be convenient for frequent design changes, while a powder-bed build can combine many suitable parts within one production cycle. That does not mean every packed build is cheap or every small order is expensive; setup, material, packing, cooling, finishing, and inspection all contribute. Compare quotations for the same quantity and delivered condition, and ask how a change in order size alters the production plan. If the design is still moving, the ability to revise tomorrow may be worth more than a lower unit price tied to a large committed batch.
Make the Workspace Part of the Decision
Owning equipment means accepting its handling and maintenance requirements. Filament printing needs a suitable environment for the selected polymer and attention to emissions, hot surfaces, and moving parts. Resin work adds liquid chemical handling, washing, waste management, and curing operations. Industrial powder and metal systems require specialized controls that go well beyond putting a machine on a desk. Review the equipment documentation and material safety data before assuming that spare floor space is the only requirement.
Outsourcing can be a practical way to access a process without building that infrastructure. It also gives you a chance to evaluate a material or finishing route before buying equipment. Compare the real needs of the project with the capabilities you can operate consistently. A technically capable printer is a poor fit if the workspace cannot support its full workflow or if the necessary post-processing will never receive enough attention.
Consider who will own the process when the first enthusiastic operator is unavailable. Repeatable profiles, documented preparation, consumable availability, and straightforward inspection help a workshop keep producing useful parts. Maintenance and training belong in the selection conversation because they affect delivery reliability. A machine’s capabilities have practical value only when the surrounding operation can sustain them.
Design a Trial That Can Reject a Bad Choice
Choose a sample that concentrates the uncertainty rather than merely showing the entire object at small scale. An enclosure trial might include its latch, a connector opening, a mounting boss, and one representative visible face. Keep the actual feature sizes and the intended orientation where possible. Scaling everything down can remove the very wall thickness, clearance, or support problem the test needs to expose.
Record the material grade, orientation, finishing, and any processing conditions needed to interpret the result. Then test the sample against the acceptance criteria established at the start. Check fit with the real mating part, evaluate the surface under normal viewing conditions, and apply representative handling or loading. If the sample fails, decide whether a design change, a different orientation, or another technology addresses the cause before ordering a larger build.
Know When the Design Should Change Instead
A process comparison can reveal that the current shape is creating an avoidable problem. Splitting an enclosure along a sensible assembly line may eliminate inaccessible supports. Adding a powder escape opening may make a hollow form practical to clean. Replacing a thin printed thread with a suitable insert can shift wear to a replaceable component. These changes should follow the object’s function, rather than forcing every feature to remain identical to the first model.
Discuss design revisions before treating a more expensive process as the only solution. A supplier may be able to identify a troublesome overhang or explain why a small clearance is unreliable. Evaluate each suggestion against the original acceptance criteria and the cost of added assembly. The simplest overall route sometimes uses a slightly different shape, while preserving the dimensions and behavior that the user actually needs.
A fine resin process might make an enclosure’s tiny lettering convincing while leaving supports trapped behind a closed internal partition. Splitting the housing or opening the partition can matter more than reducing layer height. A polymer powder-bed route avoids that particular attached-support arrangement, but the same closed space can retain powder unless there is a usable recovery route. Formlabs’ SLS design guide illustrates this powder-removal constraint for its equipment. Compare the revised, cleanable shapes instead of asking which machine can form an inaccessible interior that neither route can finish properly.
Compare Two Routes for the Enclosure
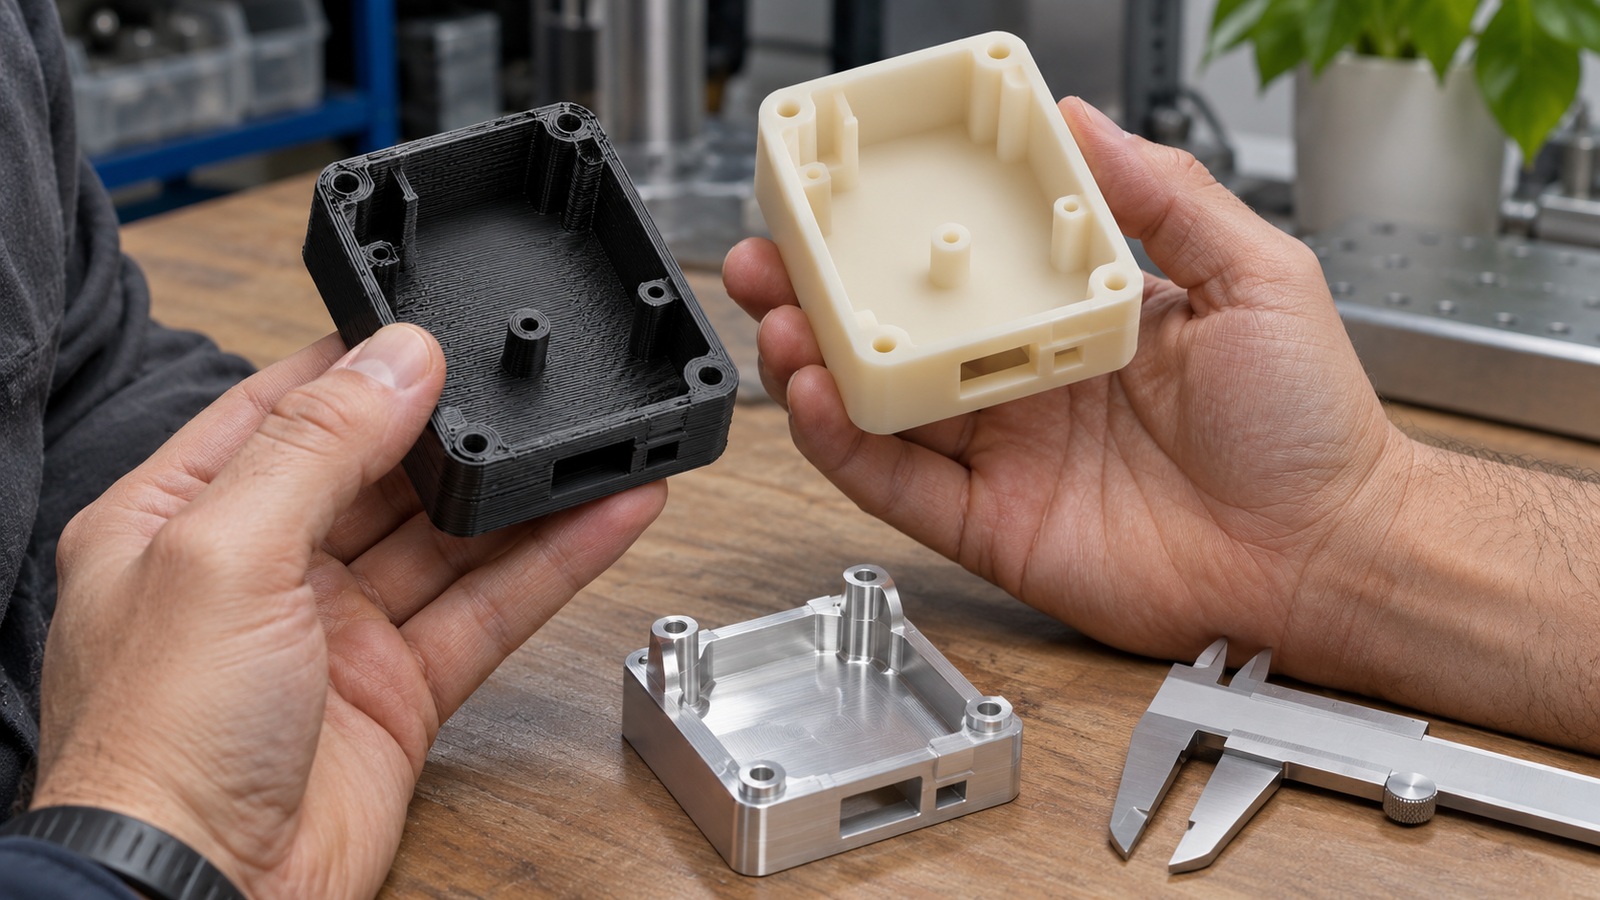
Suppose the immediate task is checking the connector position and how the lid meets the base, with no claim yet about long-term service. An available filament printer is the simpler starting route if the important interfaces can be oriented and reached without troublesome supports. A service-produced nylon powder-bed sample becomes worth comparing when its geometry removes an awkward support or assembly compromise. Its cleaned surface may still need a separate finishing plan for the customer’s appearance review. Ask for both routes in the same useful condition: correct material, accessible interior, and the finishing each quote includes. Choose the filament route when a modest redesign makes its fit sample sufficient; choose the powder-bed trial when the important geometry justifies its additional purchasing and finishing steps. This is an illustrative selection, not a claim that every nylon grade suits the eventual enclosure.
Make the Choice and Keep Its Limits Clear
Decide which candidate answers the present requirement, rather than keeping the project suspended until one technology wins every possible comparison. The enclosure may need a cheap fit trial now and a different material route for its later service test. State which question each object answers so a useful early mockup does not become accidental approval of the finished product. Save one concise record connecting the chosen geometry, material, finishing and result.
Revisit that choice when the task changes. A larger quantity can alter the quote and finishing workload, while a new material grade can change the basis of a functional test. Repeat the relevant comparison rather than the entire investigation. The practical outcome is a production choice you can explain: it makes the features that matter, supplies the necessary material behavior, and reaches the agreed condition within the resources available.