Choose One Small Project and Finish It Today
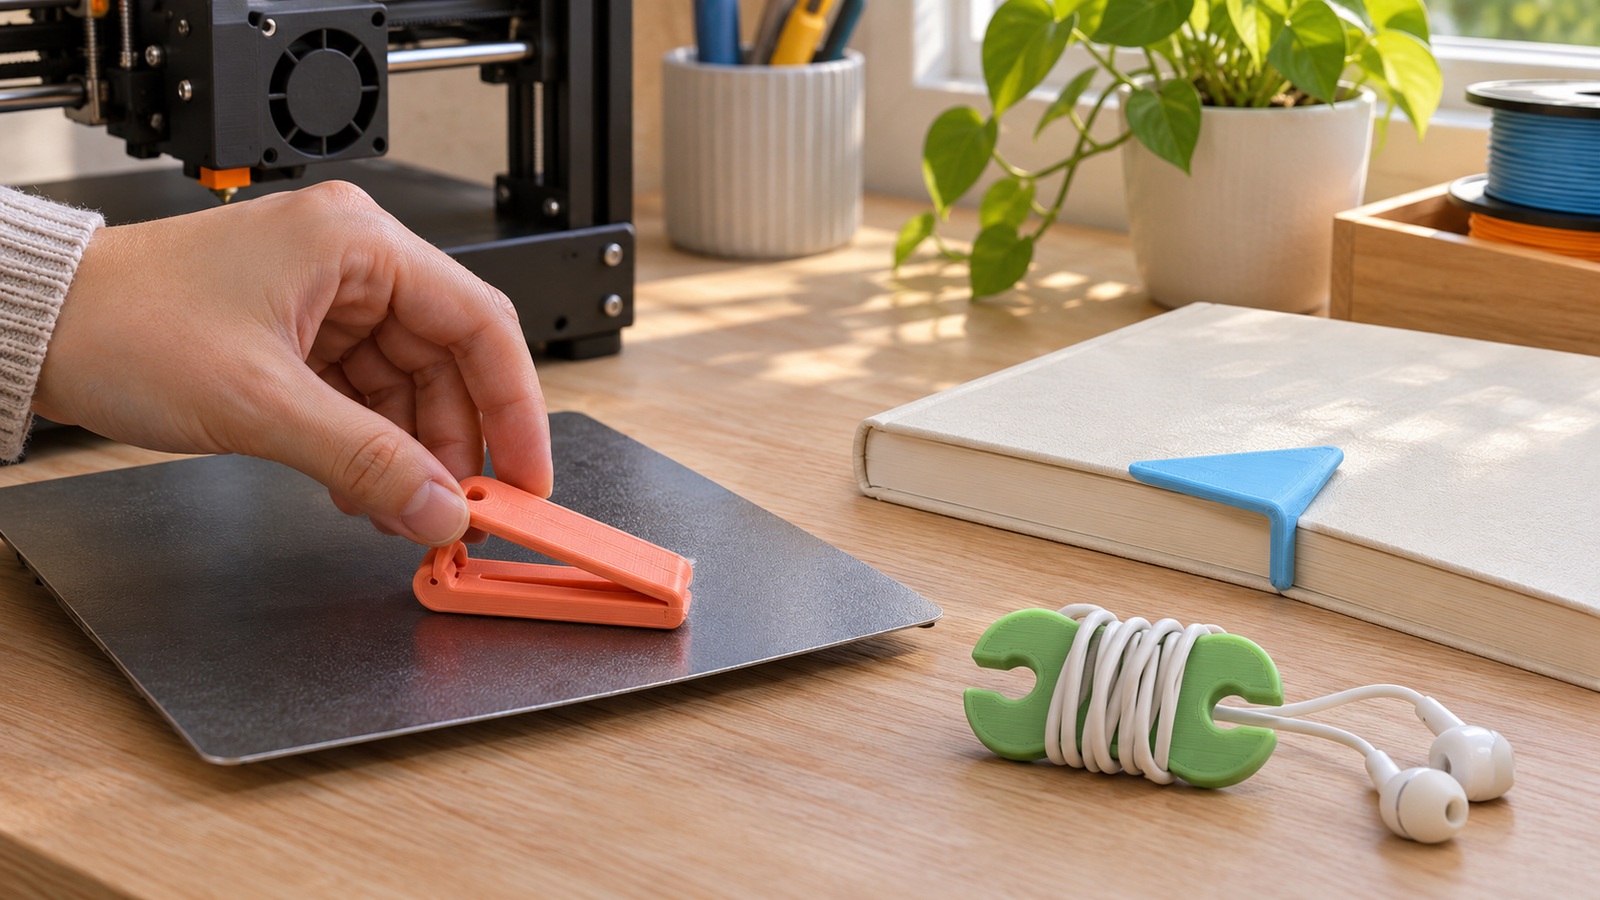
For a first useful print, choose a thumb-page bookmark, a small spring clip for a packet, or a blank plant marker you can label by hand. These are three specific downloadable designs, not categories that might contain a quick version somewhere. Their supplied job files carry normal-mode estimates of roughly eleven to thirteen minutes on the stated machines, leaving room within an hour for preparation, cooling, and a simple finishing task. The examples below identify the creators, unscaled dimensions, and settings behind those estimates. Pick one object for the session and slice its model for your own printer. You will finish with something you can immediately put into use, while learning one manageable feature: a comfortable opening, a flexing clip, or a thin flat label. No painting, glue curing, or complicated assembly is needed.
A: The prepared job includes mode-specific estimates. Its normal reference is 11 minutes 22 seconds and its silent reference is 13 minutes 41 seconds; choose the estimate matching the intended mode.
A: Its original coordinates include a large offset. Arrange or translate it onto the build area while preserving its approximately 50-millimeter length; position and size are separate controls.
A: A suitably sized pre-punched paper tag can supply the attachment hole without modifying the printed grip. Select the paper before printing so this small supply issue does not delay completion.
A: No such seal is established by this project. The clip holds an ordinary fold; it is not a substitute for a container designed to retain liquids.
A: Use the back of the head for the date or a short batch code, leaving the front readable at a glance. Keep the meaning of any code with the seed packet.
A: Distinguish a loose travel wisp from a solid unintended connection. Remove only accessible loose material using an appropriate tool; a fused structural connection needs a corrected print rather than forced jaw movement.
A: A height-based color change produces a color band, not new letter geometry. The blank source remains blank unless lettering is modeled or added afterward.
A: A planned pause adds real elapsed time. Use only the printer’s supported pause and resume behavior, and include the interruption when deciding whether the session still fits.
A: Paint or adhesive can introduce its own drying or curing period. The quick versions here use the plain print, paper and string, or a suitable simple marking step rather than an unfinished coating.
A: No. That measurement is the outside span along the clip, not the jaw opening. Assess folded-packet thickness against the opening geometry rather than interpreting the longest outside dimension as an opening diameter.
Use the Short Print Times as a Starting Budget
The bookmark’s supplied PLA job estimates 12 minutes 56 seconds on a Prusa MK3S with a 0.4-millimeter nozzle and 0.2-millimeter layers. The Mini Bag Clip V2 file estimates 11 minutes 22 seconds in normal mode on an MK4S with a 0.4-millimeter high-flow nozzle and 0.25-millimeter layers. The plant marker’s PLA file estimates 12 minutes 16 seconds on an Ender 3 V2 with a 0.4-millimeter nozzle and 0.16-millimeter layers. These are estimates embedded in the creators’ files, not stopwatch results from prints made for this article.
For planning, add twenty minutes to the relevant estimate for preparing the file, heating, cooling, removal, and the small finishing job. That gives a reference session of about thirty-two or thirty-three minutes, with further room before the hour ends. The twenty minutes is an allowance, not a measured promise about your equipment. This plan assumes an operating printer with familiar PLA already available; printer assembly, repairs, and learning a completely new slicer are separate activities. Check your own sliced estimate before beginning, keeping that practical margin instead of filling all sixty minutes with machine time.
Prepare a Small Work Area Before Starting
Download the original model from its linked creator page and select your own printer, nozzle, and PLA profile in the slicer. Import one copy at its original size. The supplied G-code establishes the documented example, but it is not a reason to run another machine’s instructions on your printer. Slice the STL yourself and examine the preview around the object’s first layer and narrowest features.
Set out only what the selected project needs. The bookmark uses paper, a short piece of string, scissors, and a hole punch or a pre-punched paper tag. The plant marker needs a suitable pen or label, while the clip needs a spare piece of the packet you want to close. Having these beside the printer means the finishing task can begin as soon as the cooled object is ready.
Keep the normal removal tool available and leave a clear place for the finished part. A small print is easy to lose beneath filament scraps, and its thin edges are easy to damage if removal becomes a hurried search for something sharp. Use the build-surface maker’s release method and cooling guidance. None of these projects needs a dramatic hot removal to meet the available time.
Make PB Saltman’s Thumb-Page Bookmark
PB Saltman’s Bookmark with thumb page opener is a small wing-shaped grip with a central thumb opening. Its unscaled STL spans approximately 68 by 34 by 2.84 millimeters. The attached 0.2-millimeter PLA job provides the thirteen-minute reference, with two perimeters and twenty-percent infill. The description also mentions a different print at 0.3 millimeters with a brim; keep those separate rather than attaching the timed file’s estimate to any possible setup.
Place the broad face against the build surface and inspect the paths around the hole. The grip is shallow, so the outline and the ring around that opening do most of the visible work. You want a continuous opening without a loose strand blocking it. Keep the original scale for this first version so the dimensions remain a useful reference when you try it on your hand.
After cooling and removal, run a fingertip gently around the opening and the two outward wings. Remove only accessible loose wisps with an appropriate tool; do not carve the ring thinner to force a fit. Try your thumb without pressure before bringing the print to a book. A comfortable grip should rest on the thumb rather than needing to be driven over a joint.
The creator completes the bookmark with a paper strip roughly one inch by five inches, or 25.4 by 127 millimeters, tied to the print with string. Cut the strip, punch its attachment hole, and tie a loose enough loop for the paper to lie naturally. The grip helps hold an open book while you read, and the paper supplies a thin page marker afterward. Start with a book that opens comfortably; the accessory should not be used to force a delicate binding flat.
Adjust the paper portion to the book rather than treating the entire accessory as a rigid assembly. A short paperback may need a shorter strip, while a larger reference book can use more length below the page edge. Trim the paper with scissors and retie it if necessary, keeping the printed thumb grip unchanged. Keep the knot outside the pages so it does not leave a hard lump against them. This is an easy way to personalize the result without redesigning the hole that already fits your hand.
Print fifindr’s Mini Bag Clip V2
Mini Bag Clip V2 by fifindr is a single-piece spring clip, approximately 50 by 28.7 by 10 millimeters in overall unscaled bounds. The creator specifies 0.25-millimeter layers and six perimeters. The supplied MK4S job identifies PLA and a high-flow 0.4-millimeter nozzle, with an 11-minute-22-second normal-mode estimate. Its silent-mode estimate is longer, so use the mode appropriate to the stated reference rather than treating the shortest number as universal.
Inspect how the curved central spring connects the two long sides and leaves the jaws free to move. The contact region has gripping detail, while the opposite end provides the place to squeeze. In preview, establish that the open spaces remain open and the spring is formed by continuous paths. Those six perimeters are part of the creator’s chosen version; reducing them simply to save seconds changes the small mechanism you are trying to make.
Let the clip cool fully before gently squeezing its handle ends. The jaws should open through the designed movement; do not pry the contact tips apart as though the object were an unfinished hinge kit. Try it on spare folded packaging, then put it on a modest packet whose thickness suits the opening. Keep the printed clip on the outside of the packaging. Its immediate purpose is to hold the fold closed, without making an airtight, liquid-tight, or direct-food-contact claim.
Label a Seedling With pedrolamas’s Plant Marker
Plant marker by pedrolamas is the simplest shape of the three: a flat T-shaped label with a tapered stake. The unscaled Marker.stl measures 34 by 58 by 2.2 millimeters. Its attached Ender 3 V2 PLA job estimates 12 minutes 16 seconds, using 0.16-millimeter layers, two perimeters, and fifteen-percent infill. The model is blank, so there is no lettering operation or color change to configure before the first print.
Lay the broad flat face on the build surface and check the transition from the narrow stem to the label head. The preview should show the head and stem as one continuous object. You do not need to model a separate label or fit parts together. Printing the original blank version keeps the project about producing a clean, useful shape.
Once the marker has released and cooled, write the plant name with a pen suitable for the surface, or apply a small prepared label. Keep the lettering on the head so it remains visible above the soil. Try the marking method on an unobtrusive area first, especially if the pen needs drying time. The sample is intended as a quick indoor label; it does not establish how that PLA and ink will weather through a growing season outdoors.
Insert the stake into loose potting mix while supporting it near the insertion point. Do not push the broad head hard enough to bend the narrow stem against compacted material. Place it where the label can be read without lifting the seedling or disturbing its roots. That small installation step completes the project: the pot now has an identifiable plant rather than an unmarked printed accessory waiting for a future task.
Keep the Shape Useful When You Slice It
Use the source dimensions as a quick scale check, then inspect the actual paths rather than judging only the shaded model. The bookmark needs a sound ring, the clip needs open gaps around its spring, and the marker needs a connected head and stem. These are different features, so one generic quick-print preset is less useful than noticing which feature the selected object relies on. Prusa’s layers and perimeters guidance explains how vertical layers and surrounding walls contribute to that build plan.
If your normal profile produces a longer estimate, read what is adding the work before changing settings. An unnecessarily fine layer choice, extra copies, or unwanted supports can make a small job much larger. Keep the creator’s functional geometry intact and avoid treating less wall material as a free speed improvement. Print the one selected object, rather than adding two more designs just because the plate has room.
Use the Remaining Minutes to Finish the Object
During the print, prepare the bookmark’s paper strip or write the intended plant name on a scrap so it will fit the label head. For the clip, fold the spare packaging into the thickness you actually want to hold. These quiet tasks can happen while the machine does its work. They turn waiting time into progress without requiring changes to the running job.
After removal, check the surfaces that will touch a hand, a page, or the packet. A loose strand is a small cleanup task, while a solid unintended connection across the clip’s opening is a printing problem. Do not force a mechanism simply because the timer has room left. A correctly formed small object should be able to begin its intended job without aggressive surgery.
Put the finished object to work immediately: read with the bookmark, close the packet, or identify the seedling. This is also the moment to decide whether you like the design, rather than automatically filling another plate with copies. The creators provide the models under their respective licenses; return to the original pages for their current terms before sharing files or making items for others. Linking to the originals also makes it straightforward to find the right design again.
Let One Useful Object Be Enough for the Session
The three choices offer different kinds of satisfaction without a long build: a comfortable reading aid, a moving clip, and a practical label. Choose the one you will use today and prepare its small finishing supplies before printing. With the documented short-job references and a generous allowance around the machine time, the hour can end with an object already doing its job. A second project can wait for the next session instead of competing with the first one’s cooling and finishing time.