What Sculpting Is Best For
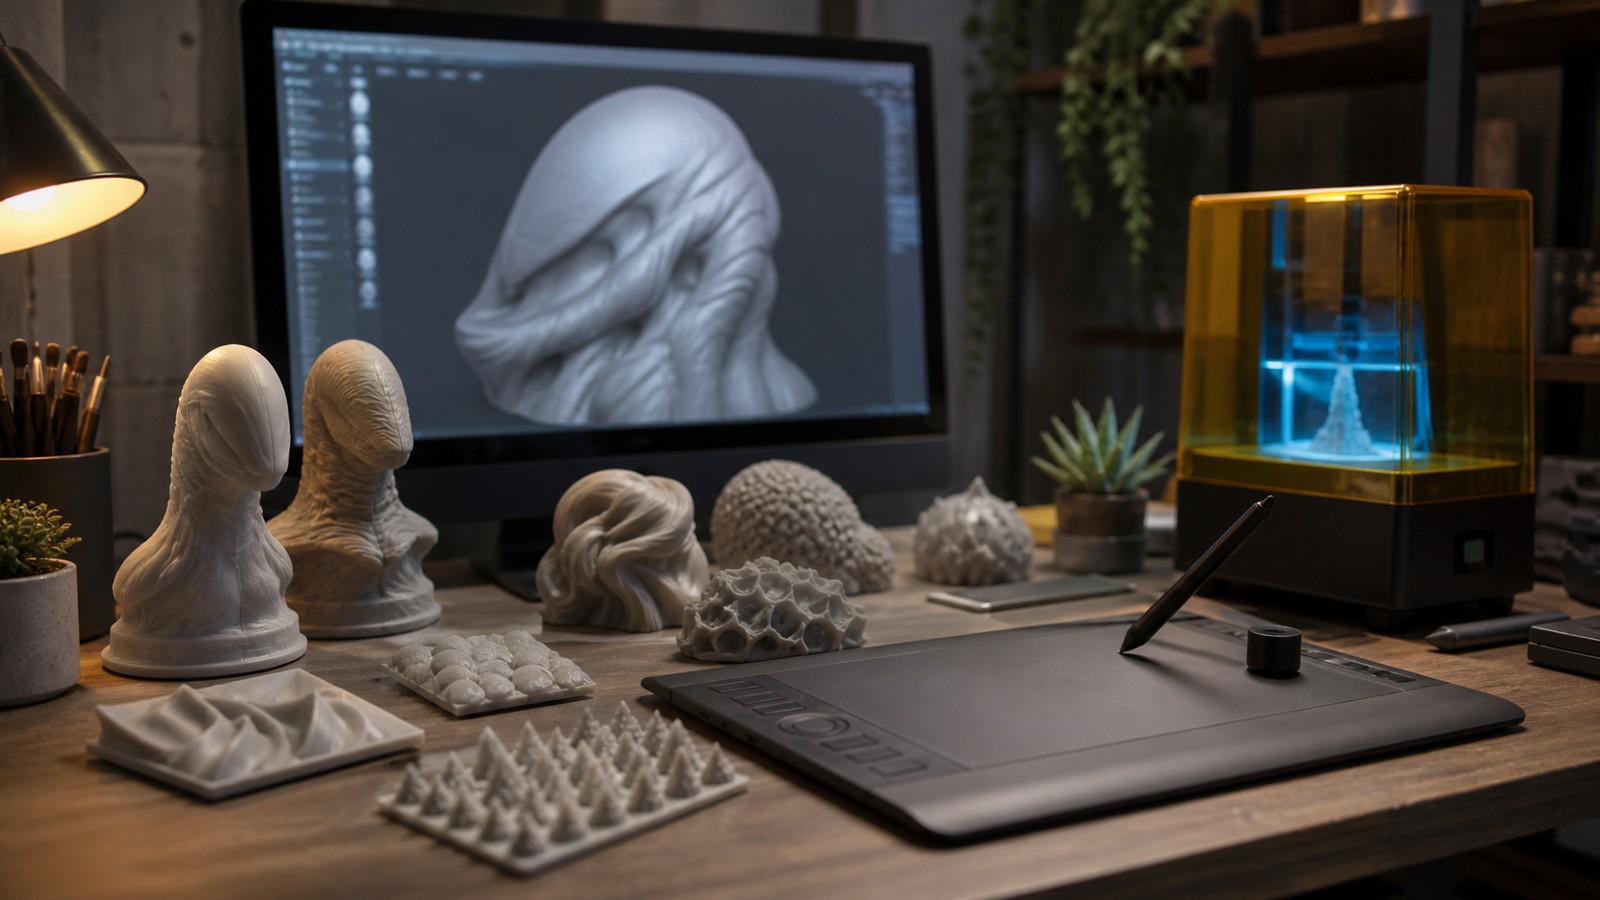
Sculpting for 3D printing is best for organic shapes: characters, creatures, miniatures, terrain, busts, masks, props, jewelry forms, and textured decorative objects. It is different from CAD because the artist pushes, pulls, smooths, carves, and reshapes a mesh directly.
A: Match the model, material, settings, and finish plan to the purpose of the print.
A: Bed leveling, surface cleanliness, nozzle height, temperature, and material condition are the usual suspects.
A: No. Slower speeds can improve detail, but heat buildup and profile balance still matter.
A: Use the right material, more walls, smart orientation, enough infill, and realistic load testing.
A: Temperature, retraction, travel moves, moisture, and material type all contribute.
A: Diagnose poor first layers, weak parts, stringing, warping, and rough surfaces before buying parts.
A: Very important; it shows toolpaths, supports, layer changes, and possible weak spots before printing.
A: First layers, simple calibration prints, support cleanup, and basic material profiles.
A: Clean orientation, tuned settings, good material handling, and careful support removal, sanding, painting, fitting, and practical testing.
A: It is most useful for makers who want cleaner prints and fewer wasted attempts.
What Sculpting Is Best For
Sculpting for 3D printing is best for organic shapes: characters, creatures, miniatures, terrain, busts, masks, props, jewelry forms, and textured decorative objects. It is different from CAD because the artist pushes, pulls, smooths, carves, and reshapes a mesh directly.
Blender is a common choice because it is free, open source, and includes modeling and sculpting tools. Sculpting gives freedom, but printable models still need engineering discipline before export.
Start With Scale and Purpose
Before sculpting detail, choose scale and purpose. A tabletop miniature, resin bust, FDM costume piece, and jewelry master all need different thickness, detail size, support strategy, and surface treatment.
Tiny fingers, horns, teeth, straps, and hair strands may look good on screen but fail at print scale. Decide which details must be exaggerated, merged, thickened, or simplified.
Build a Clean Primary Form
Start with big forms first: silhouette, pose, volume, balance, and contact points. Add secondary forms after the main shape reads clearly. Fine skin texture, scales, cloth grain, or scratches come late.
This order matters because heavy detail cannot rescue a weak primary form. It also keeps the mesh easier to edit while the design is still changing.
Make the Mesh Printable
A printable sculpt needs closed geometry, adequate wall thickness, clean normals, no accidental holes, and no thin unsupported islands. Resin prints need drainage and hollowing strategy when appropriate. FDM prints need support-aware posing and overhang planning.
Tools such as remeshing, decimation, solidify, boolean cleanup, and mesh inspection can help. The goal is a model that looks good and also slices into sensible layers.
Split, Key, and Support the Model
Large sculpts are often split into parts. Splitting can reduce support scars, fit the build volume, improve orientation, and make painting easier. Keys, pins, sockets, and flat mating surfaces help parts assemble after printing.
Do not split randomly. Put cuts where seams can be hidden by clothing lines, armor edges, hair, bases, or natural breaks in the form.
Export and Test
Export a high-quality STL or 3MF, then inspect it in the slicer. Check islands, supports, wall thickness, fragile features, build orientation, resin cups, and estimated print time. For valuable sculpts, print a small scale test or a cropped detail section first.
Sculpting is artistic, but 3D printing is physical. The strongest workflow respects both: expressive form in the sculpting tool and practical validation in the slicer.
FAQ
Is Blender good for sculpting 3D prints?
Yes. Blender is a strong free tool for sculpting organic models, but the mesh must be checked for printability before export.
Should I sculpt or use CAD?
Use sculpting for organic forms and CAD for dimensioned functional parts. Some projects use both.
Why do sculpted models fail to print?
Common reasons include thin details, open meshes, unsupported islands, poor scale, bad hollowing, and geometry that looks good but slices poorly.