Make Printer Care Part of the Next Job
A clean build plate will not correct a binding filament guide, and a freshly lubricated motion system will not remove plastic packed into an extruder gear. Better maintenance begins by recognizing those separate jobs. For a desktop filament printer, a useful routine combines a brief inspection before printing, periodic care of the components named in its manual, and a closer check when something changes. The aim is to keep surfaces, feeding, cooling, and movement working as intended without turning every disappointing print into a complete teardown. This guide explains what to inspect, provides a documented drive-cleaning example, and shows how to organize the work around ordinary printing. Specific lubricants, service intervals, nozzle-installation procedures, and electrical work remain governed by the instructions for the actual printer and hardware.
A: The thermistor senses temperature; the heater supplies heat. Their wiring and functions should remain distinguishable when reading a service diagram.
A: The heatbreak limits heat transfer along the filament route, while the heatsink helps dissipate heat from the cooler region. They are separate parts even when a diagram shows them as one hot-end assembly.
A: No. A compatible sock provides insulation around the heaterblock; Prusa describes temperature stability as its main function on the listed Nextruder configurations.
A: It turns freely to guide or redirect the belt rather than driving it from a motor shaft. Its role differs from the powered pulley even when their outlines look similar.
A: The guide constrains the moving assembly along its intended path, while the screw-and-nut arrangement converts rotation into linear movement. Some axes use other drive arrangements.
A: It is the fitting element that grips the outside of the tube. It is not the passage inside the tube through which filament travels.
A: No. Detecting a strand at the sensor establishes its presence there, rather than measuring how much material exits the nozzle.
A: No. The connection geometry and the hot-end assembly can differ; the external wrenching shape is only one visible feature.
A: It is the spring-steel carrier. The print-facing PEI layer supplies a different part of the surface arrangement, so the carrier and coating are not one material.
A: The cited Prusa warning counts filament loading and unloading events and names the Nextruder main plate. A job with frequent material changes can add more such events than a long single-material job.
Use a Pre-Job, Periodic, and Symptom-Triggered Routine
Before a job, inspect the plate, clear loose scraps from the travel area, and check that the spool can unwind through its intended route. Look for a tool or accessory left where the head or bed will move. These are quick readiness checks, not an invitation to open assemblies every time the printer starts. They make ordinary neglect easier to catch while correction is still simple.
During normal operation, listen for a newly repetitive scrape or an intermittent feed click and observe where it occurs. A changing sound can direct the next inspection without identifying its cause by itself. Stop using the printer for damaged electrical insulation, an abnormal heating indication, or another condition the manufacturer identifies as unsafe. Those conditions require the appropriate service response rather than another print undertaken to see whether they disappear.
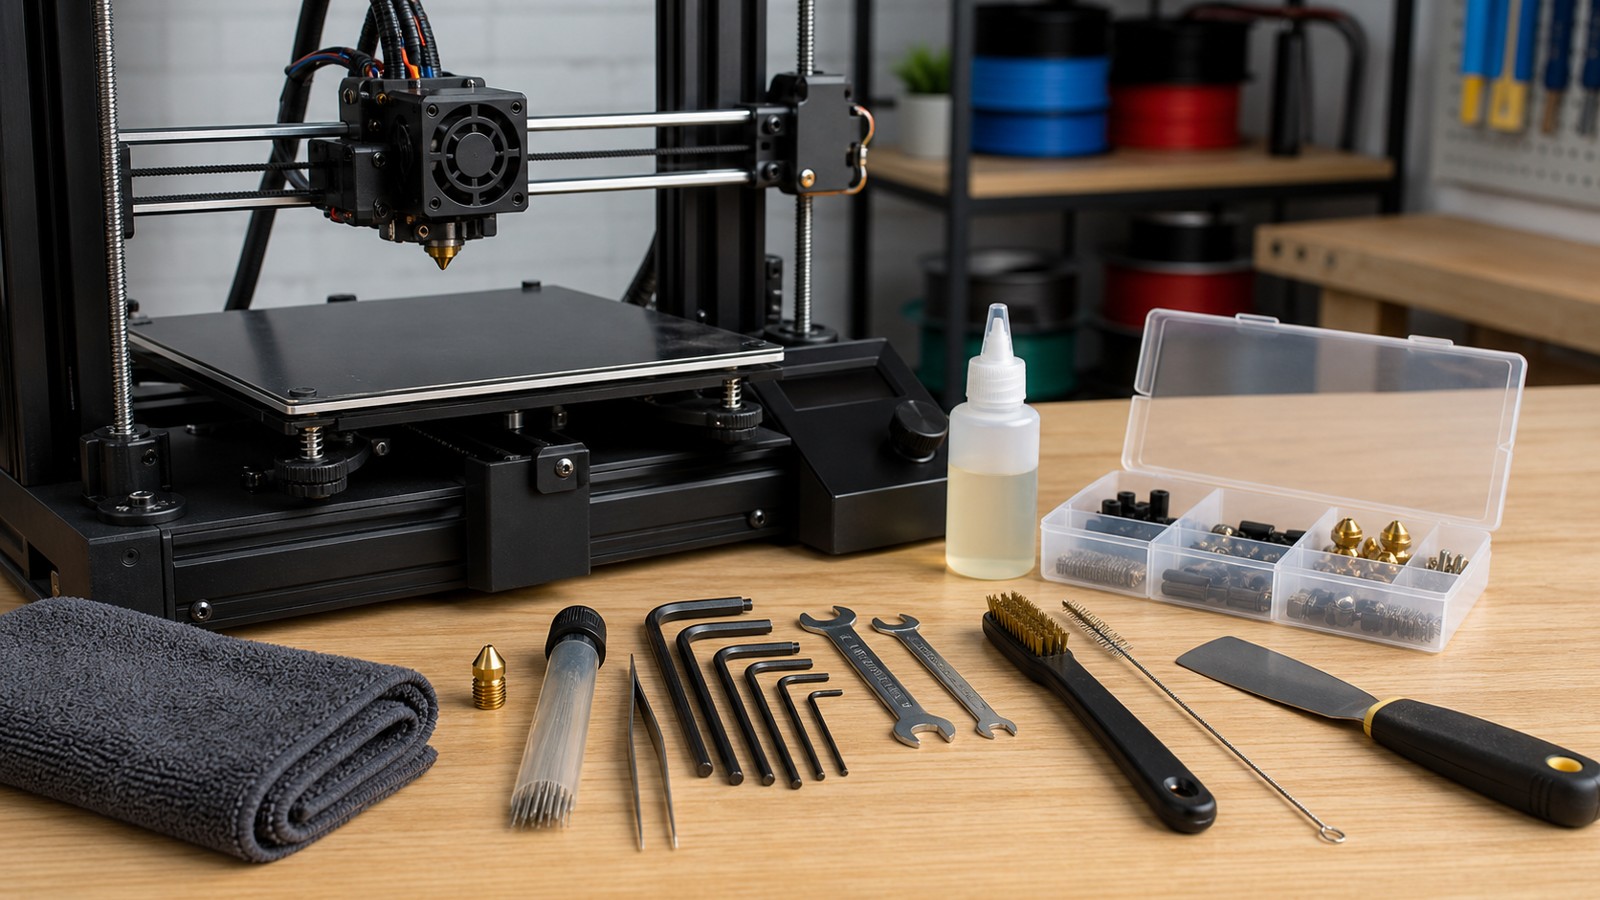
Periodic care follows the service list for the model. Put its specified fan cleaning, bearing or rail care, belt inspection, and other recurring tasks into a reminder that matches the manufacturer’s interval. Where the manual uses operating hours, use that basis rather than silently replacing it with a calendar guess. A printer used occasionally and one running abrasive material continuously create different workloads. Some reminders also count events rather than time: Prusa’s MMU3-related maintenance warning identifies a loading-and-unloading count and directs attention to the Nextruder main plate. Keep the required supplies available so a scheduled task can actually be completed.
Symptom-triggered attention begins when something changes: fresh drive debris, a new rubbing sound, an unusual deposit, or a defect recurring at one plate location. Inspect the related component before adding unrelated maintenance. A clear finding can lead to cleaning, an adjustment, or replacement through its documented procedure.
Keep the Build Surface Appropriate for the Material
Fingerprints, dust, adhesive residue, and remnants from earlier prints can affect how the first layer attaches. Handle removable sheets by their edges where practical and clean them using the instructions for the particular surface. A smooth sheet, textured coating, and specialty plate can require different treatment. Do not assume that a solvent or abrasive recommended for one surface is acceptable on every coating.
Material compatibility matters as much as cleanliness. Some polymers can bond too strongly to certain surfaces, making a suitable separation layer part of the approved workflow. Other combinations need a different plate or preparation method. If a previously reliable print begins lifting, review the actual surface condition and the material pairing before increasing first-layer compression or adding more adhesive. Excessive adhesion and inadequate adhesion create different problems.
Inspect the surface for damage that can affect a specific area repeatedly. A scratch, damaged coating, or trapped particle underneath a removable sheet may influence the result differently from general contamination. Record where the problem occurs and compare it with the print’s position. That simple spatial check can prevent hours of changing temperatures to compensate for a local surface issue.
Follow the Feed Route and Clean Accessible Drive Debris
Follow the filament from spool to drive mechanism and hot end. Check that the holder turns freely, guides do not pull the strand around an unnecessarily tight bend, and tubes are not damaged or caught against the enclosure. Observe the arrangement through normal travel using the printer’s supported controls. A route that becomes strained only at one side of the working area needs a physical correction; raising the global extrusion amount would not remove that obstruction.
Drive teeth can collect plastic after slipping against filament. The material lodged between those teeth can reduce their useful contact with the next strand, so cleaning is more than a cosmetic task. Check why the debris appeared as well as removing it. A downstream restriction, unsuitable tension, or a difficult spool route can recreate the deposit. Tightening the idler repeatedly is not a substitute for distinguishing those conditions.
For a concrete example, Prusa’s MK4/S and MK3.9/S maintenance instructions identify access to the Nextruder primary gear by lifting the idler nut and moving the idler shaft. With the printer prepared in the specified service condition, follow the illustrated access procedure, inspect the gear grooves, and remove accessible filament debris using one of the methods the manual permits, including a brush or an ordinary toothpick. Work through the intended access instead of dismantling the gearbox. Prusa specifically advises against opening that gearbox unless its technical support requests it.
After cleaning, restore the access parts exactly as the model’s instructions show and check that nothing loose remains in the filament route. This example concerns the listed Nextruder machines, not every extruder with a hinged cover. Another design may require unloading, different tools, or a different access sequence. Use its own procedure to obtain the same useful outcome: unobstructed drive contact without damage to the mechanism or an unnecessary internal teardown.
Inspect the Hot End Without Turning Maintenance Into Guesswork
Material deposits around the nozzle can mark surfaces or later detach into the print. A restricted or worn nozzle can also affect deposition, but rough extrusion does not prove that replacement is the correct first action. Review the material, profile, feed path, and visible condition together. Use the specified cleaning method for the hot-end design rather than improvising with tools that could damage a coating, sensor lead, or heater connection.
Nozzle changes deserve particular care because the assembly method and required thermal condition vary between designs. Some machines use complete quick-change assemblies, while others require a specific supported tightening procedure. Follow those instructions and the required checks afterward. A nozzle that seems physically installed can still create a leak or an incorrect vertical reference if the procedure was incomplete.
Abrasive feedstocks can make wear inspection more important, but service intervals should follow the combination of nozzle material, feedstock, and actual use. Replacing a component on a guessed calendar can waste money, while ignoring a documented wear condition can degrade many subsequent jobs. Inspect the actual wear feature identified by the manufacturer rather than judging every nozzle by a stain on its outside. Surface deposits and a changed outlet are different conditions, so a cleaning operation and a replacement decision should address what was found.
Cooling Paths Need Attention, Too
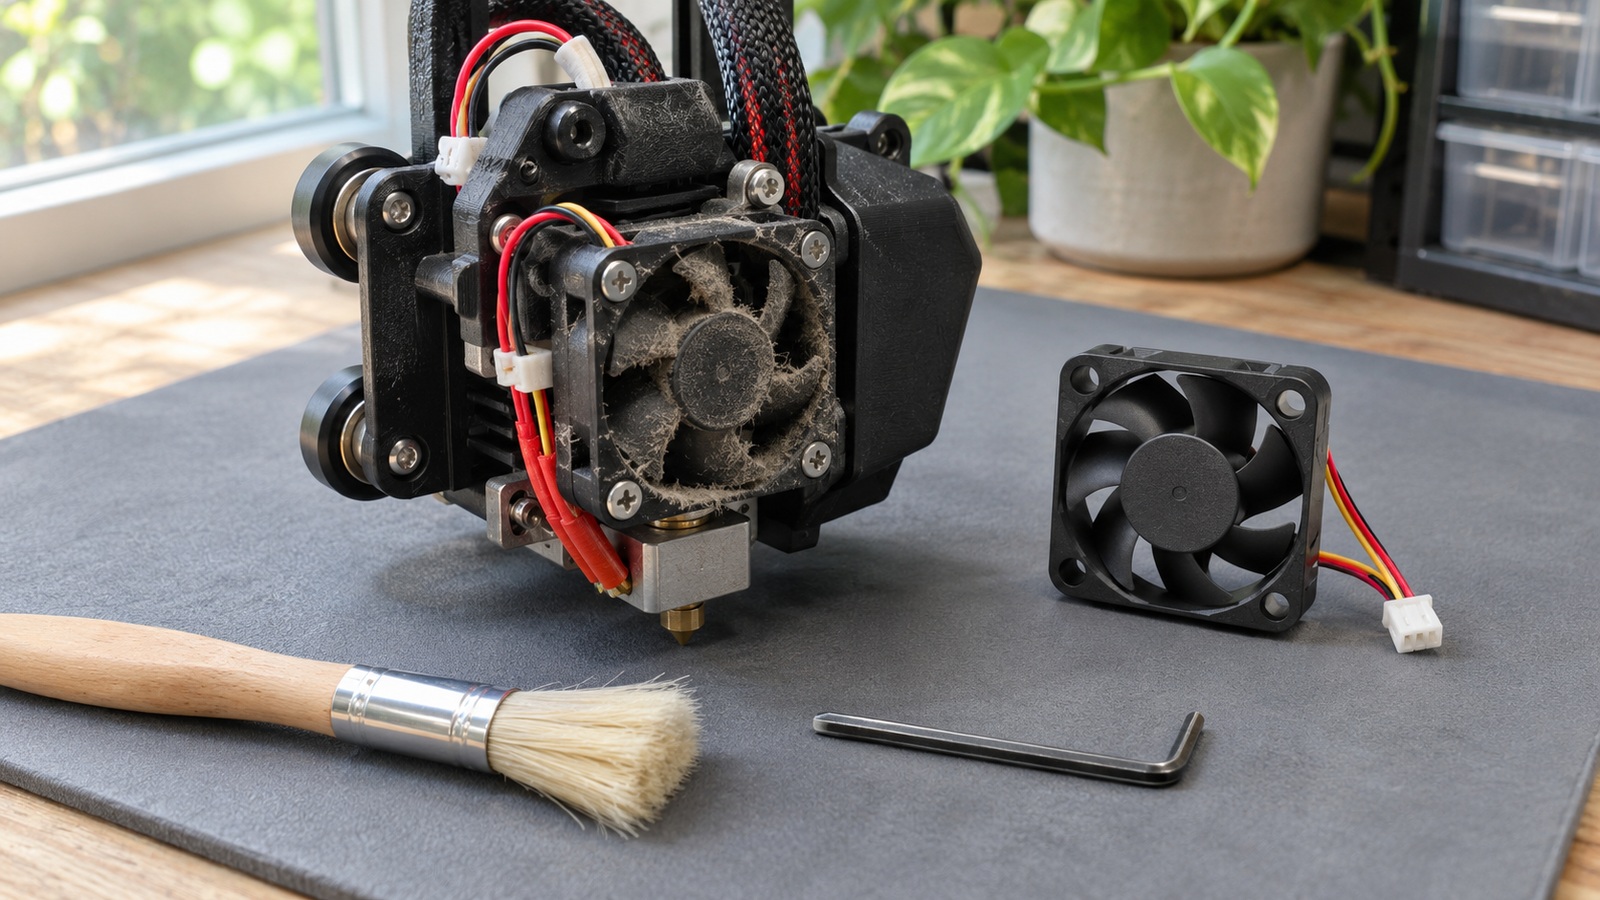
Fans and ducts influence the thermal conditions around the hot end and deposited material. Dust buildup, a blocked intake, a damaged duct, or a fan that no longer runs as intended can change behavior without any slicer modification. Inspect accessible cooling components with the machine in the safe service condition specified by its manufacturer. Distinguish the fan serving the hot end from the fan directing air toward the print; their purposes differ. If a fan fault is reported, investigate that condition rather than disabling the check to make the warning disappear. A clean airflow path cannot compensate for an electrically or mechanically failed fan.
Care for Motion Components According to Their Design
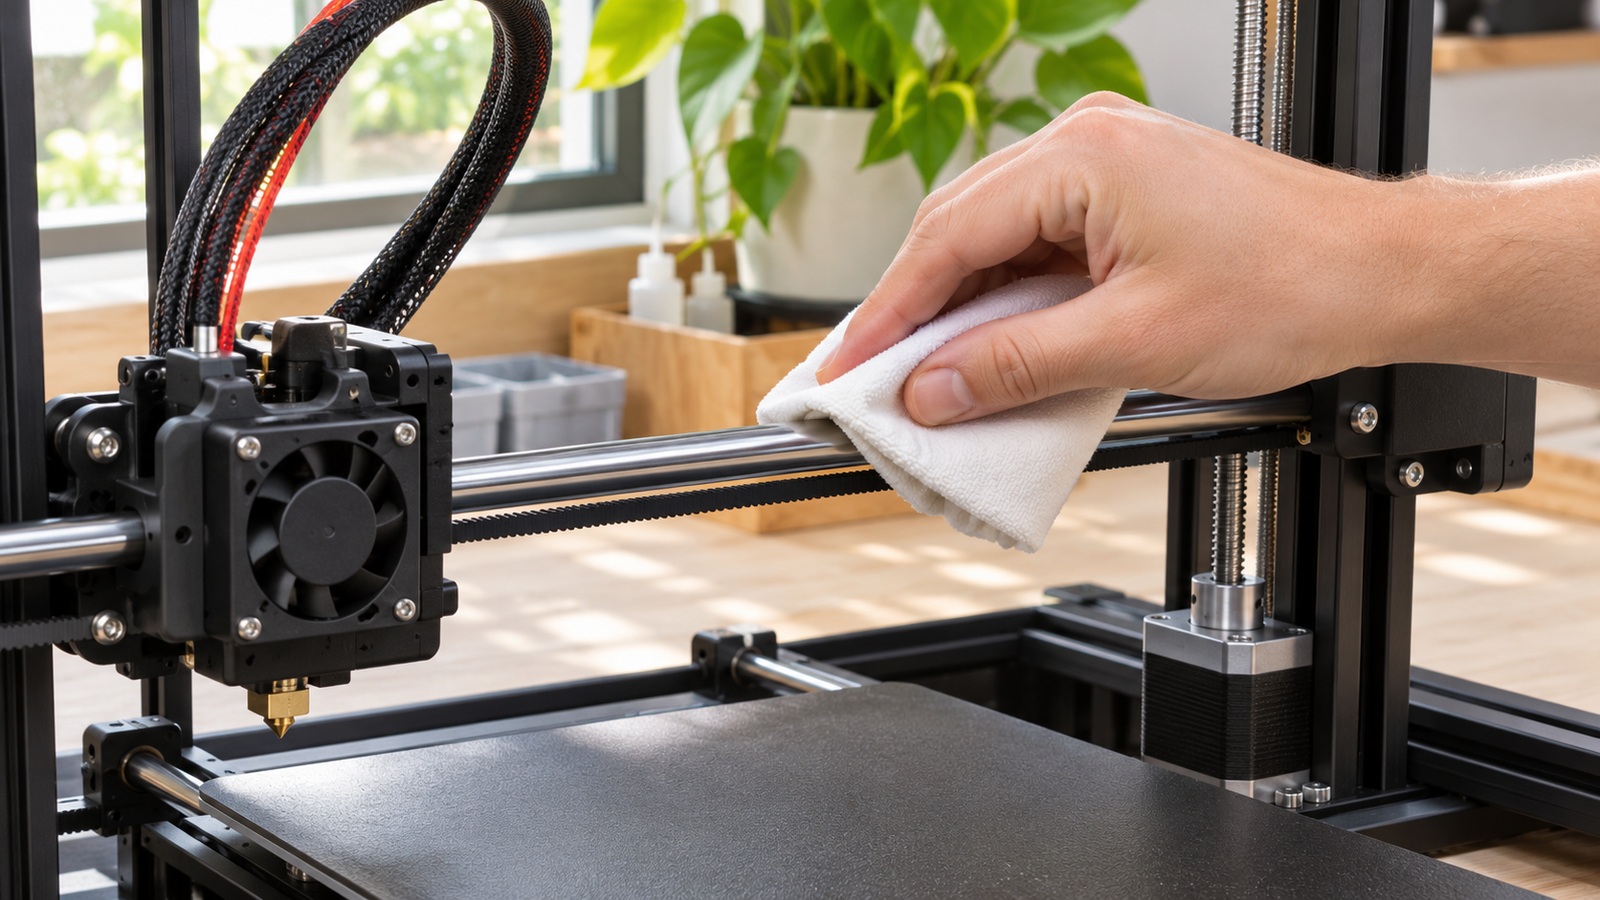
Inspect the motion system for accumulated debris, visible wear, and signs of a component moving outside its intended relationship. Rods, linear rails, bearings, wheels, and lead screws are different mechanisms, so their cleaning and lubrication needs should not be merged into one generic instruction. Use the specified product, location, and quantity. Excess lubricant can collect contamination, and applying it to an unsuitable component can create a new problem.
Check belts and pulleys through the printer’s documented method. A loose pulley or an unsuitable belt condition can affect positioning, but excessive belt tension is not a universal cure for surface artifacts. The correct assessment depends on the mechanism and supported measurement procedure. Prusa’s XL maintenance instructions, for example, give component-specific guidance rather than treating every moving surface as interchangeable. Use that as an illustration of why your own model’s instructions matter.
Give Fasteners and Wiring a Focused Inspection
A machine experiences repeated motion and thermal cycles, making a focused check of specified connections worthwhile. Look for the particular fasteners the manufacturer identifies for inspection and use its tightening guidance. Randomly tightening every accessible screw can disturb alignment or damage components, especially when the assembly includes plastics, small threads, or an adjustment mechanism. An unexplained vibration should lead to observation of the relevant assembly, not indiscriminate torque.
Also examine accessible cable routing for rubbing, pinching, or strain during normal travel. Do not open powered electrical enclosures or treat an inspection as permission to repair mains-powered hardware. Follow the supported shutdown and service procedure, and seek qualified help when damage falls outside the intended user-maintenance scope. A visually unusual connector or cable should be evaluated using the equipment documentation rather than forced into a position that merely looks tidier.
Keep cleaning materials separated by their jobs. A cloth carrying grease from a motion component should not become the cloth used on the build sheet, and a brush full of filament fragments should be cleared before its next task. Label the approved lubricant and cleaning liquid so they are not confused with other workshop supplies. This small amount of organization helps prevent servicing one area from contaminating another.
Separate Maintenance From Calibration
Cleaning removes contamination, maintenance preserves the intended operating condition, and calibration checks or adjusts a defined behavior against a reference. These activities can overlap, but they are not identical. Wiping a surface does not necessarily require a complete machine recalibration, while replacing a nozzle or changing a relevant assembly may require a documented reference check. Let the action and the printer’s instructions determine which calibration follows.
If a service operation changes the first-layer reference, verify it with the correct procedure before a demanding build. If the issue involved feeding, examine a modest extrusion or print test that can reveal the original symptom. Changing several unrelated calibration values after every maintenance session makes cause and effect harder to understand. A targeted check provides more useful assurance than a long sequence of adjustments performed without a defined purpose.
Finish With the Checks the Service Actually Requires
Remove tools and loose material, restore every cover or guide disturbed by the work, and complete the printer’s prescribed checks. An assembly change may require calibration that a simple exterior cleaning does not. Then observe a modest job suited to the affected function: the first-layer region after plate work, or consistent delivery after drive cleaning. If the serviced area behaves normally, return to ordinary use; if the same problem remains or a new warning appears, stop repeating that service and investigate the unresolved condition through the relevant support procedure. Keep a short reminder of the completed task and its next due point, rather than building an elaborate record around every wiped surface. A sustainable routine is one the owner can perform correctly and repeat when it is needed.