Good Intentions Can Create New Printer Problems
A printer that worked reasonably well yesterday can become unreliable after an enthusiastic cleaning session. A belt is tightened until it feels reassuringly stiff, an unfamiliar lubricant goes onto every moving surface, and a nozzle change is followed immediately by a long production job. None of those actions sounds careless in isolation, yet each can introduce a problem that did not exist before the service began. Useful maintenance is specific to the component, the machine, and the symptom being addressed. This guide examines twenty common mistakes through the failures they can cause, rather than presenting another calendar of chores. It is written for desktop filament-printer owners who want cleaner results without turning every quality problem into a complete teardown. The goal is to leave the machine in a known, checkable condition after each intervention and to recognize when a procedure belongs in the manufacturer’s service documentation.
A: Some cans discharge liquid propellant when held incorrectly. Follow the can and printer instructions rather than assuming every angle produces the same cleaning air.
A: A poorly fitting key can round the recess and make removal harder. Use the specified size and stop if the engagement is slipping.
A: Not necessarily. Some fans run only under particular temperature or print commands; use the model’s supported fan test rather than treating cold idle behavior as a failure.
A: It can be evidence of rubbing or wear along the belt path. Inspect edge contact and alignment instead of automatically adding more tension.
A: No. The effect depends on the screw, spring and mounting arrangement. Follow the machine’s adjustment direction rather than transferring a knob-turning rule from another design.
A: Pulling the wires can load their crimps or pull conductors out while the housing remains latched. Use the connector’s documented release method.
A: No. Do not introduce an ignition or inappropriate heat source while flammable cleaner is present. Use the cleaner and component instructions for drying.
A: The screw can strip or damage the receiving threads. Additional turning then removes material rather than restoring the intended clamp.
A: A back-driven stepper motor can generate voltage. That flicker is not proof of normal power; follow the model’s instructed movement method instead of shoving the axis quickly.
A: No. It is a temperature-controlled cleaning sequence. Use the supported procedure for the installed hot end and material rather than applying force to cold, stuck filament.
1-2: Cleaning a Hot Machine and Working Without Isolation
The first mistake is assuming that a stopped printer is a cool printer. A nozzle, heater block, bed, or recently removed component can retain enough heat to cause injury or damage a cleaning tool. Some procedures intentionally require a controlled hot component, while others require cooling; follow the procedure for the exact assembly. Do not improvise a temperature condition simply because the print has ended and the carriage is no longer moving.
The second mistake is performing mechanical or electrical work without the isolation required by the service instructions. Unexpected movement, a fan starting, or a tool contacting an energized connection can turn a simple adjustment into a damaged machine. Distinguish observation during normal operation from hands-on servicing, and disconnect power when the relevant instructions require it. If a fault involves damaged insulation, loose power connections, or an electrical odor, stop using the printer and seek appropriate service rather than continuing with cosmetic cleaning.
3-4: Applying One Cleaner Everywhere and Flooding Components
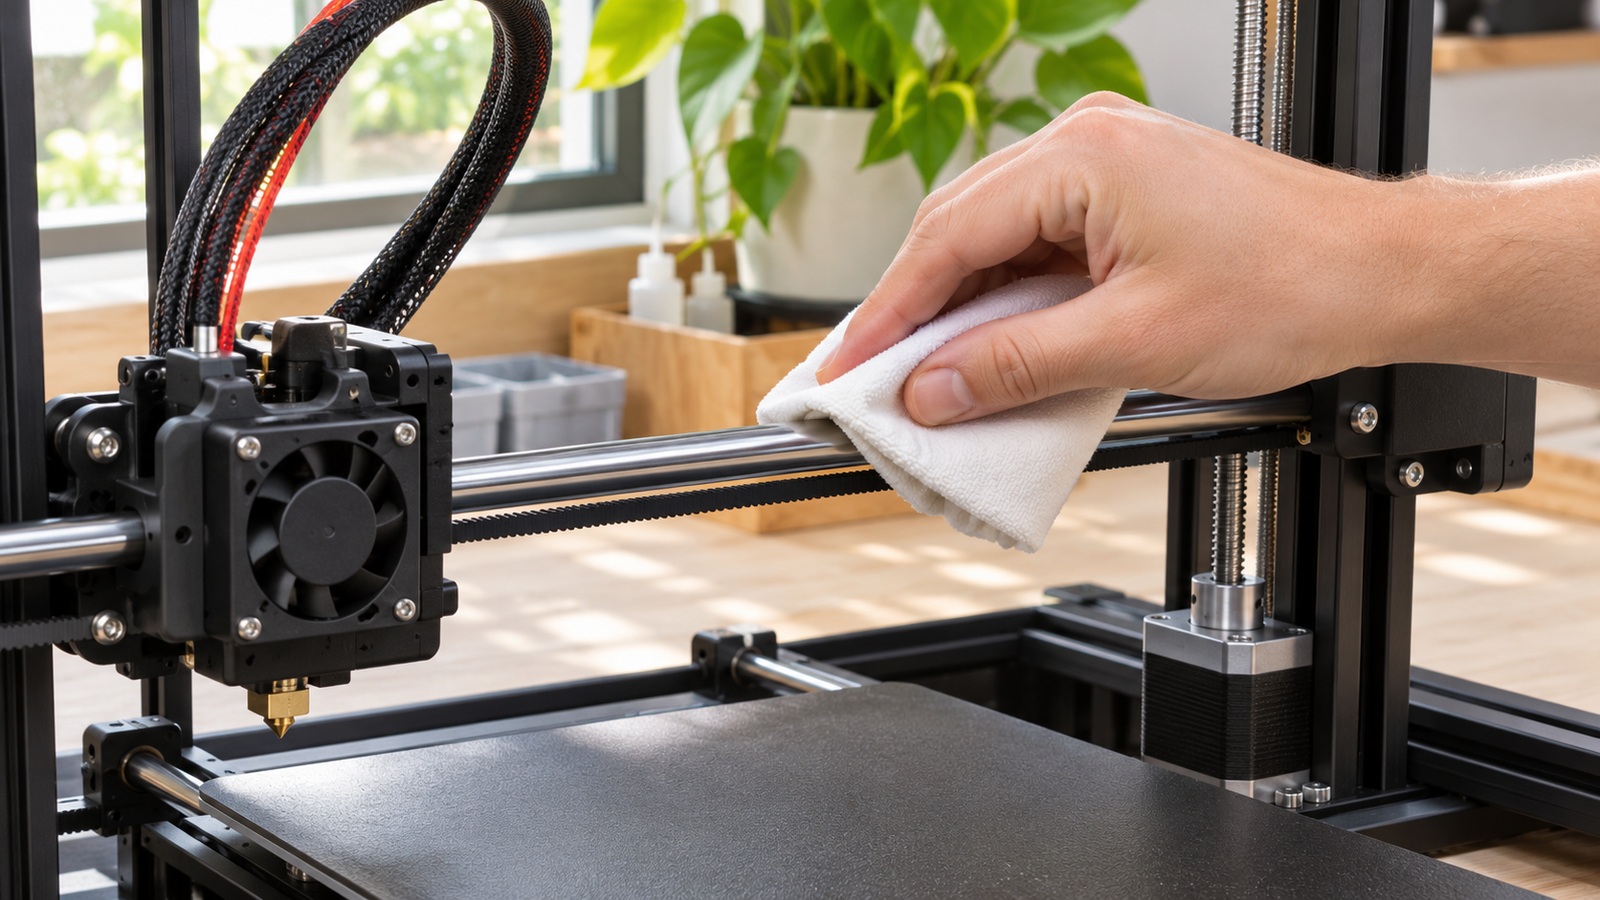
A solvent that suits one removable print sheet may harm another coating, plastic housing, adhesive, or transparent component. The third mistake is treating the most convenient bottle as a universal cleaner. Check the manufacturer’s instructions for the actual surface, including any restrictions on concentration and contact time. If the coating is unknown, identify it before experimenting on the main printing area.
The fourth mistake is spraying or pouring cleaner directly into places where liquid can reach bearings, connectors, fans, or electronics. Removing visible dirt does not justify driving dissolved residue into an assembly. Use the specified application method, keep liquids away from sensitive areas, and allow the required drying time. A modest amount applied to an appropriate cloth can be very different from soaking the same region.
Build-surface contamination also deserves a simple handling rule. Hold a cleaned removable sheet by suitable edges instead of touching the printing area and then adding more solvent to compensate. Repeated aggressive treatment can create more maintenance than careful handling would have required. A surface that still behaves poorly after approved cleaning needs diagnosis, not an escalating sequence of stronger chemicals.
5-6: Lubricating Every Motion Part and Adding Excess Lubricant
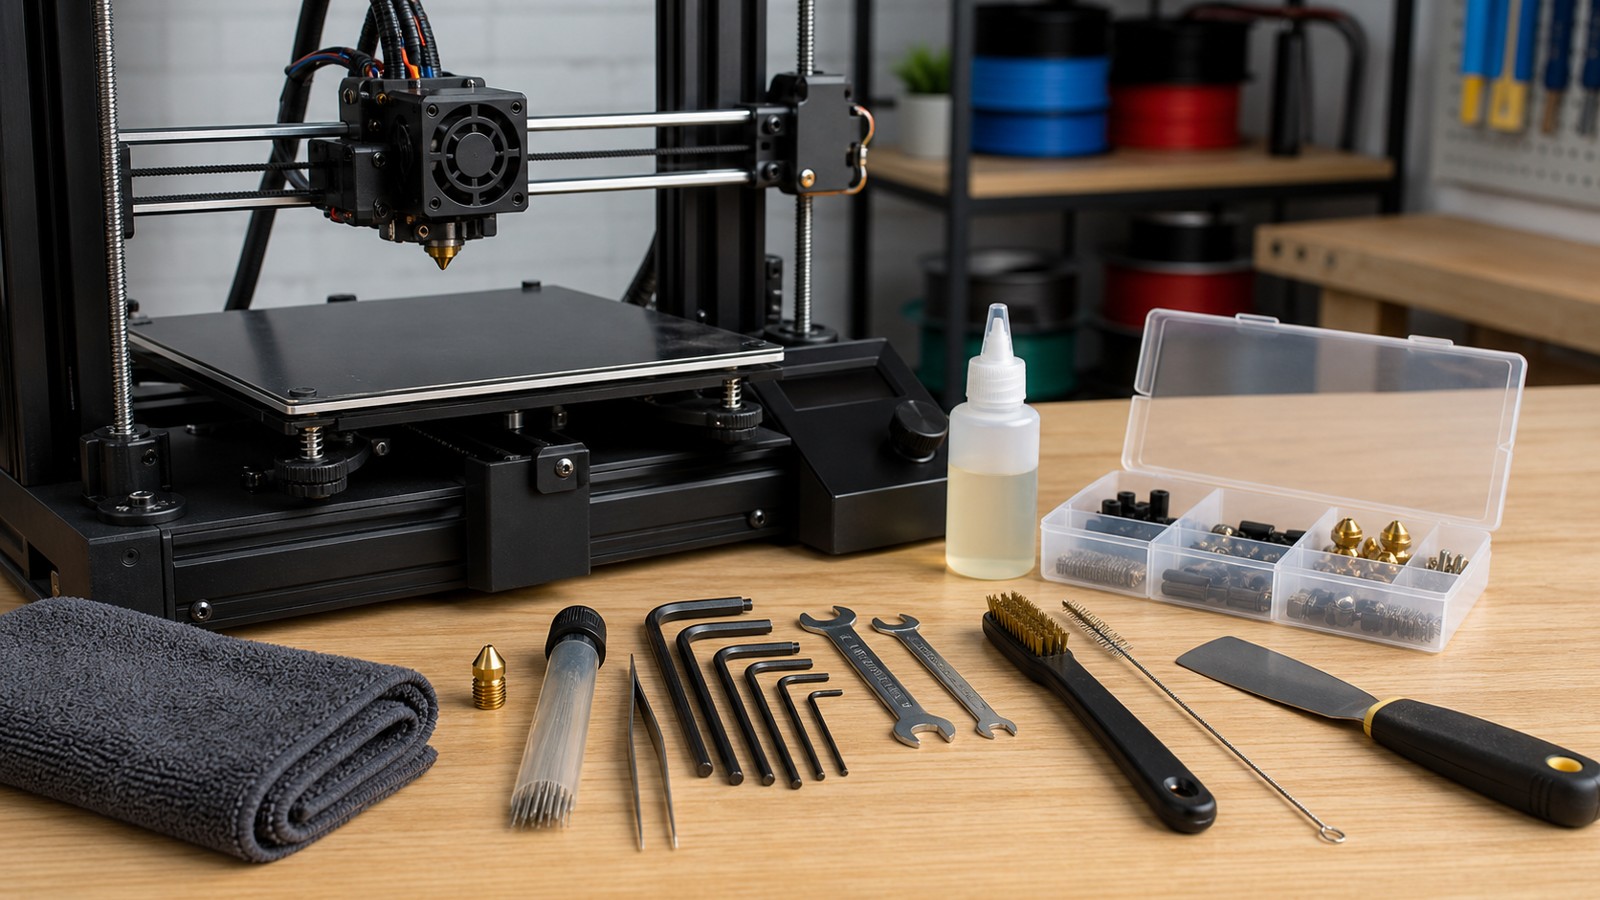
The fifth mistake is assuming that all rods, lead screws, linear rails, bearings, and polymer wheels need the same lubricant. Their construction and maintenance requirements differ, and some components should not receive a product intended for another assembly. The sixth mistake is applying a large amount because a small amount feels insufficient; excess can attract debris, migrate to belts or printing surfaces, and conceal a developing wear problem. Identify the component, use the specified product, and apply only the amount and method the machine’s documentation requires. Prusa’s XL maintenance guidance, for example, gives component-specific instructions rather than treating every moving part alike. That specificity is the useful lesson even when your own printer has a different motion system.
7-8: Over-Tightening Belts and Ignoring Pulley Attachment
The seventh mistake is using belt tension as a general cure for rough walls, ringing, or layer shifts. A belt should meet the machine’s specified condition, not feel as tight as the owner can make it. Excess tension can increase mechanical loading, while inadequate tension can introduce positioning problems. Use the relevant measurement or adjustment method and inspect the complete path instead of judging by an improvised sound comparison.
The eighth mistake is adjusting the belt while overlooking how its drive pulley is attached. A pulley that slips on a shaft can imitate a tension problem, and repeated belt adjustments will not repair that connection. Check fasteners, alignment, and the maker’s specified attachment procedure where accessible and appropriate. After servicing, move or test the axis as instructed and inspect a short print before assuming that a visually tidy belt path proves accurate motion.
9-10: Scraping the Nozzle Aggressively and Treating Wear as Dirt
The ninth mistake is attacking a nozzle or heater assembly with a hard tool without considering nearby wires, coatings, sensors, and insulation. An aggressive scrape can damage more than the deposit being removed. The tenth mistake is continuing to clean a worn outlet as if its changed shape were only contamination; abrasion and mechanical damage cannot always be cleaned away. Inspect the component using an appropriate view and compare its condition with the manufacturer’s replacement criteria. Filled filaments can change wear expectations, so the material history belongs in this assessment. If extrusion has become inconsistent, establish whether the problem is debris, feed restriction, temperature behavior, or wear before replacing several parts at once.
11-12: Swapping Nozzles by Guesswork and Skipping the Follow-Up
The eleventh mistake is assuming that every nozzle uses the same removal temperature, tightening method, or torque. Some systems use integrated assemblies, others require a particular relationship between the nozzle and adjoining parts, and quick-change designs have their own checks. Use the instructions for the installed hot end and keep force off components that are not intended to resist it. A generic video for another machine is not sufficient evidence that the procedure transfers safely.
The twelfth mistake is starting a long print immediately after the replacement. Changes around the hot end can alter the effective nozzle position or require a supported calibration sequence. Inspect for leaks, verify the first layer, and confirm that the intended nozzle size and material are represented in the slicer profile. A replacement that fits mechanically may still need different processing conditions from the component it replaced.
13-14: Blowing Debris Deeper and Forgetting Cooling Paths
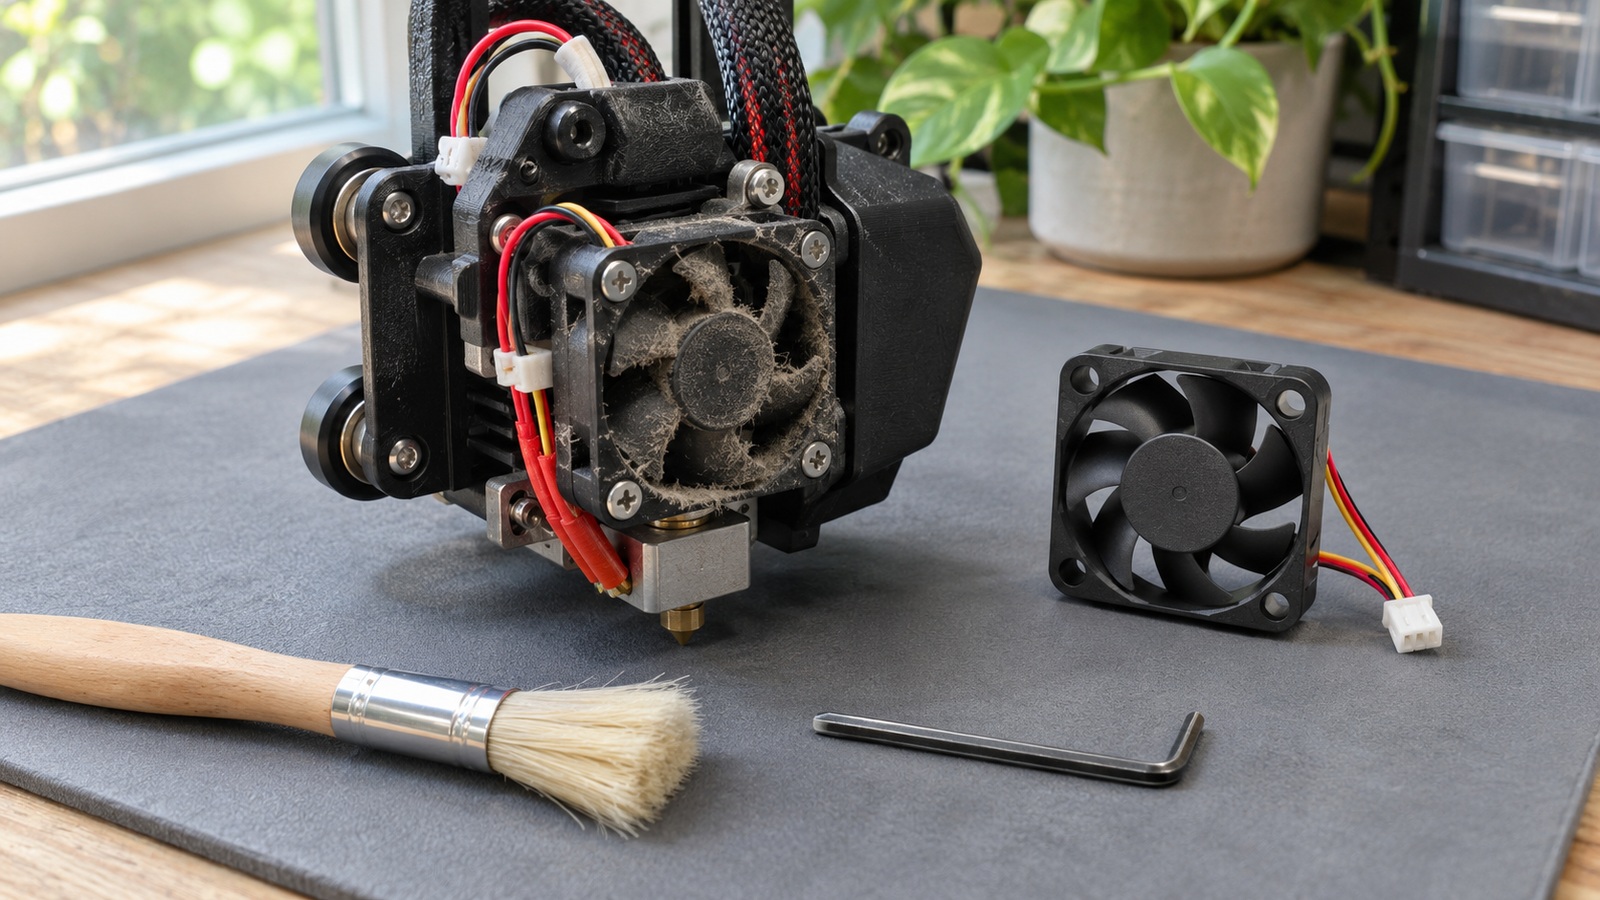
The thirteenth mistake is using an uncontrolled blast of air to make visible debris disappear. It may move particles into a bearing, connector, optical sensor, or other region where they become harder to remove. Follow the approved cleaning method and control where the debris goes. Fans also need care during cleaning; spinning them aggressively with an air jet is not a universal service procedure.
The fourteenth mistake is focusing on the nozzle while leaving a blocked fan intake or dirty heat sink untouched. Cooling problems can appear as extrusion trouble after the print has been running for some time. Inspect the relevant airflow path rather than judging only whether a fan appears to rotate.
Air must pass through the region that the fan is intended to cool. A spinning replacement fitted backward, or a displaced duct sending air elsewhere, can leave that region poorly cooled. Prusa’s MK3-family fan guidance specifically checks airflow toward the heat sink, illustrating why rotation alone is an incomplete check. Restore the documented arrangement rather than compensating for a cooling fault with a series of temperature changes.
15-16: Ignoring Cable Motion and Repeatedly Reseating Damaged Connections
The fifteenth mistake is inspecting a cable only when the carriage is parked. A damaged section or poorly routed bundle may become strained at another position, so use the manufacturer’s inspection approach over the supported range of movement. The sixteenth mistake is treating a connector that heats, discolors, or repeatedly loses contact as a nuisance to reseat indefinitely. Repeated reconnection does not establish that the underlying connection is sound. Stop operation when the condition suggests damage, and use qualified service or an approved replacement procedure. Motion clearance, strain relief, connector condition, and insulation integrity are separate checks; a cable that reaches its destination is not necessarily routed safely.
17-18: Changing Everything Together and Resetting Away From a Physical Fault
The seventeenth mistake is combining a nozzle replacement, belt adjustment, firmware change, and profile overhaul before printing again. Even if the next result improves, you will not know which change helped, and a new defect becomes difficult to trace. Separate interventions where practical and choose a short check suited to each one. For example, changing a belt’s adjustment and the slicer’s acceleration together makes a change in corner ringing difficult to attribute. Finish the relevant hardware check before experimenting with an unrelated print setting.
The eighteenth mistake is expecting a factory reset to remove a mechanical obstruction or damaged connection. A reset changes supported software settings; it does not remove a filament offcut from a pulley, free a rubbing fan rotor, or repair a cracked mount. If a service check identifies one of those physical conditions, address it through the applicable mechanical procedure. Resetting may still belong in a manufacturer’s recovery process, but it is not a substitute for that repair. Otherwise, the machine can emerge from the reset with the original obstruction and a second problem caused by unsuitable setup values.
19-20: Buying Incompatible Replacements and Leaving the Machine Partly Reassembled
The nineteenth mistake is choosing a replacement by appearance alone. A fan, heater, sensor, nozzle, or bearing can look similar while differing in dimensions, electrical characteristics, mounting, or operating requirements. Confirm the exact compatibility and the approved installation route before purchasing or fitting the part. A low-cost component becomes expensive when it creates an intermittent fault that is difficult to identify.
Electrical compatibility needs more than a connector that plugs in. A fan’s voltage rating and connection arrangement must suit the printer, while a sensor must have the response expected by its controller. Do not adapt an unknown part by guessing which wires belong together. If the product cannot be positively matched to the documented assembly, obtain the correct replacement or appropriate service advice.
The twentieth mistake is testing with covers, cooling ducts, cable restraints, or other required parts still missing. A cover can locate a fan, keep a lead out of moving components, or maintain a designed air passage; its role may extend beyond appearance. Leaving it off while declaring the job complete can therefore change the very behavior being tested. Before the prescribed functional check, return the assembly to the configuration required by that procedure and remove the tools and loose hardware used during the work. Observation during a documented open-cover service step is different from handing back an incompletely assembled machine for ordinary printing.
Finish With a Short Return-to-Use Check
A service session should end with a usable printer, not a lengthy account of every adjustment. Check the repaired area and perform the manufacturer’s required functional test before committing to a long build. One short record is enough to connect the intervention with its outcome, especially on a shared printer. Include:
- What component or condition was corrected, and what replacement was fitted?
- Which required checks passed, and is any fault still unresolved?
- Is the printer ready for normal use, or clearly marked as awaiting further service?