Count the Resources Behind One Accepted Part
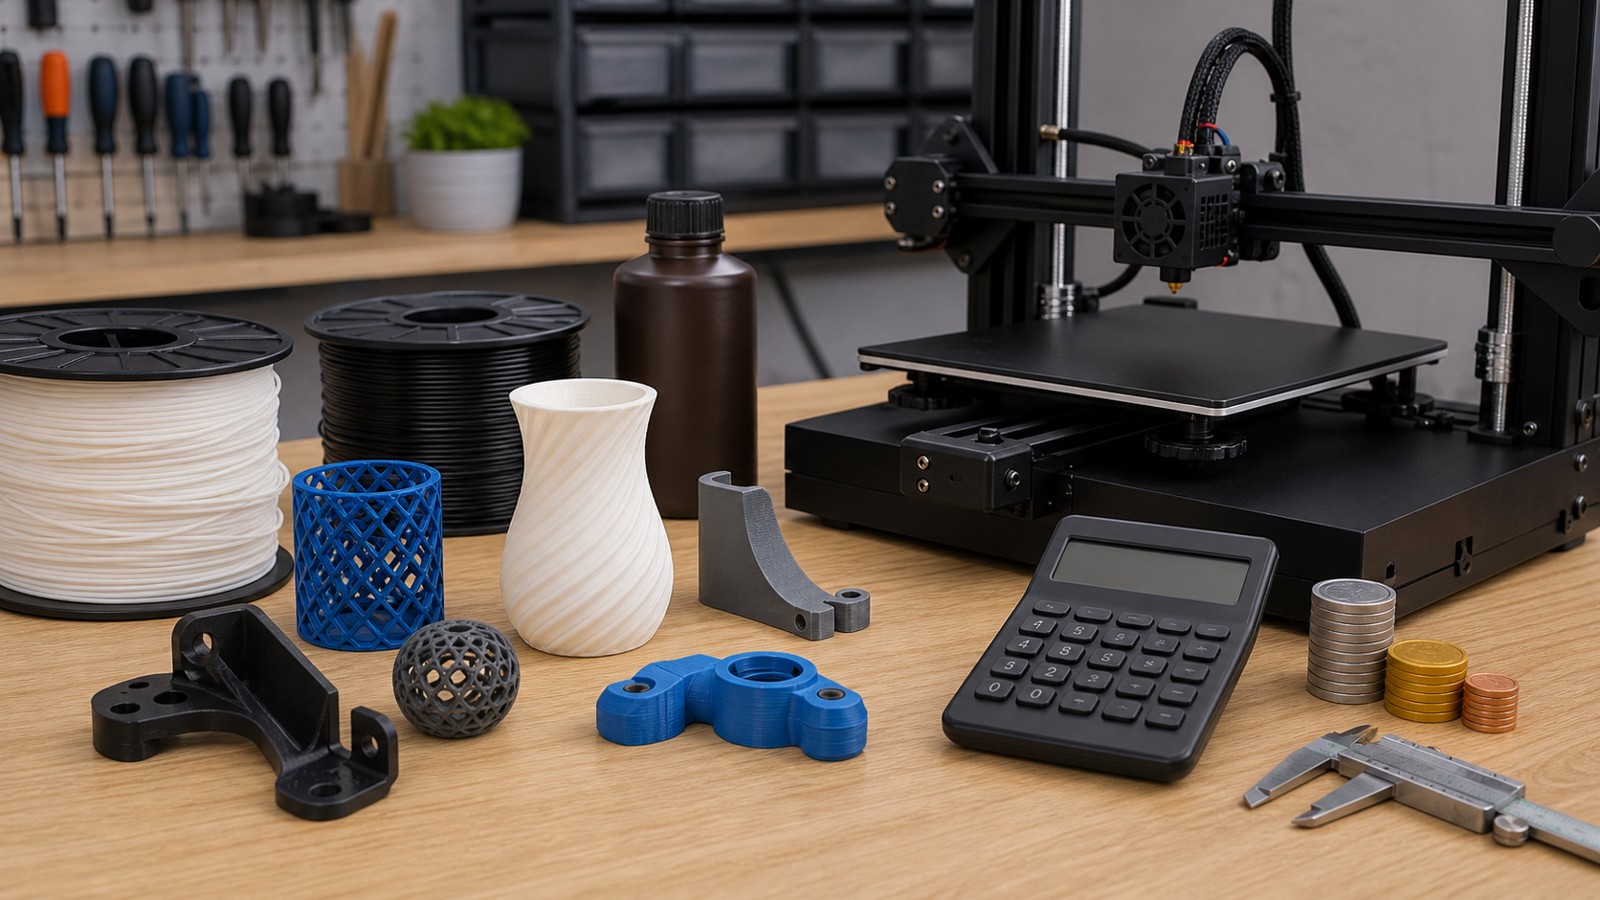
A finished print may weigh only a few dozen grams, but its material weight does not describe everything used to make it. The job also occupies a machine, consumes energy, requires preparation and cleanup, and may include temporary material or an unsuccessful attempt. A useful part-cost calculation follows those resources through a defined workflow and divides them by the accepted output. That produces an estimate you can inspect and improve rather than a mysterious price generated from one weight field. This guide concentrates on a straightforward filament-printing example, while explaining where other processes need additional inputs. All numerical amounts are invented assumptions for demonstrating the arithmetic, not quotations or universal rates. The method helps a hobbyist understand an experiment and helps a workshop compare production choices, provided the cost boundary remains clear. It also separates production cost from the selling price, which must address a different set of business decisions.
A: Divide the consumed milliliters by 1,000, then multiply by the per-liter price. Do not apply a per-kilogram price to that volume without the additional information needed to convert units.
A: Use 26 hours in an hourly calculation, not two hours. Keep days, hours and minutes visible when transferring the slicer duration into a worksheet.
A: Record the run cost and zero accepted output. Cost per accepted part is undefined for that run because division by zero is not possible; do not report a zero-dollar unit cost.
A: Intermediate rounding can distort the final total when several inputs are combined. Round the displayed result after summing the underlying values.
A: If the cost is per complete kit, count accepted three-piece kits in the denominator. Keep a separate per-component result if that is also useful; it answers a different quantity.
A: Multiply each consumed quantity by its own unit price, then add the two charges. One averaged spool price can obscure the cost when the material proportions change.
A: A twenty-percent markup gives a $12 price. The $2 difference is about 16.7 percent of that $12 price, so markup on cost and margin on selling price are different percentages.
A: Four pieces produce an $8 per-piece calculation, so the stated minimum makes that service line $15 before any other specified charges. Confirm whether the offer instead describes a separate setup fee, because that is a different billing rule.
A: The difference is 0.72 kWh for the measured interval, assuming that interval covers the job. The ending lifetime reading is not the job's consumption.
A: Enter $0.20 per kilowatt-hour. Entering 20 as a dollar rate would multiply that energy cost by one hundred.
Start With the Formula and a One-Part Worksheet
Add the included costs for the entire job before dividing by its accepted output. Use this formula for a completed run: cost per accepted part = (material + energy + machine allocation + hands-on labor + finishing + other included costs) / accepted quantity. Each term represents money, while the denominator states the number of usable parts delivered by that expenditure. The worksheet below first assumes one successful attempt producing one accepted component.
Enter quantities and rates in matching units. Material is kilograms times dollars per kilogram; energy is kilowatt-hours times dollars per kilowatt-hour. Machine and labor amounts use separate hour counts and rates, while the final line covers the hardware and finishing supplies consumed for this component.
| Resource | Quantity and rate | Cost |
|---|---|---|
| Consumed material | 0.060 kg x $24/kg | $1.44 |
| Energy | 0.72 kWh x $0.20/kWh | $0.144 |
| Machine allocation | 6 h x $0.65/h | $3.90 |
| Hands-on labor | 0.3 h x $20/h | $6.00 |
| Hardware and finishing supplies | 1 accepted part x $1.20 | $1.20 |
| Successful-attempt subtotal | Sum of five resource costs | $12.684 |
| Displayed to cents | One accepted part | $12.68 |
This subtotal excludes design development, separately allocated maintenance, workspace overhead, delivery, taxes on a sale, and profit. It is a production-cost example, not a recommended selling price. Prusa’s discussion of printing costs also separates material, preparation and equipment costs; the following sections explain the inputs used here and then extend the example to a run with a reject.
Define the Part and Its Delivered Condition
Specify what counts as an accepted part before entering numbers. A raw print with supports attached is a different deliverable from a cleaned component with inserts installed and critical dimensions inspected. Include the file version, material, orientation, quantity, and finishing condition in the estimate. These details determine the resources that should be counted. If the design changes halfway through the job, keep the revision visible so an estimate for one version is not mistaken for evidence about another.
Choose a cost boundary that matches the decision. For a single household experiment, you may want direct cash consumption and a record of time. For a workshop comparison, allocated machine cost and labor may be essential. A fully loaded business cost can also include appropriate overhead, while a quote needs commercial considerations beyond production. State what is included and excluded rather than labeling every calculation total cost. The arithmetic becomes useful when another person can understand exactly what the total represents.
Use Consumed Feedstock Instead of Finished Weight Alone
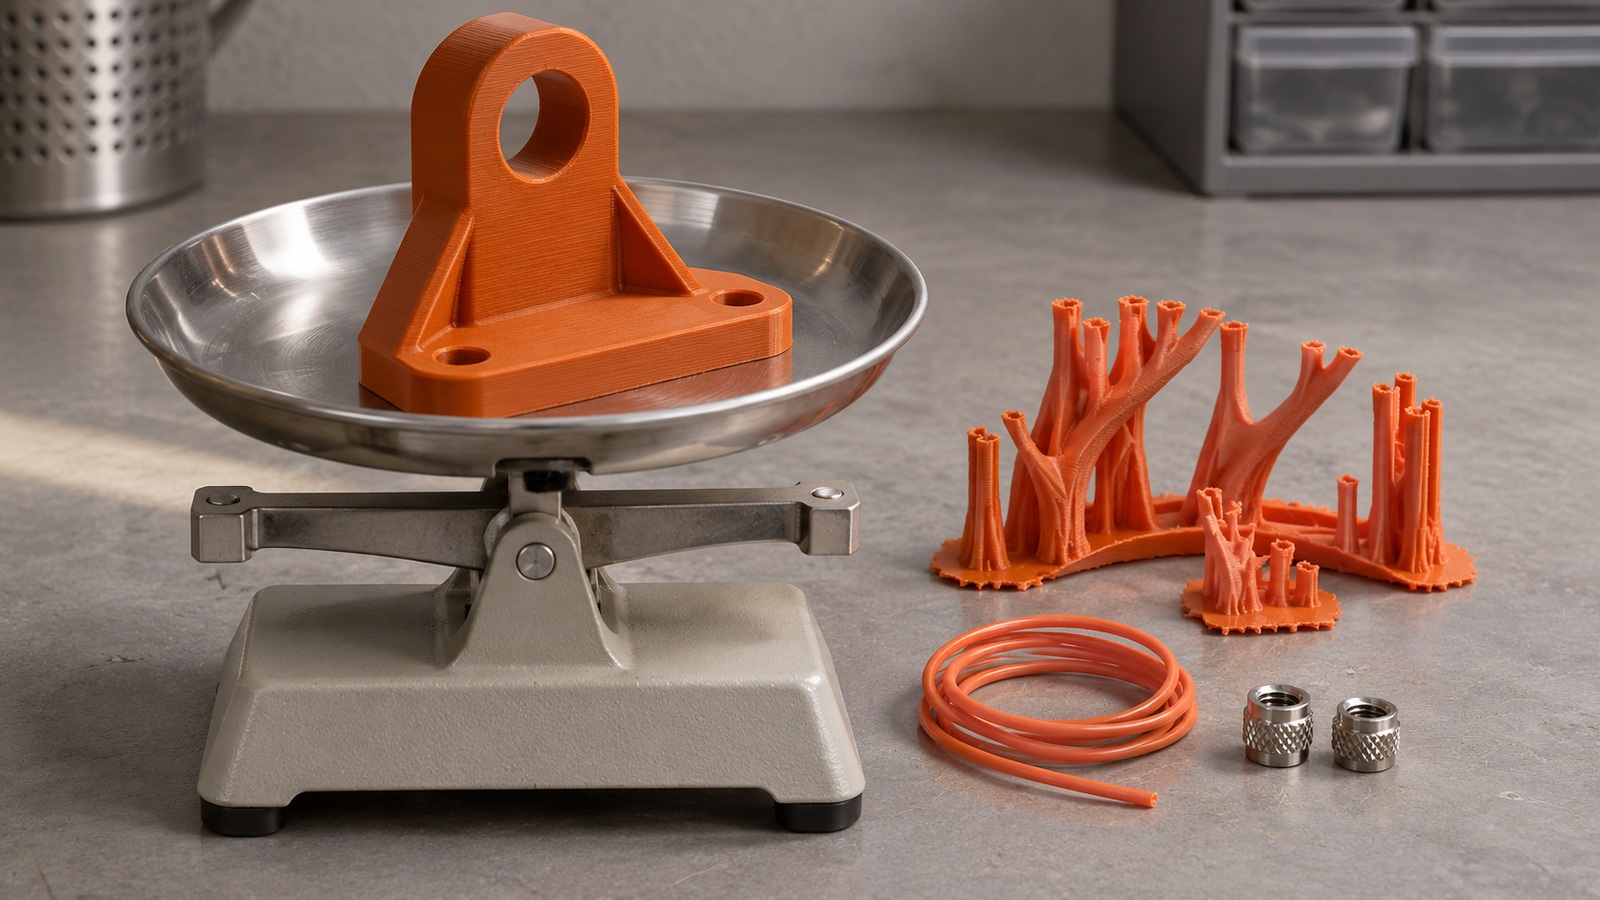
For a simple single-material job, multiply the material consumed by its unit purchase cost. If the feedstock is priced per kilogram, convert the job’s grams to kilograms first. In the example used here, a part retains 40 grams of polymer, while supports use 15 grams and other job-related material uses 5 grams. The total consumption is 60 grams. At an assumed $24 per kilogram, the material charge is 0.060 multiplied by $24, or $1.44. Counting only the finished object would miss a third of the material in this example.
Use the slicer’s consumption estimate as a starting input, then compare it with measured experience where practical. Purging, priming, failed starts, and material left in handling equipment may not all appear in the same field. Do not assume that a particular slicer reports every loss under the word material. A multicolor process may require a more detailed breakdown than a simple single-extruder job. Keep the input definition with the estimate so the same quantity is not accidentally added twice.
Other processes need corresponding boundaries. Resin work may involve losses during handling and cleaning as well as material in supports. Powder-based production requires the supplier’s actual material-management rules rather than treating all surrounding powder as either fully consumed or fully reusable. The accounting should follow the process being operated. A neat formula is not an improvement if its feedstock input does not represent what the job actually uses.
Turn Energy Into a Cost With the Correct Units
Multiply consumed kilowatt-hours by the applicable price per kilowatt-hour. Suppose the example job uses 0.72 kilowatt-hours and the assumed tariff is $0.20 per kilowatt-hour. Its energy charge is $0.144, displayed as approximately $0.14 when rounded to cents. Retain adequate precision in the calculation before rounding the final total. An appropriate meter can help establish representative consumption, including heating and other relevant stages. Do not substitute a machine’s maximum electrical rating for a measured average without explaining that it is only an assumption.
Allocate Machine Cost Without Inventing a Universal Rate
A machine allocation spreads relevant equipment cost across a defined useful workload. One simple assumption is a $520 equipment-cost allowance spread over 800 productive hours, producing $0.65 per hour. A six-hour example job then receives a $3.90 allocation. These figures are deliberately hypothetical. They do not describe the expected service life, resale value, or proper recovery period of a specific printer. Their purpose is to show the relationship between the allowance, the chosen hour base, and the job.
Decide which expenses that hourly amount covers. If it represents acquisition recovery alone, maintenance and other costs have not magically been included. If a broader internal rate already covers energy or routine consumables, adding those same items separately would double-count them. Identify the rate’s components and use a consistent treatment across alternatives. The most defensible rate is the one whose scope and assumptions can be explained, even if the workshop later refines it with better operating data.
Separate Hands-On Labor From Unattended Time
Preparation, setup, removal, cleanup, assembly, and inspection can require operator attention, while a six-hour build does not necessarily occupy a person continuously for six hours. Track the actual tasks performed. In the example, assume eighteen minutes of total hands-on work at an internal rate of $20 per hour. Eighteen minutes is 0.3 hours, so the labor allocation is $6.00. Treat that rate as an input to the example rather than a statement about prevailing wages or an appropriate charge for every workshop.
Add Finishing Materials and Purchased Components
A printed component may need inserts, screws, adhesive, abrasive media, paint, or outside finishing. List the resources required to reach the promised condition. For this example, assume $1.20 of finishing materials and purchased components for each accepted part. Do not add an operation simply because it is common in another project, and do not omit a required operation because it happens after the printer stops. The definition of the delivered part should control the list.
Shared operations need a sensible allocation. If one setup or finishing batch serves several parts, distribute its cost using an appropriate basis rather than charging the entire setup to each part. Equal allocation can be reasonable for identical pieces, while mixed jobs may need a different treatment. Keep the basis consistent and document exceptions. A collection of different parts sharing one build does not become a set of identical jobs merely because they occupy the same machine at once.
Inspection also has a scope. Checking a few dimensions by hand, completing a documented inspection plan, and obtaining specialist testing are different activities with different costs. Include the level actually required, and identify any outside service that has not yet been quoted. An estimate with an explicitly pending input is more informative than a complete-looking total that quietly excludes an essential acceptance step. Resolve that uncertainty before relying on the estimate for a consequential production commitment.
Calculate Yield From the Work Actually Performed
For completed work, a direct ledger is often clearer than a guessed failure surcharge. Add the resources consumed by all attempts needed to produce the accepted quantity, then divide by the number of accepted parts. Failed attempts may stop early or fail after nearly all work has been done, so a simple failure percentage does not fully describe their cost. Record when the failure occurred and which resources were consumed. The accepted count belongs in the denominator, because rejected parts do not provide the output the job was intended to deliver.
Extend the example to ten attempts that each consume the stated printing resources and eighteen minutes of labor, with nine accepted parts. Assume the one rejected attempt is a late failure and receives none of the final $1.20 hardware-and-finishing allowance. Total material is $14.40, energy $1.44, machine allocation $39.00, labor $60.00, and finishing resources for the nine accepted parts $10.80. The run total is $125.64. Dividing by nine produces $13.96 per accepted part, rather than the $12.68 first-attempt subtotal.
Keep Estimates and Actual Results Side by Side
An estimate uses expected consumption, duration, labor, and output. An actual-cost record uses the resources the completed job required. Keep both rather than overwriting the estimate after production. The difference reveals whether the model was prepared differently, the duration was inaccurate, cleanup took longer, or the accepted quantity changed. That information improves later estimates more effectively than adding an unexplained blanket percentage to every job. It also helps identify a process issue that deserves a technical fix rather than a larger cost allowance.
Use consistent units and retain enough detail to reproduce the arithmetic. Grams are not kilograms, minutes are not hours, and watts describe power rather than consumed kilowatt-hours. Check the basis of any price entered from an invoice, including whether delivery or tax is included when that matters to your cost boundary. A small calculation can still produce a large error when one unit is misread. A simple annotated worksheet or ledger is sufficient if each value has a clear meaning.
Update assumptions when the process changes materially. A new support strategy can alter consumption and cleanup, while a different orientation may change duration, surface finish, and rejection behavior together. A faster print is not necessarily a cheaper accepted part if it requires more labor or produces fewer usable results. Compare the complete defined workflow on the same basis. This keeps optimization connected to delivery rather than to the most visible number in the slicer.
Use the Cost to Make a Better Decision
A part-cost estimate can help compare an in-house print with an outside quote, assess a design revision, or decide whether batching similar work is worthwhile. The alternatives must describe the same quantity and condition. A quote for an unfinished object should not be compared directly with an internal estimate that includes assembly and inspection. Likewise, a lower unit cost at a large quantity may be irrelevant when the design is still changing. Use the number within the decision it was built to support.
For a sale, production cost is a starting input rather than the final price. Business overhead, transaction costs, customer service, delivery obligations, and the required margin need their own treatment without being silently mixed into the manufacturing ledger. For pricing terminology, BDC distinguishes markup on cost from margin on revenue. A hobbyist can use the same resource record while choosing a different definition of value. In either case, the useful habit is to count the resources honestly, identify accepted output, and keep the boundary visible. That turns a printed part’s apparent low material cost into a practical understanding of what it took to make it.