
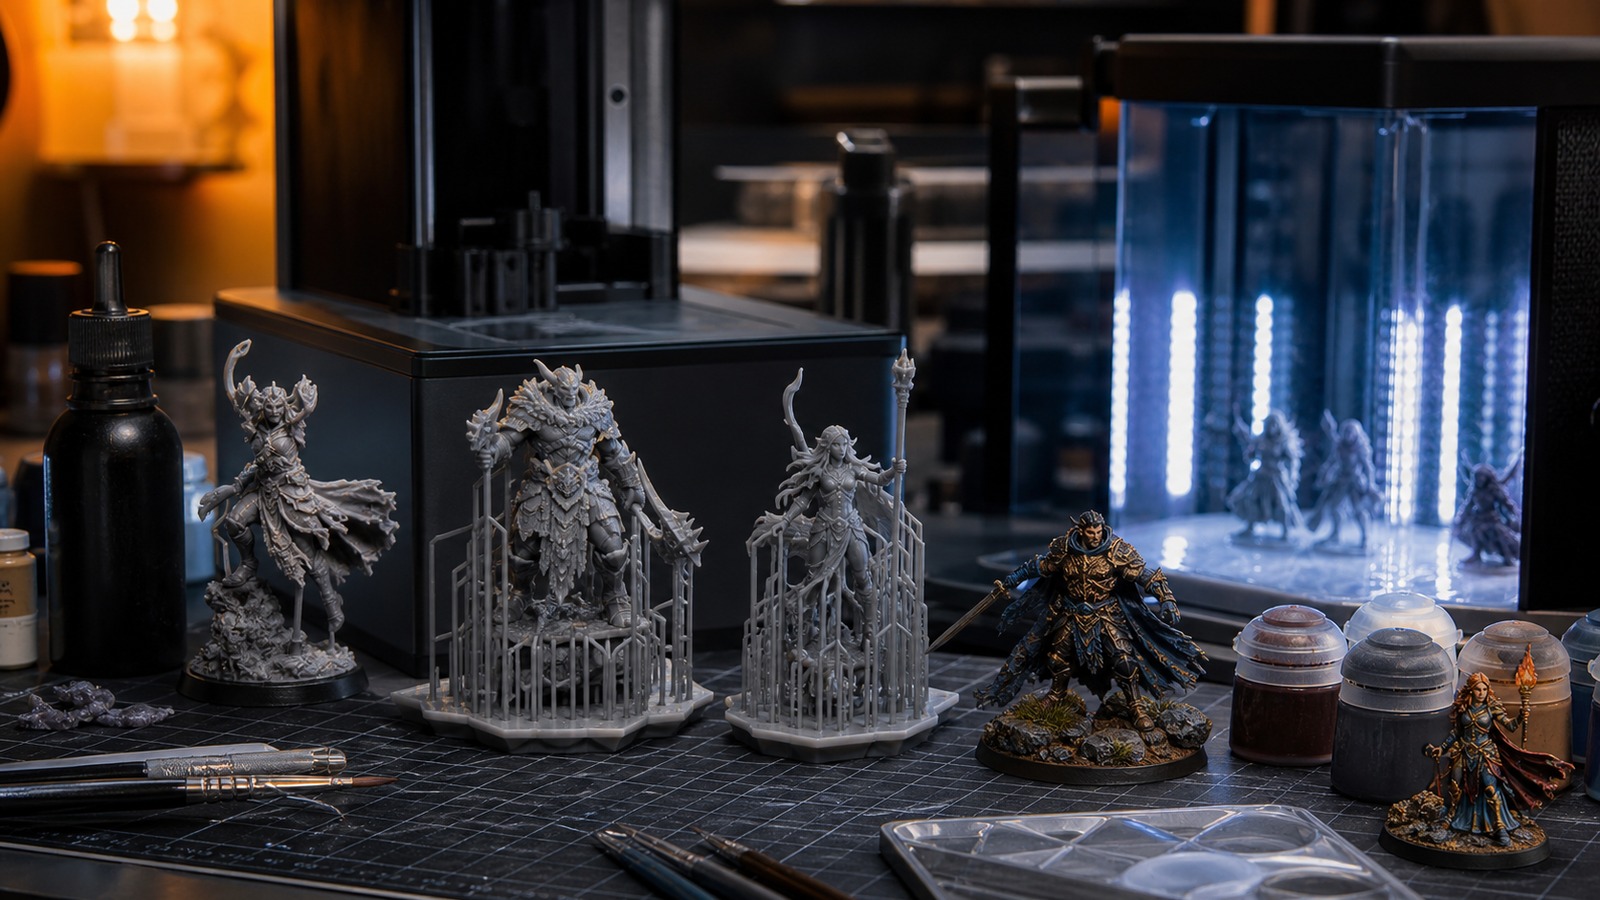
High-Detail Miniatures Start With the Right Process
Miniatures reward detail, clean surfaces, and careful support planning. Resin printing is usually the best choice for tabletop figures, busts, monsters, terrain details, and display pieces because it captures small features more cleanly than typical filament printing.
A: Match the model, material, settings, and finish plan to the purpose of the print.
A: Bed leveling, surface cleanliness, nozzle height, temperature, and material condition are the usual suspects.
A: No. Slower speeds can improve detail, but heat buildup and profile balance still matter.
A: Use the right material, more walls, smart orientation, enough infill, and realistic load testing.
A: Temperature, retraction, travel moves, moisture, and material type all contribute.
A: Diagnose visible layer lines, fragile details, support scars, and oversized assemblies before buying parts.
A: Very important; it shows toolpaths, supports, layer changes, and possible weak spots before printing.
A: First layers, simple calibration prints, support cleanup, and basic material profiles.
A: Clean orientation, tuned settings, good material handling, and careful sanding, filling, priming, painting, sealing, and display mounting.
A: It is most useful for makers building display pieces, props, miniatures, and gifts.
High-Detail Miniatures Start With the Right Process
Miniatures reward detail, clean surfaces, and careful support planning. Resin printing is usually the best choice for tabletop figures, busts, monsters, terrain details, and display pieces because it captures small features more cleanly than typical filament printing.
FDM can still work for terrain, bases, buildings, large creatures, and draft models. The process choice comes down to scale. A 28 mm character with fingers, straps, and facial details usually belongs on a resin printer, while a stone wall or dungeon floor may be practical on FDM.
Choose a Model Built for Printing
A miniature file needs more than attractive sculpting. It needs enough thickness in swords, ankles, horns, fingers, and hair strands to survive printing, support removal, priming, and painting. Details that look good at 150 mm can become fragile at 28 mm.
Pre-supported files can save time, but they are not automatically perfect. Check island detection, drainage for hollow parts, support contact points, and whether the model orientation protects the most visible surfaces.
Dial in Layer Height and Exposure
For resin miniatures, common layer heights include 0.05 mm for everyday detail and 0.03 mm or lower for very fine display work, depending on printer and resin. Smaller layers increase print time, so use them where the model benefits from the extra resolution.
Exposure calibration matters more than chasing extreme resolution. Overexposure can thicken details and close gaps, while underexposure can create weak supports and failed layers. Use calibration prints for each resin and printer combination.
Support Placement Makes or Breaks the Finish
Supports belong on hidden or easy-to-finish areas whenever possible: backs of cloaks, undersides of bases, concealed armor edges, or areas that will be painted dark. Heavy supports can save a print but damage delicate surfaces if placed carelessly.
Small models often need a mix of light, medium, and heavy supports. Use stronger supports for load-bearing islands and lighter contacts for visible details. After curing, support scars are harder to remove cleanly.
Wash, Cure, and Handle Safely
Resin miniatures need washing and curing according to the resin maker’s guidance. Gloves, ventilation, eye protection, and careful waste handling are part of the process. Uncured resin is not something to handle casually.
Avoid overcuring delicate pieces until they become brittle. Let parts dry before final curing, remove supports at the right stage for the resin, and inspect small features before priming.
FDM Settings for Terrain and Larger Miniature Pieces
For FDM terrain, use smaller layer heights such as 0.12 mm to 0.16 mm when visible detail matters, and use slower outer walls for cleaner surfaces. A 0.4 mm nozzle is versatile, while a 0.25 mm nozzle can improve small terrain details at the cost of speed.
Terrain benefits from smart orientation and modular design. Print walls flat where texture allows, split large pieces to reduce support, and use filler primer or dry brushing to make layer lines less obvious.
Finishing for Paint-Ready Results
Remove supports carefully, sand or scrape scars, fill gaps, and prime the model before painting. A light gray primer reveals defects better than a dark primer. For resin, avoid heavy sanding dust without protection.
A high-detail miniature is the result of the full workflow: printable sculpt, calibrated exposure, careful supports, safe cleanup, controlled curing, and patient finishing.
FAQ
Is resin or FDM better for miniatures?
Resin is usually better for small high-detail figures, while FDM is useful for terrain, bases, and larger pieces.
What layer height is best for resin miniatures?
Many users start around 0.05 mm, then use finer layers only when the printer, resin, and model detail justify the extra time.
Do pre-supported miniature files always work?
No. Pre-supported files still need inspection for islands, contact points, scale, and resin/printer compatibility.

