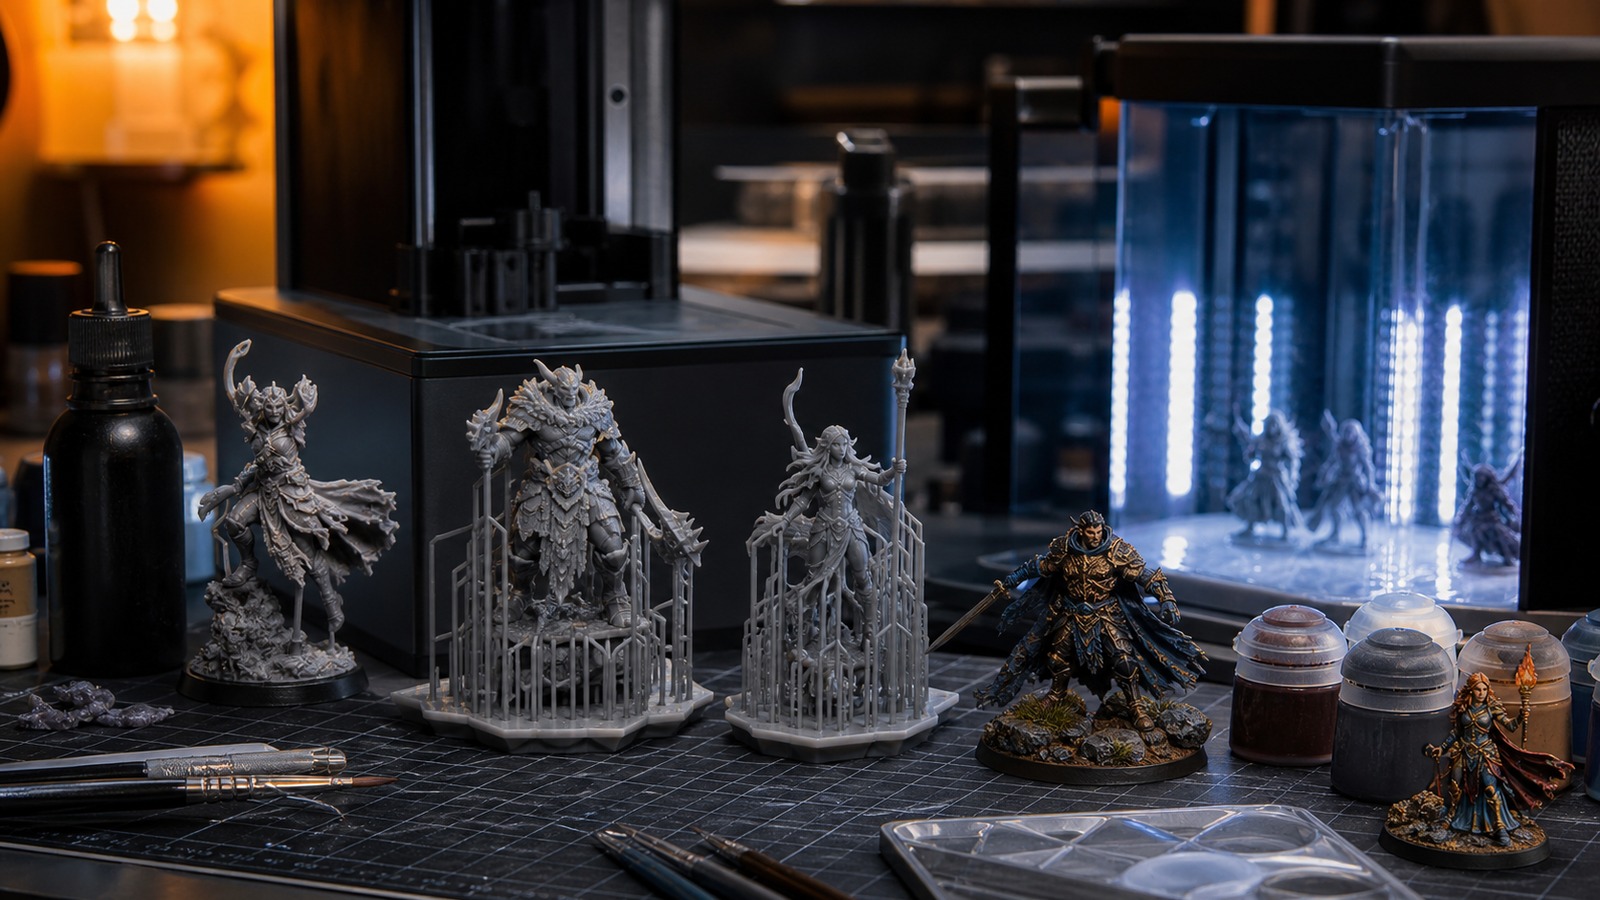
Introduction to Miniature 3D Printing
3D printing miniatures has exploded in popularity, transforming how hobbyists, gamers, and collectors bring tiny characters and worlds to life. What once required advanced sculpting skills and expensive casting methods is now accessible from a desktop. With the right setup and a bit of patience, you can create highly detailed miniatures that rival professional products. This guide is designed to take you from complete beginner to confident creator. You’ll learn how to choose the right equipment, understand materials, optimize your settings, and avoid common mistakes. By the end, you’ll have a clear roadmap to producing clean, detailed miniatures that look impressive right off the printer.
A: Match the model, material, settings, and finish plan to the purpose of the print.
A: Bed leveling, surface cleanliness, nozzle height, temperature, and material condition are the usual suspects.
A: No. Slower speeds can improve detail, but heat buildup and profile balance still matter.
A: Use the right material, more walls, smart orientation, enough infill, and realistic load testing.
A: Temperature, retraction, travel moves, moisture, and material type all contribute.
A: Diagnose visible layer lines, fragile details, support scars, and oversized assemblies before buying parts.
A: Very important; it shows toolpaths, supports, layer changes, and possible weak spots before printing.
A: First layers, simple calibration prints, support cleanup, and basic material profiles.
A: Clean orientation, tuned settings, good material handling, and careful sanding, filling, priming, painting, sealing, and display mounting.
A: It is most useful for makers building display pieces, props, miniatures, and gifts.
Choosing the Right 3D Printer
The first step in your miniature printing journey is selecting the right type of printer. While both FDM (filament) and resin printers are capable of producing models, resin printers are widely preferred for miniatures due to their ability to capture extremely fine details.
Resin printers use liquid photopolymer cured by UV light, allowing them to produce smooth surfaces and sharp edges that are ideal for small-scale figures. FDM printers, on the other hand, can still be used for larger or less detailed models, but they often struggle with the fine detail required for miniatures. For beginners focused on figurines, starting with a resin printer provides a much better experience and higher-quality results.
Understanding Materials for Miniatures
Material choice plays a crucial role in the final look and durability of your miniatures. Resin comes in several varieties, each with unique properties that affect detail, strength, and flexibility. Standard resin is perfect for beginners due to its ease of use and excellent detail reproduction. Tough or ABS-like resins offer greater durability, making them ideal for gaming miniatures that will be handled frequently. Specialty resins, such as flexible or transparent options, can add creative possibilities but often require more advanced handling. Learning how each resin behaves will help you choose the best option for your specific project.
Finding and Preparing Miniature Files
Before printing, you’ll need a digital model, typically in STL format. There are thousands of free and paid miniature files available online, ranging from fantasy characters to modern collectibles.
Once you’ve selected a model, preparation begins in slicing software. This is where you orient the model, add supports, and configure print settings. Proper orientation is key; angling the miniature slightly helps reduce suction forces and improves detail. Adding supports carefully ensures delicate parts like swords or limbs print successfully without damage.
Essential Printer Setup
Getting your printer set up correctly is one of the most important steps for consistent results. This includes leveling the build plate, ensuring proper exposure settings, and maintaining a clean printing environment. Leveling the build plate ensures that your first layers adhere properly, preventing failed prints. Exposure settings determine how long each layer is cured, directly impacting detail and structural integrity. Too little exposure leads to weak prints, while too much can blur fine features. Dialing in these settings takes a bit of experimentation, but it’s essential for achieving professional-quality results.
Dialing in the Perfect Print Settings
Fine-tuning your settings is where your miniatures truly come to life. Layer height, exposure time, lift speed, and support density all influence the final outcome.
A smaller layer height results in smoother surfaces and finer detail, though it increases print time. Slower lift speeds reduce stress on the model, minimizing the risk of failures. Carefully adjusting support density ensures stability without leaving excessive marks on the miniature. Learning how these variables interact will help you consistently produce clean, detailed prints.
Printing Your First Miniature
With everything prepared, it’s time to start your first print. Watching a miniature slowly emerge from the resin is both exciting and rewarding. During this process, patience is key, as rushing can lead to errors. Once the print is complete, carefully remove it from the build plate using a scraper. Handle it gently, especially if it contains thin or delicate parts. At this stage, your miniature may look impressive, but it still requires cleaning and curing before it’s ready for display or painting.
Cleaning and Post-Processing
Post-processing is where your miniature transforms from a raw print into a polished piece. The first step is cleaning, typically done using isopropyl alcohol to remove uncured resin.
After cleaning, the model must be cured under UV light to fully harden. This step is essential for durability and safety. Once cured, supports can be removed carefully, and any imperfections can be sanded or smoothed. Taking your time during post-processing ensures a clean, professional finish that highlights every detail of your miniature.
Avoiding Common Beginner Mistakes
Every beginner encounters challenges, but understanding common mistakes can help you avoid frustration. One of the most frequent issues is improper support placement, which can lead to failed prints or broken details. Another common mistake is rushing the process, especially during cleaning and curing. Skipping steps or cutting corners often results in poor-quality miniatures. Additionally, incorrect exposure settings can either weaken prints or obscure fine details. By approaching each stage methodically, you can minimize errors and improve your results quickly.
Improving Detail and Quality
Once you’ve mastered the basics, the next step is refining your technique. Small adjustments can make a significant difference in the final quality of your miniatures.
Experimenting with orientation, adjusting support placement, and fine-tuning exposure settings can enhance detail dramatically. Using high-quality resin and maintaining a clean printer environment also contribute to better results. As your skills improve, you’ll notice sharper edges, smoother surfaces, and more intricate features in your prints.
Painting and Finishing Your Miniatures
While printing is a major part of the process, painting brings your miniatures to life. Even a simple paint job can transform a model into a striking piece. Start with a primer to help paint adhere to the surface. From there, layering colors, adding highlights, and applying shading techniques can create depth and realism. Finishing with a protective sealant ensures your miniature remains durable and visually appealing over time.
Expanding Your Creative Possibilities
3D printing miniatures opens the door to endless creativity. From customizing characters to designing entire dioramas, the possibilities are virtually limitless.
As you gain confidence, you can experiment with more advanced techniques such as multi-part prints, kitbashing, and even designing your own models. Each project builds your skills and expands your creative vision, allowing you to create truly unique miniatures that reflect your personal style.
Final Thoughts
Getting started with 3D printing miniatures may seem complex, but with the right approach, it becomes an incredibly rewarding hobby. By understanding your equipment, refining your settings, and practicing consistently, you can achieve professional-quality results. The key is patience and experimentation. Each print teaches you something new, helping you improve with every attempt. Whether you’re creating miniatures for gaming, collecting, or artistic expression, the journey is just as exciting as the final result.
Research-Backed Context
A strong 3D printing article connects the idea to a specific part, material, printer, file, and workflow. That keeps the topic useful instead of sounding like a broad description of additive manufacturing.
Practical Decision Checks
- Define the part or outcome before choosing a printer, material, or setting.
- Use a small test print to check scale, tolerance, strength, surface finish, and orientation.
- Compare the whole workflow: design, slicing, printing, cleanup, finishing, inspection, and repeatability.
- Record successful settings so the next version improves for a clear reason.
FAQ
What makes a 3D print successful?
A successful print fits its intended use, not just the build plate. Size, strength, finish, safety, cost, and repeatability all matter.
What should beginners test first?
Beginners should test bed adhesion, scale, tolerances, material behavior, and support removal before printing large or expensive parts.
How do I choose between methods?
Start with the part’s hardest requirement, then compare process, material, accuracy, finish, time, and post-processing.
Miniature Print Examples to Practice
A beginner miniature workflow is easiest to learn with specific test pieces. Start with a simple 28 mm character bust, a flat scenic base, a small creature figure, or a low-risk terrain piece before printing a detailed army or display model. These examples teach different skills: the bust tests facial detail and support marks, the base tests texture and bed adhesion, the creature tests thin limbs or tails, and the terrain piece tests speed, layer lines, and cleanup.
For FDM miniatures, the main challenge is detail. Use a small nozzle, slower speeds, thin layers, careful cooling, and orientation that protects the face or focal surface. For resin miniatures, the challenge is supports and post-processing. Hollow larger figures when appropriate, add drain holes, avoid trapping resin, wash thoroughly, cure carefully, and remove supports where scars are easiest to sand. A calibration model, a Benchy, or a tolerance test is not glamorous, but it prevents wasted resin, broken weapons, and failed display pieces.
- Character bust: check face orientation, support scars, layer height, and surface finish.
- Tabletop base: test texture, bed adhesion, primer coverage, and paint-readiness.
- Creature miniature: check thin horns, tails, wings, claws, and weapon thickness.
- Terrain tile: test repeatability, print time, seams, and durability during handling.
Sources and Further Reading
These references support the technical terms, material guidance, process limits, and decision criteria used in this article.