The Magic of Digital Manufacturing
A 3D printer does something that still feels almost impossible the first time you watch it happen. A design that exists only on a screen slowly becomes a physical object you can hold, test, paint, repair, install, or display. The process feels futuristic, but it is built on a carefully controlled chain of software, motion, heat, material, and precision. At its core, 3D printing is the art of converting digital information into physical form. The printer does not guess what to make. It follows instructions created from a digital model, then builds that model one thin layer at a time. This is why 3D printing has become so powerful for inventors, hobbyists, engineers, teachers, designers, and businesses that need fast, flexible ways to create real objects.
A: It uses slicing software to convert the model into G-code, then follows those instructions to build the object layer by layer.
A: A slicer is software that converts a 3D model into printable layers and machine instructions.
A: G-code is the command language that controls printer movement, speed, temperature, and extrusion.
A: Yes, they usually start with 3D model files such as STL, OBJ, or 3MF.
A: It anchors the object to the build plate and supports the rest of the print.
A: Not always. Some models need repair, supports, scaling, or design changes before printing.
A: In FDM printing, thermoplastic filament is melted and deposited into the final shape.
A: Supports hold up overhangs and complex shapes while the object is being built.
A: Yes, resin printers use light to cure liquid resin instead of melting filament through a nozzle.
A: It allows fast prototyping, customization, complex shapes, and on-demand production from digital files.
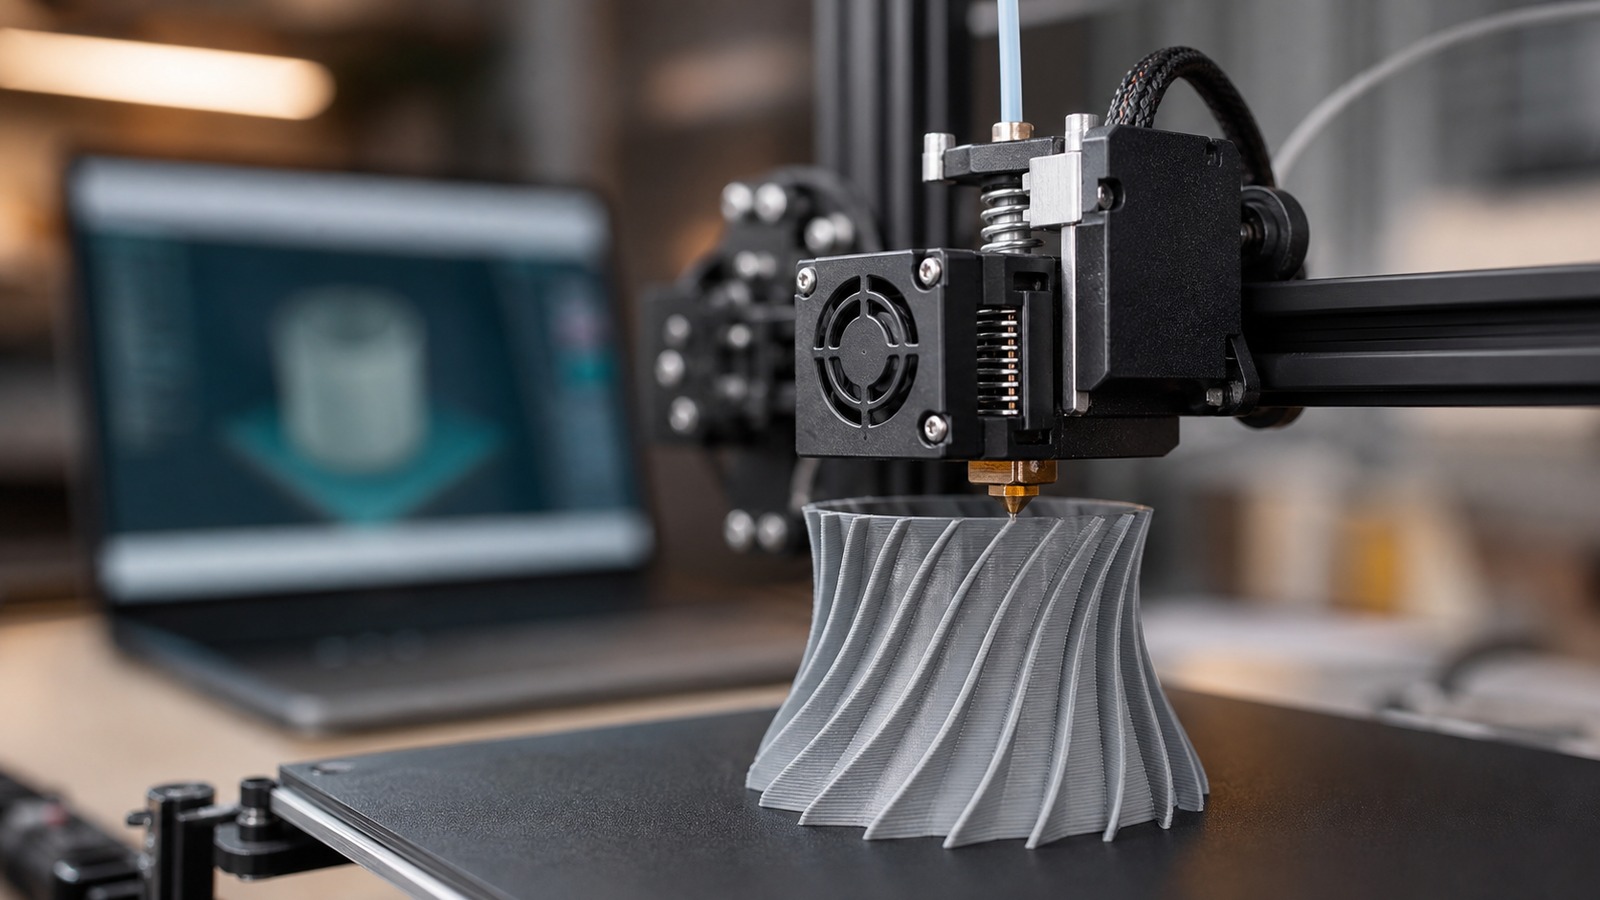
It Starts With a 3D Model
Every printed object begins as a digital 3D model. This model may be created in CAD software, sculpting software, 3D scanning tools, or downloaded from an online model library. The file describes the shape of the object in three dimensions, including its height, width, depth, curves, surfaces, and hollow spaces.
A 3D model is not automatically ready to print. It is more like a digital sculpture or blueprint. Before the printer can use it, the file must be checked, repaired if needed, scaled to the correct size, and prepared for the specific printer and material being used.
From Design File to Printable File
Common 3D printing files include STL, OBJ, and 3MF formats. These files store the geometry of the object, but they do not tell the printer exactly how to move. A printer needs much more specific instructions, including where the nozzle should travel, how fast it should move, how much material to extrude, and what temperatures to use. That is where slicing software enters the process. The slicer acts as the translator between the digital model and the physical machine. It analyzes the model, cuts it into thin horizontal layers, and creates the instructions that guide the printer through the full build.
What Slicing Software Actually Does
Slicing software is one of the most important parts of 3D printing. It takes a solid-looking digital object and divides it into hundreds or thousands of extremely thin layers. Each layer becomes a path for the printer to follow. The slicer determines the outer walls, internal structure, support material, travel moves, speeds, cooling behavior, and print order.
The result is usually a G-code file. G-code is a set of machine commands that tells the printer what to do moment by moment. It controls movement across the X, Y, and Z axes, nozzle temperature, bed temperature, extrusion flow, fan speed, and many other details that affect the final result.
The Role of G-Code
G-code is the language that turns a design into machine action. To a person, it may look like lines of technical commands. To a printer, it is a precise roadmap. Each command tells the printer where to move next, how fast to go, and when to push material through the nozzle. This is where digital becomes physical. The original file contains shape information, but the G-code contains build instructions. Once the printer reads the G-code, it begins turning those instructions into real-world movement and material placement.
Preparing the Printer
Before printing begins, the machine must be ready. The build plate needs to be clean and properly leveled. The material must be loaded. The nozzle and bed must heat to the correct temperatures. If the printer has auto bed leveling, it may probe the build surface to compensate for tiny height differences.
This preparation matters because a 3D print depends on accuracy from the very first layer. If the first layer is too high, the material may not stick. If it is too low, the nozzle may scrape the bed or block material flow. A strong first layer gives the entire object a stable foundation.
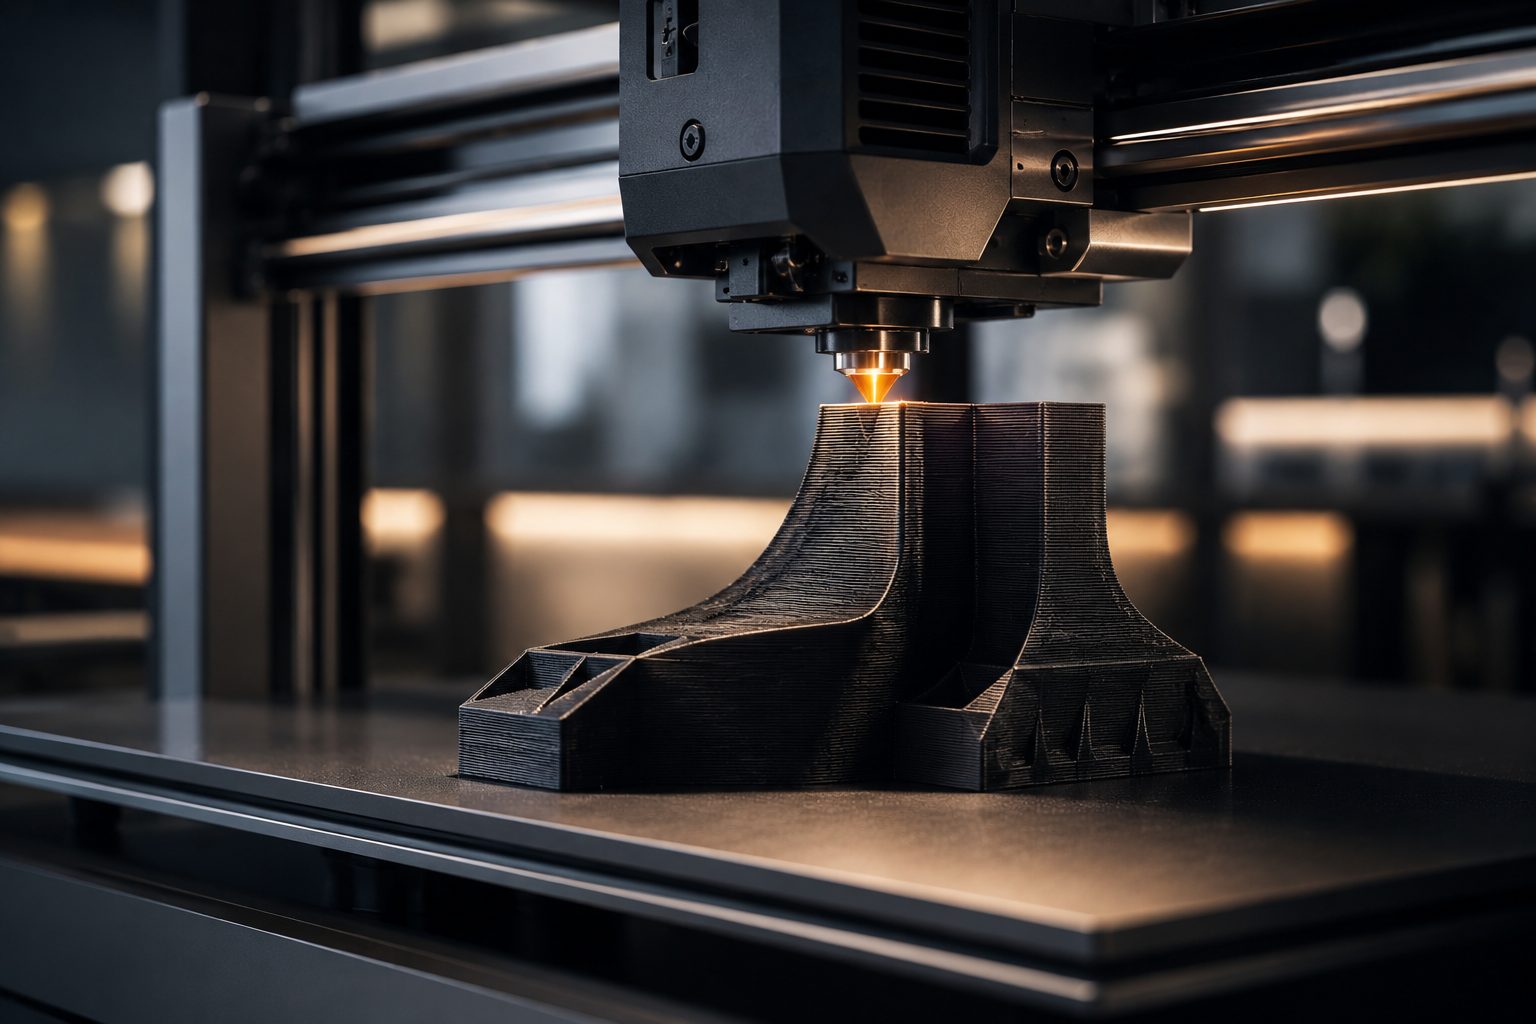
Material Becomes the Building Block
For common FDM 3D printers, the material is usually plastic filament wound onto a spool. Popular materials include PLA, PETG, ABS, TPU, nylon, and composite blends. The printer feeds this filament into a heated hotend, where it softens enough to flow through a tiny nozzle. As the nozzle moves, it deposits the melted material along the path created by the slicer. The material cools and hardens quickly, forming one section of the object. The printer repeats this action over and over until the digital design becomes a completed physical part.
Building One Layer at a Time
The layer-by-layer process is the heart of 3D printing. The printer creates the first layer on the build plate, then raises slightly and prints the next layer on top. Each new layer bonds to the one below it. Over time, these thin layers stack into a complete three-dimensional object.
This additive method is different from cutting or carving material away. Instead of starting with a block and removing waste, a 3D printer adds only the material needed to form the object. This makes it especially useful for prototypes, custom shapes, lightweight structures, and complex designs.
How the Printer Knows Where to Move
A 3D printer uses coordinated motion systems to place material accurately. Stepper motors move the print head, build plate, or gantry along controlled paths. Belts, rails, lead screws, rods, and bearings help guide that movement with precision. The printer does not see the object the way a human does. It simply follows coordinates. If the G-code tells the nozzle to move to a certain position and extrude material, the printer does exactly that. The beauty of 3D printing is that millions of tiny controlled actions can combine to create something useful, beautiful, or highly complex.
Walls, Infill, and Internal Structure
A 3D printed object is not always solid inside. Most prints are made with outer walls and an internal pattern called infill. The outer walls create the visible shape, while the infill provides strength, support, and structure inside the object.
Infill can be light and open for decorative prints or dense and strong for functional parts. Slicer settings allow users to control the balance between strength, weight, material use, and print time. This hidden internal architecture is one reason 3D printing is so flexible.
Supports for Difficult Shapes
Some digital designs include overhangs, bridges, or floating details that cannot print cleanly in midair. To solve this, slicing software can generate temporary support structures. These supports hold up difficult sections while the object is being printed. After the print finishes, the supports are removed. This allows 3D printers to create shapes that would be difficult or impossible with many traditional manufacturing methods. However, support placement must be planned carefully because it affects surface quality, cleanup time, and material use.
Heat, Cooling, and Timing
Temperature control is essential when turning digital files into real objects. The nozzle must be hot enough to melt the material, but not so hot that the plastic becomes messy or unstable. The build plate may need heat to prevent warping and improve adhesion.
Cooling is just as important. Fans help solidify fresh layers so they hold their shape. Too much cooling can weaken layer bonding for some materials, while too little cooling can cause sagging, blobs, or poor detail. Successful 3D printing depends on a controlled balance between heat, flow, movement, and cooling.
Detail Comes From Resolution
The detail of a 3D print depends on several factors, including layer height, nozzle size, printer accuracy, material type, and slicer settings. Smaller layer heights create smoother surfaces and finer vertical detail. Larger layers print faster but usually show more visible lines. Resolution is not only about beauty. It can also affect fit and function. A part that needs to snap together, hold a screw, support weight, or match another component must be printed with the right balance of accuracy and strength.
When the Print Becomes Real
As the printer continues building, the object gradually becomes recognizable. What began as a file on a computer becomes a real item with weight, texture, edges, surfaces, and structure. This transformation is what makes 3D printing so exciting.
When the print finishes, the object may need to cool before removal. Depending on the design and material, it may also need support removal, sanding, painting, curing, washing, trimming, or assembly. The final step turns the raw print into a finished object ready for use or display.
Resin Printers Use a Different Path
Not all 3D printers use filament. Resin printers turn digital files into real objects using liquid photopolymer resin and controlled light. Instead of melting plastic through a nozzle, resin printers cure thin layers of liquid resin with ultraviolet light. The slicing process is similar in concept, but the physical method is different. Each layer is exposed to light, hardens into shape, and bonds to the previous layer. Resin printing is often used for miniatures, dental models, jewelry patterns, and highly detailed objects because it can produce very fine surface detail.
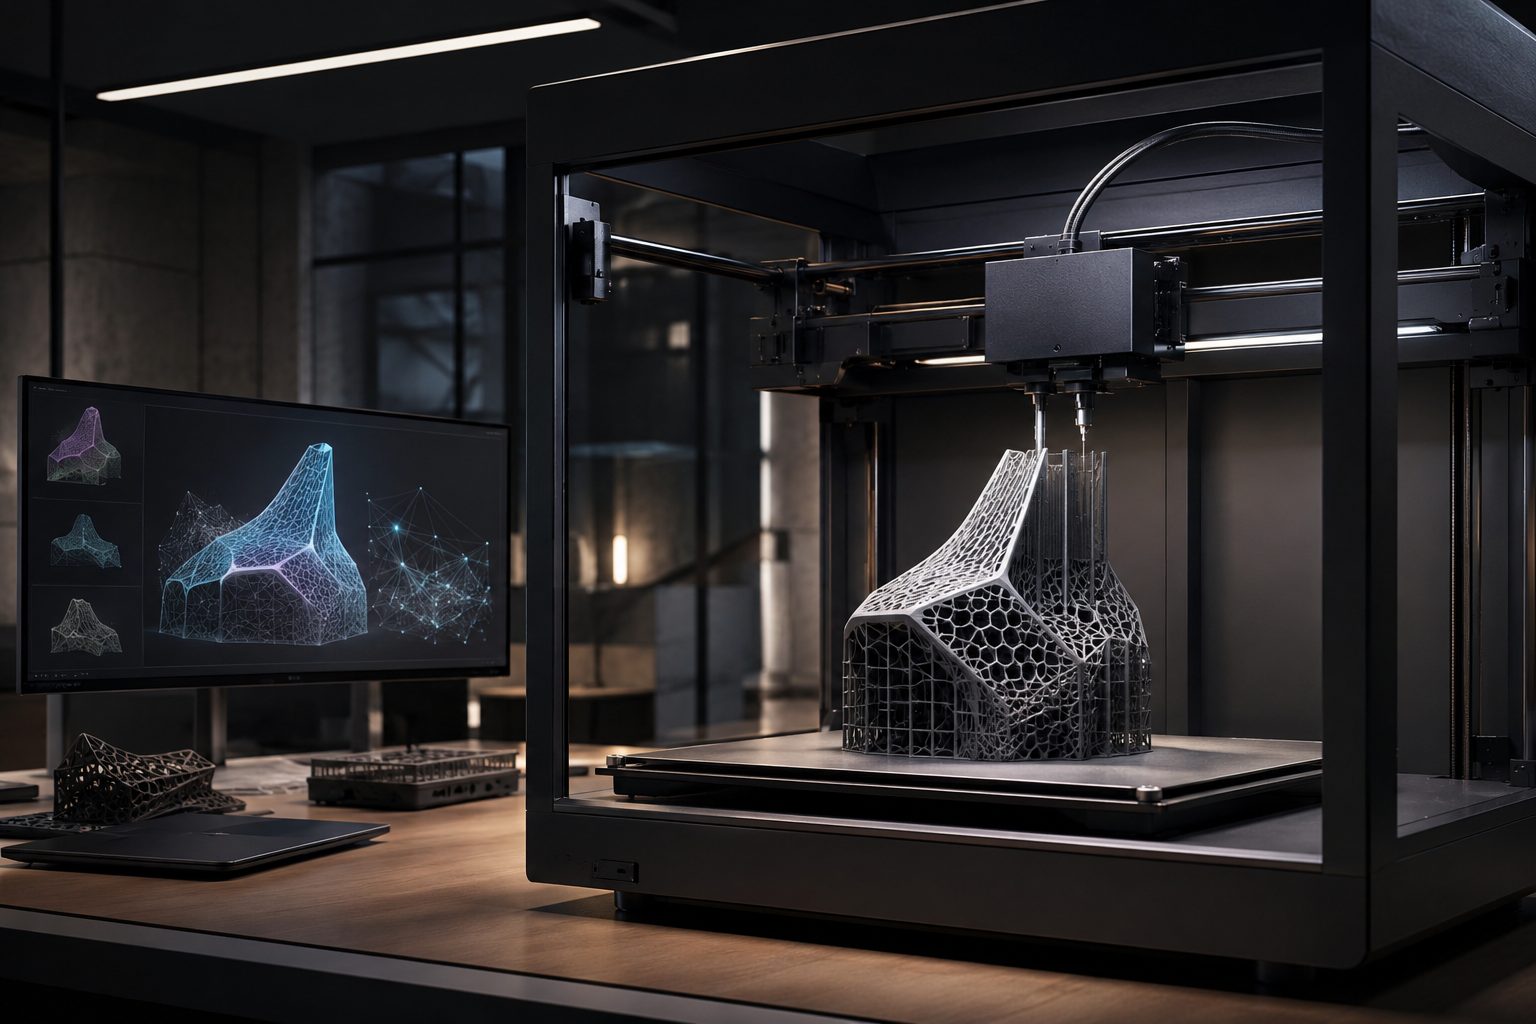
Digital Flexibility Makes 3D Printing Powerful
One of the greatest advantages of 3D printing is how easy it is to change the design before creating the object. A designer can adjust dimensions, test different shapes, add features, remove weak points, or create custom versions without building expensive molds or tooling.
This makes 3D printing especially valuable for rapid prototyping. A product team can print a part, test it, improve the file, and print a new version quickly. The feedback loop between digital design and physical object becomes faster, cheaper, and more creative.
Why 3D Printing Is So Useful for Custom Objects
Traditional manufacturing is often best for making large quantities of identical items. 3D printing shines when objects need customization, short production runs, or complex shapes. A digital file can be modified for a specific user, purpose, measurement, or design style. This is why 3D printing is used for custom prosthetics, dental aligners, architectural models, replacement parts, cosplay props, engineering prototypes, educational models, and personalized products. The printer does not care whether it prints the same file every time or a unique file for each job.
Common Problems in the Digital-to-Physical Process
Even though 3D printing is powerful, the process is not automatic perfection. A model may have geometry errors. The slicer settings may be wrong. The bed may not be level. The filament may contain moisture. The nozzle may clog. The first layer may fail to stick. The object may warp as it cools.
These problems are part of learning the technology. Successful printing comes from understanding how digital settings affect physical results. Small changes in temperature, speed, layer height, support placement, or orientation can dramatically improve the finished object.
The Future of Digital-to-Physical Creation
As 3D printers become faster, smarter, and easier to use, the connection between digital files and real objects will become even stronger. Modern machines already include auto calibration, camera monitoring, cloud printing, material detection, and AI-assisted failure prevention. In the future, more people may design, customize, and produce objects directly from digital files at home, in schools, in local print shops, or inside advanced factories. 3D printing is not just a tool for making things. It is a new way of thinking about how ideas become real.
The Big Idea Behind 3D Printing
A 3D printer turns digital files into real objects by following a carefully prepared set of instructions. The process begins with a model, passes through slicing software, becomes G-code, and then transforms into physical movement, heat, material flow, and layered construction.
The result is one of the most exciting bridges between imagination and reality. A shape that begins as pixels and geometry can become a working prototype, a replacement part, a creative sculpture, or a custom tool. That is the true power of 3D printing: it gives digital ideas a physical life.