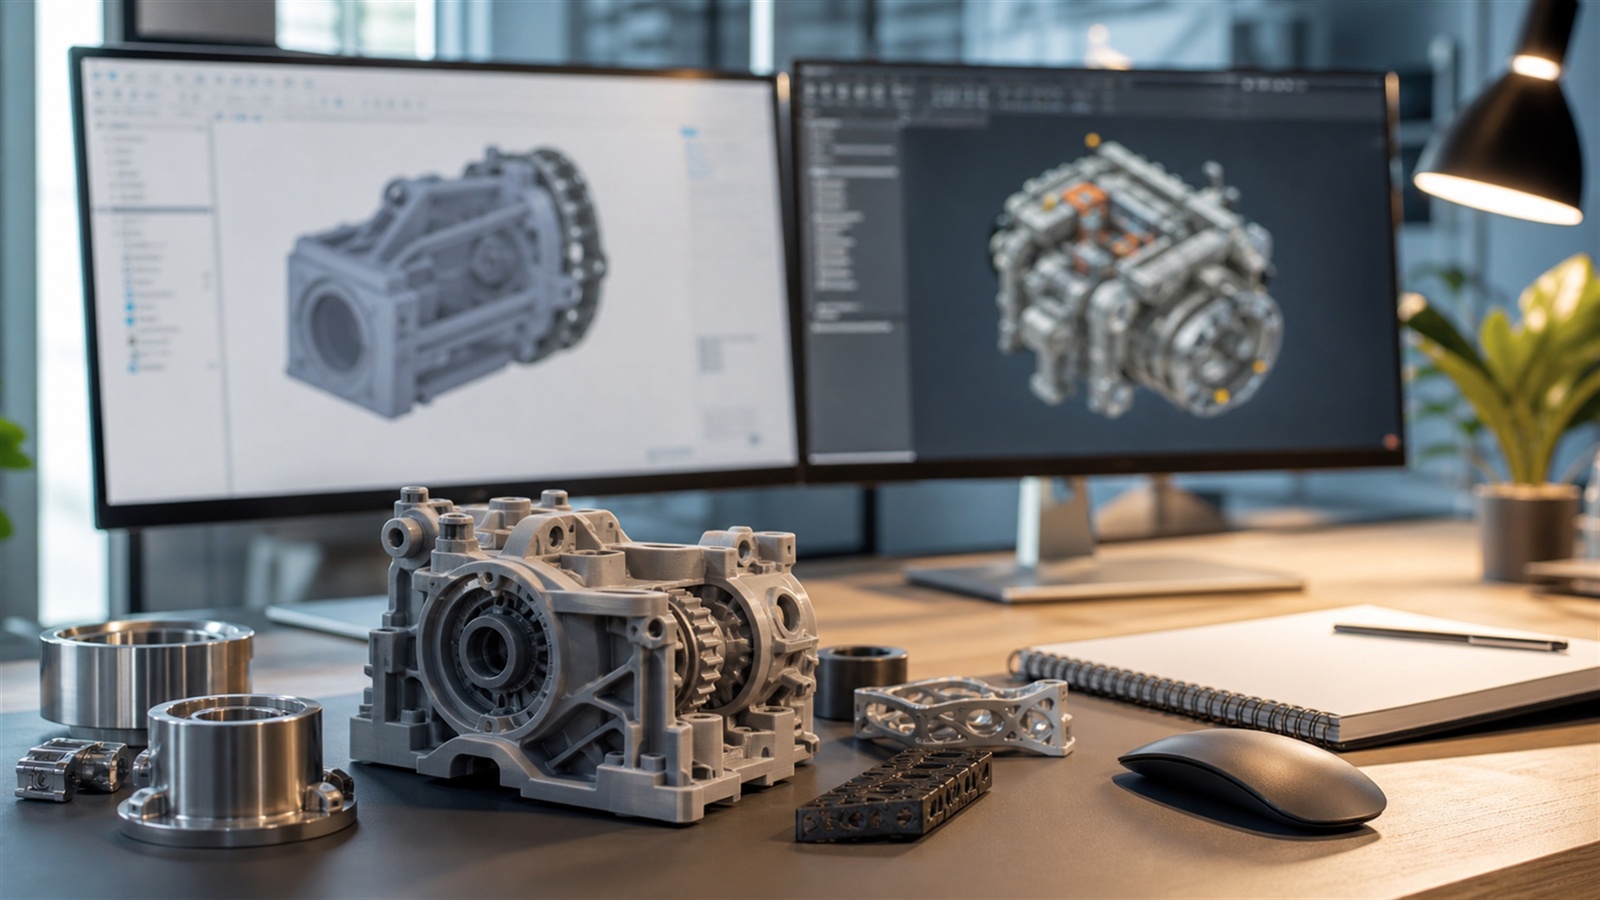
Why 3D Printing Demands a Different Kind of 3D Modeling
3D printing is the moment when digital imagination meets physical reality—and reality has opinions. A model that looks flawless on screen can fail spectacularly on a printer if the geometry is messy, the walls are too thin, the tolerances are wrong, or the design isn’t truly “solid.” That’s why the best 3D modeling software for 3D printing isn’t simply the most popular 3D program. It’s the software that helps you create watertight, manufacturable shapes, makes dimensions trustworthy, and supports iterative design without turning every change into a rebuild. The ideal tool also matches your maker personality. Some people design like engineers, building parts from sketches and measurements. Others design like artists, sculpting forms until the silhouette feels alive. Some want speed—dragging shapes together and exporting in minutes. The best software is the one that helps you move from idea to print with fewer surprises, fewer failed test prints, and fewer late-night “why is this hollow?” moments. In this guide, you’ll see the major categories of 3D modeling tools that makers rely on for 3D printing, what each approach does best, and how to pick software that fits your projects today while still leaving room to grow.
A: Parametric CAD is ideal for measured parts, clearances, and revision-friendly changes.
A: Sculpting workflows excel for characters, creatures, and high-detail surfaces.
A: It often indicates non-manifold geometry, internal faces, or flipped normals.
A: For most prints, yes—closed solids slice more predictably and print more reliably.
A: Split the model and add alignment keys, joints, or connectors for assembly.
A: It depends on printer accuracy and material; test with small samples first.
A: STL is common for printing; choose units carefully and export with clean geometry.
A: Printer and material behavior often shrink holes; design compensation or post-drill.
A: Yes—hybrid workflows are common for props and premium cosmetic features.
A: Model with thickness, clearances, and geometry validation in mind from the start.
What “Print-Ready” Really Means
3D printing has a simple requirement that’s surprisingly easy to break: your model must describe a real, printable object. That typically means a closed, watertight volume with consistent surface normals and no accidental gaps, internal faces, or non-manifold edges. If your software makes it easy to validate and repair those issues, you’ll spend more time designing and less time troubleshooting.
Print-ready also means dimensions you can trust. When you need a lid to snap, a peg to fit, or a bracket to align, your model’s measurements must be intentional—not “close enough.” That’s why many makers gravitate toward parametric CAD tools for functional parts. Yet print-ready doesn’t always mean mechanical. Minis, cosplay props, and organic sculpts also need reliable thickness and clean geometry, which is where sculpting tools and mesh workflows shine.
Finally, print-ready means you can iterate fast. The first print is often a prototype, not the final product. Good modeling software supports versioning, quick edits, and controlled changes—because the real design happens across revisions.
Three Paths to Great Prints: CAD, Mesh, and Sculpting
Most 3D printing workflows fall into three modeling styles. CAD-style modeling is precision-first, built around sketches, constraints, and measurements. It’s perfect for enclosures, mounts, functional mechanisms, and dimension-critical parts. Mesh modeling is shape-first, built around polygons, modifiers, and topology. It’s common for props, environment pieces, and models that benefit from flexible form control. Sculpting is gesture-first, built around pushing and pulling digital clay. It’s ideal for miniatures, creatures, masks, and organic designs.
None of these paths is “best” universally. The best 3D modeling software for 3D printing is often the one that matches the type of object you’re making. Many makers eventually use more than one tool, but you can get excellent results starting with just one that fits your goals.
Best for Precision Prints: Parametric CAD Modeling Software
If your prints need to fit other parts, align with hardware, or function under load, parametric CAD modeling becomes the strongest foundation. CAD workflows let you define intent: hole diameters, wall thickness, clearances, and constraints that remain editable later. When you change a dimension, the model updates predictably. That’s a superpower for 3D printing, where fit is everything.
CAD modeling also encourages disciplined design habits. You learn to think about how parts assemble, how loads flow, and how small geometry choices influence print strength. Even if you start with basic shapes, parametric tools help you build clean, manufacturing-minded models that slice reliably. For many makers, CAD becomes the “daily driver” for functional projects: tool organizers, mounting brackets, replacement parts, hinges, camera accessories, drawer inserts, and enclosures for electronics. If you often measure with calipers, CAD-style software will feel like home.
Best for Fast Beginner Wins: Simple Solid Modeling Tools
Not every print needs a full engineering workflow. Sometimes you just want to make something useful—quickly. Beginner-friendly solid modeling tools are built around speed and clarity. They make it easy to combine primitives, cut holes, add fillets, and export a model without learning a deep interface.
This style of modeling is perfect for first-time makers and practical hobbyists. You can design a cable clip, a simple phone stand, or a custom spacer in a short session and get a print running the same day. The best beginner tools also teach the fundamentals of 3D thinking—scale, alignment, and how shapes interact—without forcing you to learn advanced modeling concepts immediately.
Fast tools can also remain useful later, even after you learn more complex software. Many experienced makers keep a quick modeling option around for rapid prototypes and “just get it printed” tasks.
Best for Minis and Characters: Digital Sculpting Workflows
If your prints are artistic—miniatures, creatures, figurines, masks, cosplay details—sculpting software can feel like the most natural approach. Sculpting is built around form, not features. You shape volumes, refine silhouettes, and add surface detail like skin texture, cloth folds, armor wear, and ornamentation.
The 3D printing advantage of sculpting is creative freedom. You can produce shapes that would be painfully slow in CAD, especially organic forms. The challenge is making sure the final model is printable: thickness, supports, and durable geometry matter. A strong sculpting workflow helps you check thickness, close holes, and prep the model for export without losing detail. For resin printing in particular, sculpting workflows are common because they support high-detail output. For FDM printing, sculpting is still valuable, especially for props and larger pieces, as long as you design with thickness and strength in mind.
Best for Versatility: Full-Suite 3D Modeling Platforms
Some software ecosystems cover multiple modeling styles in one place: hard-surface modeling, sculpting tools, modifiers, UVs, and export control. For 3D printing, this versatility is powerful when you make varied projects. One week you might design a functional bracket. The next you might sculpt a decorative emblem. Then you might combine both into a single print-ready assembly. The major advantage of a full-suite platform is momentum. You stay in one environment, learn one interface, and build skill depth over time. The downside is that full suites can feel big at first, with many tools you won’t need immediately. But for makers who like exploring and growing, a versatile platform can become a long-term creative engine.
The Hidden Features That Matter Most for 3D Printing
When you’re comparing 3D modeling software for printing, focus less on flashy screenshots and more on the quiet features that prevent print failures. Validation tools matter: the ability to detect non-manifold edges, flipped normals, intersecting faces, and accidental internal geometry. Measurement and snapping matter: you want reliable alignment and intentional dimensions. Repair workflows matter: even experienced modelers occasionally create geometry that needs cleanup.
Export control also matters. Some programs export STL files cleanly by default; others require careful unit settings and mesh resolution choices. A good printing workflow makes it easy to export in the right units, with smooth curves that aren’t overly heavy, and with geometry that slices predictably.
Finally, iteration tools matter. If changing a dimension breaks the model, you’ll hate your own design by revision three. The best tools help you revise without drama.
Designing With the Printer in Mind
The best software won’t save a design that ignores print physics. Great 3D printing modeling happens when you design with your process in mind: FDM or resin, nozzle size, layer height, support needs, part orientation, and material behavior. Modeling software that supports this mindset—through measurement, thickness checking, and clean boolean operations—makes it easier to design parts that print successfully the first time.
Think about strength early. Fillets and chamfers aren’t just aesthetic—they can reduce stress concentrations and improve durability. Think about clearances early. Moving parts need space, and different printers require different tolerance strategies. Think about assembly early. If a print is too large, you may need to split it into parts with alignment keys or joints. When your modeling choices match your printer’s strengths, your prints stop feeling like experiments and start feeling like products.
Matching Software to Your Most Common Prints
If you print mostly functional parts—mounts, brackets, enclosures—prioritize parametric CAD workflows. If you print mostly minis, figures, and decorative models—prioritize sculpting. If you print a mix and want one tool—prioritize a versatile full-suite modeler or a hybrid workflow that lets you combine precision and art. Also consider how you learn. Some people thrive with structured constraints and dimensions. Others learn by play and iteration. The best modeling software is the one that keeps you making consistently, because consistency builds skill faster than any feature list.
A Practical “First Month” Plan for Better Prints
In your first month with any modeling tool, aim for three projects that teach the fundamentals of print-ready modeling. Start with a simple functional object like a hook or organizer to learn scale and thickness. Next, build something with fit—like a lid, snap, or insert—to learn tolerance and measurement. Then build something aesthetic—a simple emblem, miniature base, or decorative form—to learn surface control and finishing.
This sequence teaches you the core reality of 3D printing: design is a loop. Print, evaluate, revise, repeat. Software becomes powerful when it supports that loop.
Final Thoughts: The Best 3D Printing Software Makes Your Ideas Real
The best 3D modeling software for 3D printing is the tool that helps you cross the gap between digital shape and physical object with confidence. It supports clean geometry, reliable dimensions, and fast iteration. It helps you avoid the common traps—thin walls, broken meshes, and tolerance surprises—and makes the revision cycle feel productive instead of punishing. Whether you’re designing functional parts, sculpting characters, or building a maker toolkit of both, the goal is the same: models that slice cleanly, print reliably, and feel satisfying in your hands. Choose software that matches your projects, commit to a few designs, and let your printer become the most motivating feedback system you’ve ever used.