The Technology That Made 3D Printing Feel Like the Future
Stereolithography, usually called SLA, is one of the most fascinating forms of 3D printing because it feels almost magical the first time you see it work. A platform rises slowly from a vat of liquid resin, and with each movement, a solid object begins to appear as if it is being pulled out of nowhere. What starts as a digital model on a screen becomes a physical part with crisp edges, smooth surfaces, and impressive detail. For many beginners, SLA is the moment 3D printing stops feeling like a rough prototype tool and starts looking like a precision manufacturing process. That sense of precision is exactly why SLA has earned such a strong reputation in the 3D printing world. While other printing methods are known for affordability or rugged functionality, SLA is often celebrated for beauty, detail, and accuracy. It is used by hobbyists making miniatures, by designers refining product concepts, by dentists creating models, and by engineers who need parts that look polished right off the printer. For beginners, understanding SLA opens the door to one of the most exciting and visually impressive technologies in additive manufacturing.
A: It stands for stereolithography, a light-based resin 3D printing process.
A: Yes, especially for users who want detail and do not mind extra post-processing.
A: The light-cured resin process creates finer layers and less visible surface texture.
A: Yes, they need washing to remove uncured resin after printing.
A: Yes, final UV curing helps the print fully harden and stabilize.
A: It can be, which is why a clean workspace and routine matter.
A: It excels at detailed models, miniatures, prototypes, and presentation-quality parts.
A: Not always; many resin prints are more detailed but less impact-resistant.
A: It often costs more than basic filament printing because of resin and post-processing needs.
A: Its combination of precision, smooth finish, and dramatic print quality sets it apart.
What SLA 3D Printing Actually Means
SLA stands for stereolithography, a 3D printing process that uses light to turn liquid resin into solid plastic, one layer at a time. Unlike filament-based printers that melt and deposit plastic through a nozzle, an SLA printer relies on a light source to cure specific areas of a photosensitive resin. Once one layer hardens, the printer moves to the next, gradually building the part until the full object is complete.
This approach is what gives SLA its reputation for fine detail and smooth surfaces. Because the process is based on light rather than extrusion, it can produce smaller features and more refined finishes than many beginner-friendly alternatives. That does not mean it is automatically the best choice for every project, but it does mean SLA holds a unique place in the 3D printing landscape. If you want prints that look sharp, clean, and professionally finished, SLA is often where people start paying serious attention.
How SLA 3D Printing Works
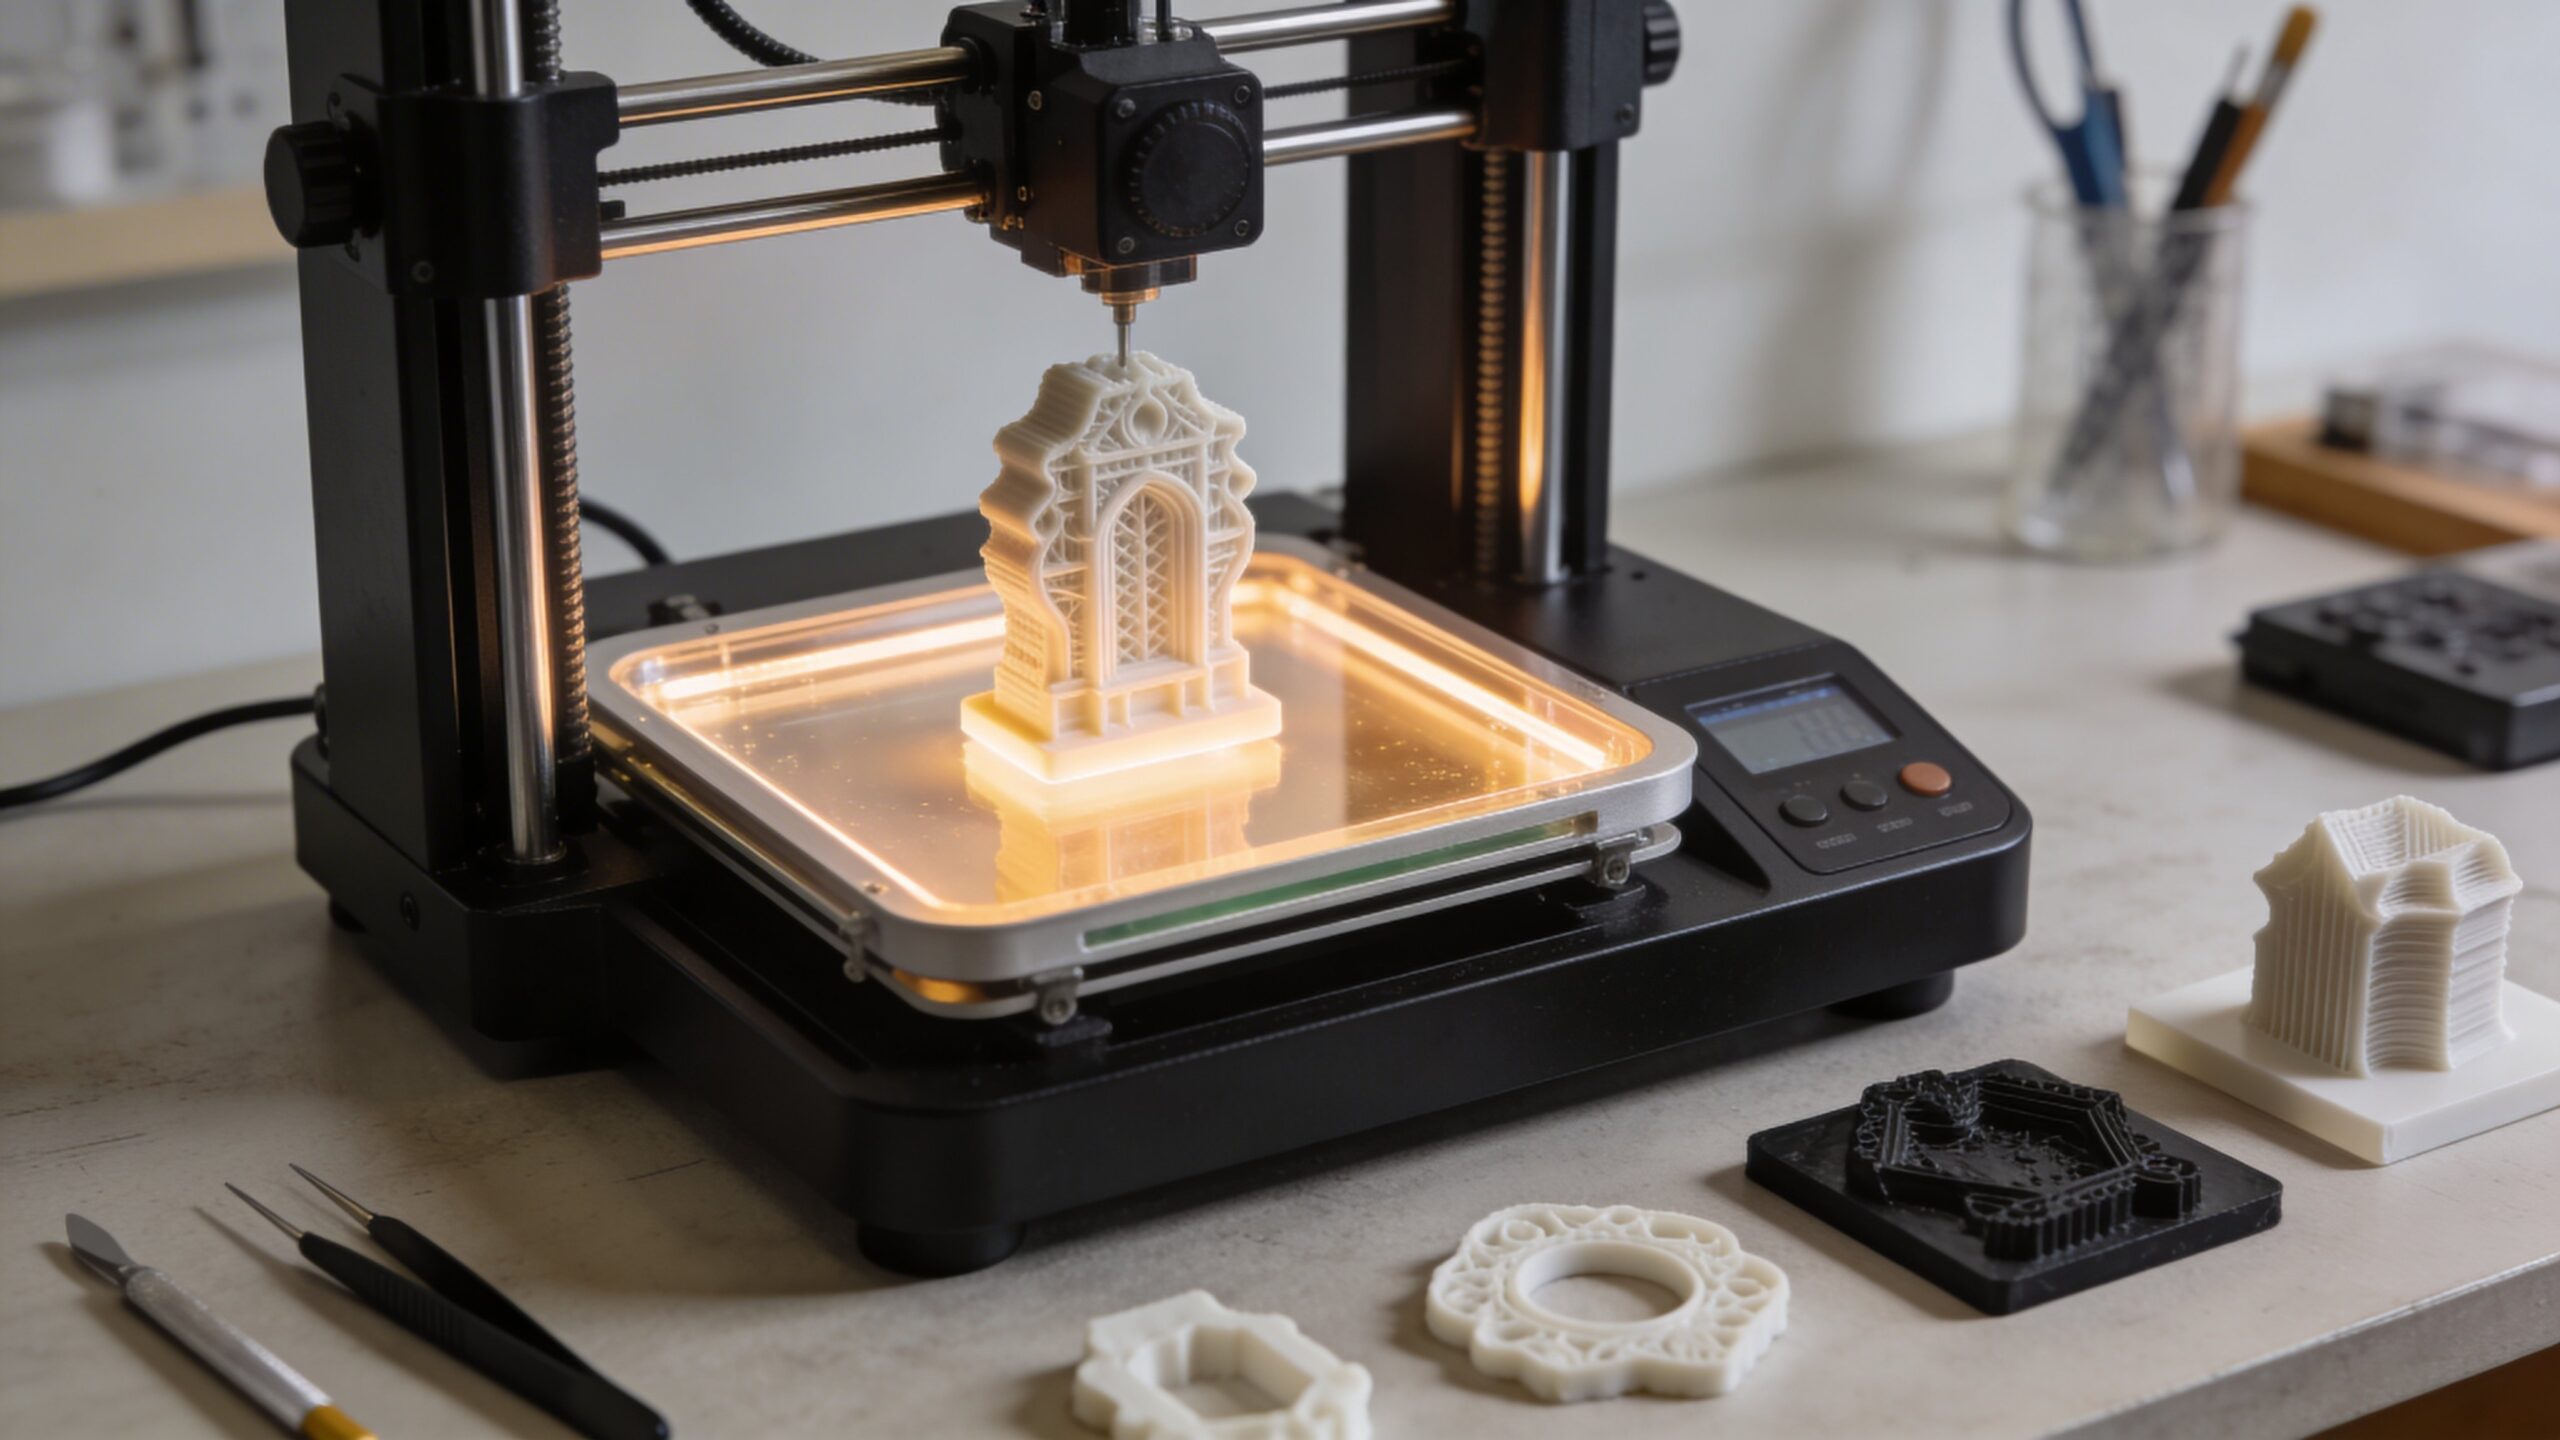
At its core, SLA works by controlling where light touches a vat of liquid resin. The resin is specially designed to react to light at certain wavelengths. When that light hits the resin, the liquid hardens into a solid layer. The printer repeats this process over and over, building the model one thin slice at a time based on the digital file you prepared in slicing software. Most SLA systems use a laser to trace the shape of each layer across the resin surface. After one layer cures, the build platform shifts slightly, and the next layer is formed. This continues until the full model is complete. That step-by-step curing process is why SLA can achieve such refined geometry. Tiny textures, sharp corners, intricate supports, and subtle curves can all be reproduced with a level of finesse that often surprises first-time users.
Why SLA Looks So Different From Other 3D Printing Methods
One of the first things beginners notice about SLA is how different the finished prints look compared with common filament prints. Instead of visible ridges and obvious layering, SLA parts often appear smoother, cleaner, and more polished. The surface finish can look close to injection-molded quality, especially when the print is properly oriented and post-processed. That visual difference is one of the biggest reasons people become interested in resin printing in the first place.
The process itself also looks different. Rather than a moving nozzle laying down melted plastic, an SLA printer works with liquid resin, precise light exposure, and a vertically building object. That creates a different rhythm, a different workflow, and a different set of strengths. For beginners who care about appearance, presentation, and detailed features, SLA can feel like a major leap forward from more basic printing methods.
The Biggest Advantages of SLA Printing
The greatest strength of SLA is print quality. It is capable of producing highly detailed models with fine textures, sharp edges, and smooth curves that are difficult for many other consumer printing methods to match. This makes it an excellent fit for miniatures, jewelry prototypes, dental applications, display models, collectible figures, and design mockups where visual impact matters as much as dimensional accuracy. Another major advantage is consistency in small details. If your model includes delicate patterns, embossed surfaces, tiny supports, or intricate internal features, SLA can often reproduce them far more cleanly than entry-level filament printers. Beginners who want parts that look premium right out of the machine are often drawn to SLA because it reduces the visual roughness that can make 3D prints feel unfinished. It delivers a cleaner first impression, and that matters for both personal projects and professional presentations.
The Challenges Beginners Should Expect
As impressive as SLA is, it is not a push-button miracle. Beginners quickly discover that resin printing comes with its own learning curve. You are not just printing and walking away. You are handling liquid resin, cleaning prints after they come off the machine, removing supports carefully, and curing the model so it reaches its final hardness. That means the workflow is more involved than many people expect.
There are also practical considerations that can surprise first-time users. Resin can be messy, odors can be stronger than expected, and improper settings can still lead to failed prints. Supports matter, orientation matters, exposure times matter, and post-processing matters. SLA rewards care and attention. For many users, that extra work is worth it because the visual payoff is so strong, but it is important to go in with realistic expectations. Precision comes with process.
The Main Parts of an SLA Printer
To understand SLA more clearly, it helps to know the major components involved. The resin vat holds the liquid resin during printing. The build platform is where the object forms, gradually lifting or repositioning as layers are created. The light source, often a laser in traditional SLA systems, traces each layer based on the sliced model. Together, these parts create the core printing action. Outside the printer itself, the workflow usually includes additional tools. You typically need washing equipment or cleaning containers to remove uncured resin from the print. You also need a curing step, usually involving UV light, to fully harden the part after printing. That broader setup is part of what makes SLA feel like a small production workflow rather than a simple desktop gadget. Beginners who understand this from the start tend to have a much smoother experience.
What Materials Does SLA Use?
SLA printers use liquid photopolymer resins, and that word matters because it points to how the material behaves. These resins are formulated to harden when exposed to specific light. Different resin types offer different characteristics, which allows SLA to serve a surprisingly wide range of applications. Some resins are designed for smooth general-purpose models, while others are intended for toughness, flexibility, heat resistance, or casting workflows.
For beginners, standard resin is usually the starting point because it highlights what SLA does best: detail and surface quality. As you gain experience, specialty resins open up new possibilities. Tough resins can improve durability, flexible resins allow some bend, and transparent resins can create visually striking parts. Still, it is important to remember that resin behavior is not identical to common thermoplastics. Material choice in SLA is powerful, but it requires understanding the application rather than assuming one resin fits everything.
What SLA Is Best Used For
SLA shines brightest when detail, precision, and appearance are the top priorities. It is especially well suited for tabletop miniatures, display models, character figures, jewelry patterns, dental models, highly detailed prototypes, and presentation-ready concept pieces. If the goal is to impress visually or capture very small features accurately, SLA is often one of the strongest tools available to a beginner or professional maker. It is also a strong choice when prototypes need to feel finished rather than rough. Designers often use SLA for models that will be shown to clients, stakeholders, or collaborators because the results look more refined. That refined finish helps ideas feel real faster. In that sense, SLA is not just about manufacturing. It is about communication. A clean, detailed model can make a concept easier to understand, easier to evaluate, and much more exciting to hold in your hand.
What SLA Is Less Ideal For
SLA is not always the best option for large, rugged, everyday functional parts. While some specialty resins improve durability, many resin prints are more brittle than common filament materials. That means SLA is not always the right answer for parts that need to absorb impact, flex under stress, or survive hard use in demanding environments. Beginners sometimes assume that a beautiful print will also be mechanically ideal, but appearance and durability are not always the same thing.
It can also be less ideal if you want the simplest, cheapest workflow possible. Resin costs are typically higher than basic filament costs, and the need for washing and curing adds time, supplies, and cleanup. If your main goal is large utility pieces, shop fixtures, or quick rough prototypes, another method may be more practical. SLA is at its best when quality is the priority and the workflow fits the project.
The Beginner Workflow From File to Finished Part
The SLA process begins with a 3D model, which is imported into slicing software. In that software, you orient the part, add supports, adjust layer settings, and prepare the print file for the machine. Orientation is especially important in SLA because it affects surface finish, suction forces, support placement, and overall print success. Good preparation is one of the biggest differences between an average result and an excellent one. Once the print is finished, the work is not over. The part comes off the printer covered in uncured resin, so it needs to be washed, usually in a cleaning solution, before supports are removed and the model is fully cured under UV light. That post-processing stage is essential. It is not an optional extra. For beginners, this is often the moment when SLA starts to make sense as a complete system rather than just a printing technology. Printing, cleaning, curing, and finishing all work together.
Is SLA Safe for Beginners?
SLA can absolutely be used by beginners, but it should be approached with care and respect. Liquid resin should not be treated casually. Gloves, ventilation, and a clean workspace are important because uncured resin can irritate skin and requires responsible handling. Beginners do not need to be intimidated, but they do need to be prepared. Safety is part of the process, not an afterthought.
The good news is that a careful routine solves most concerns. Once you establish a clean printing area, store resin properly, and handle waste responsibly, the workflow becomes much easier to manage. Many new users find that the process feels more controlled after only a few successful prints. The key is not fear. The key is discipline. A thoughtful setup makes resin printing much more approachable.
How Much Does SLA Printing Cost?
SLA costs are shaped by more than just the printer price. You have the machine itself, the resin, cleaning supplies, replacement consumables, and often a wash-and-cure setup. Entry costs can be reasonable, especially compared with professional systems from earlier generations, but the total ownership experience is still more involved than it is with basic filament printing. Beginners should plan for the whole workflow, not just the printer on the box. That said, many users happily accept the higher cost because the results are so compelling. If your goal is smooth surfaces, striking detail, and presentation-ready parts, SLA often delivers value that cheaper methods cannot easily match. In that sense, the real question is not whether SLA is cheap. It is whether the quality it delivers is worth the extra effort and expense for your type of work.
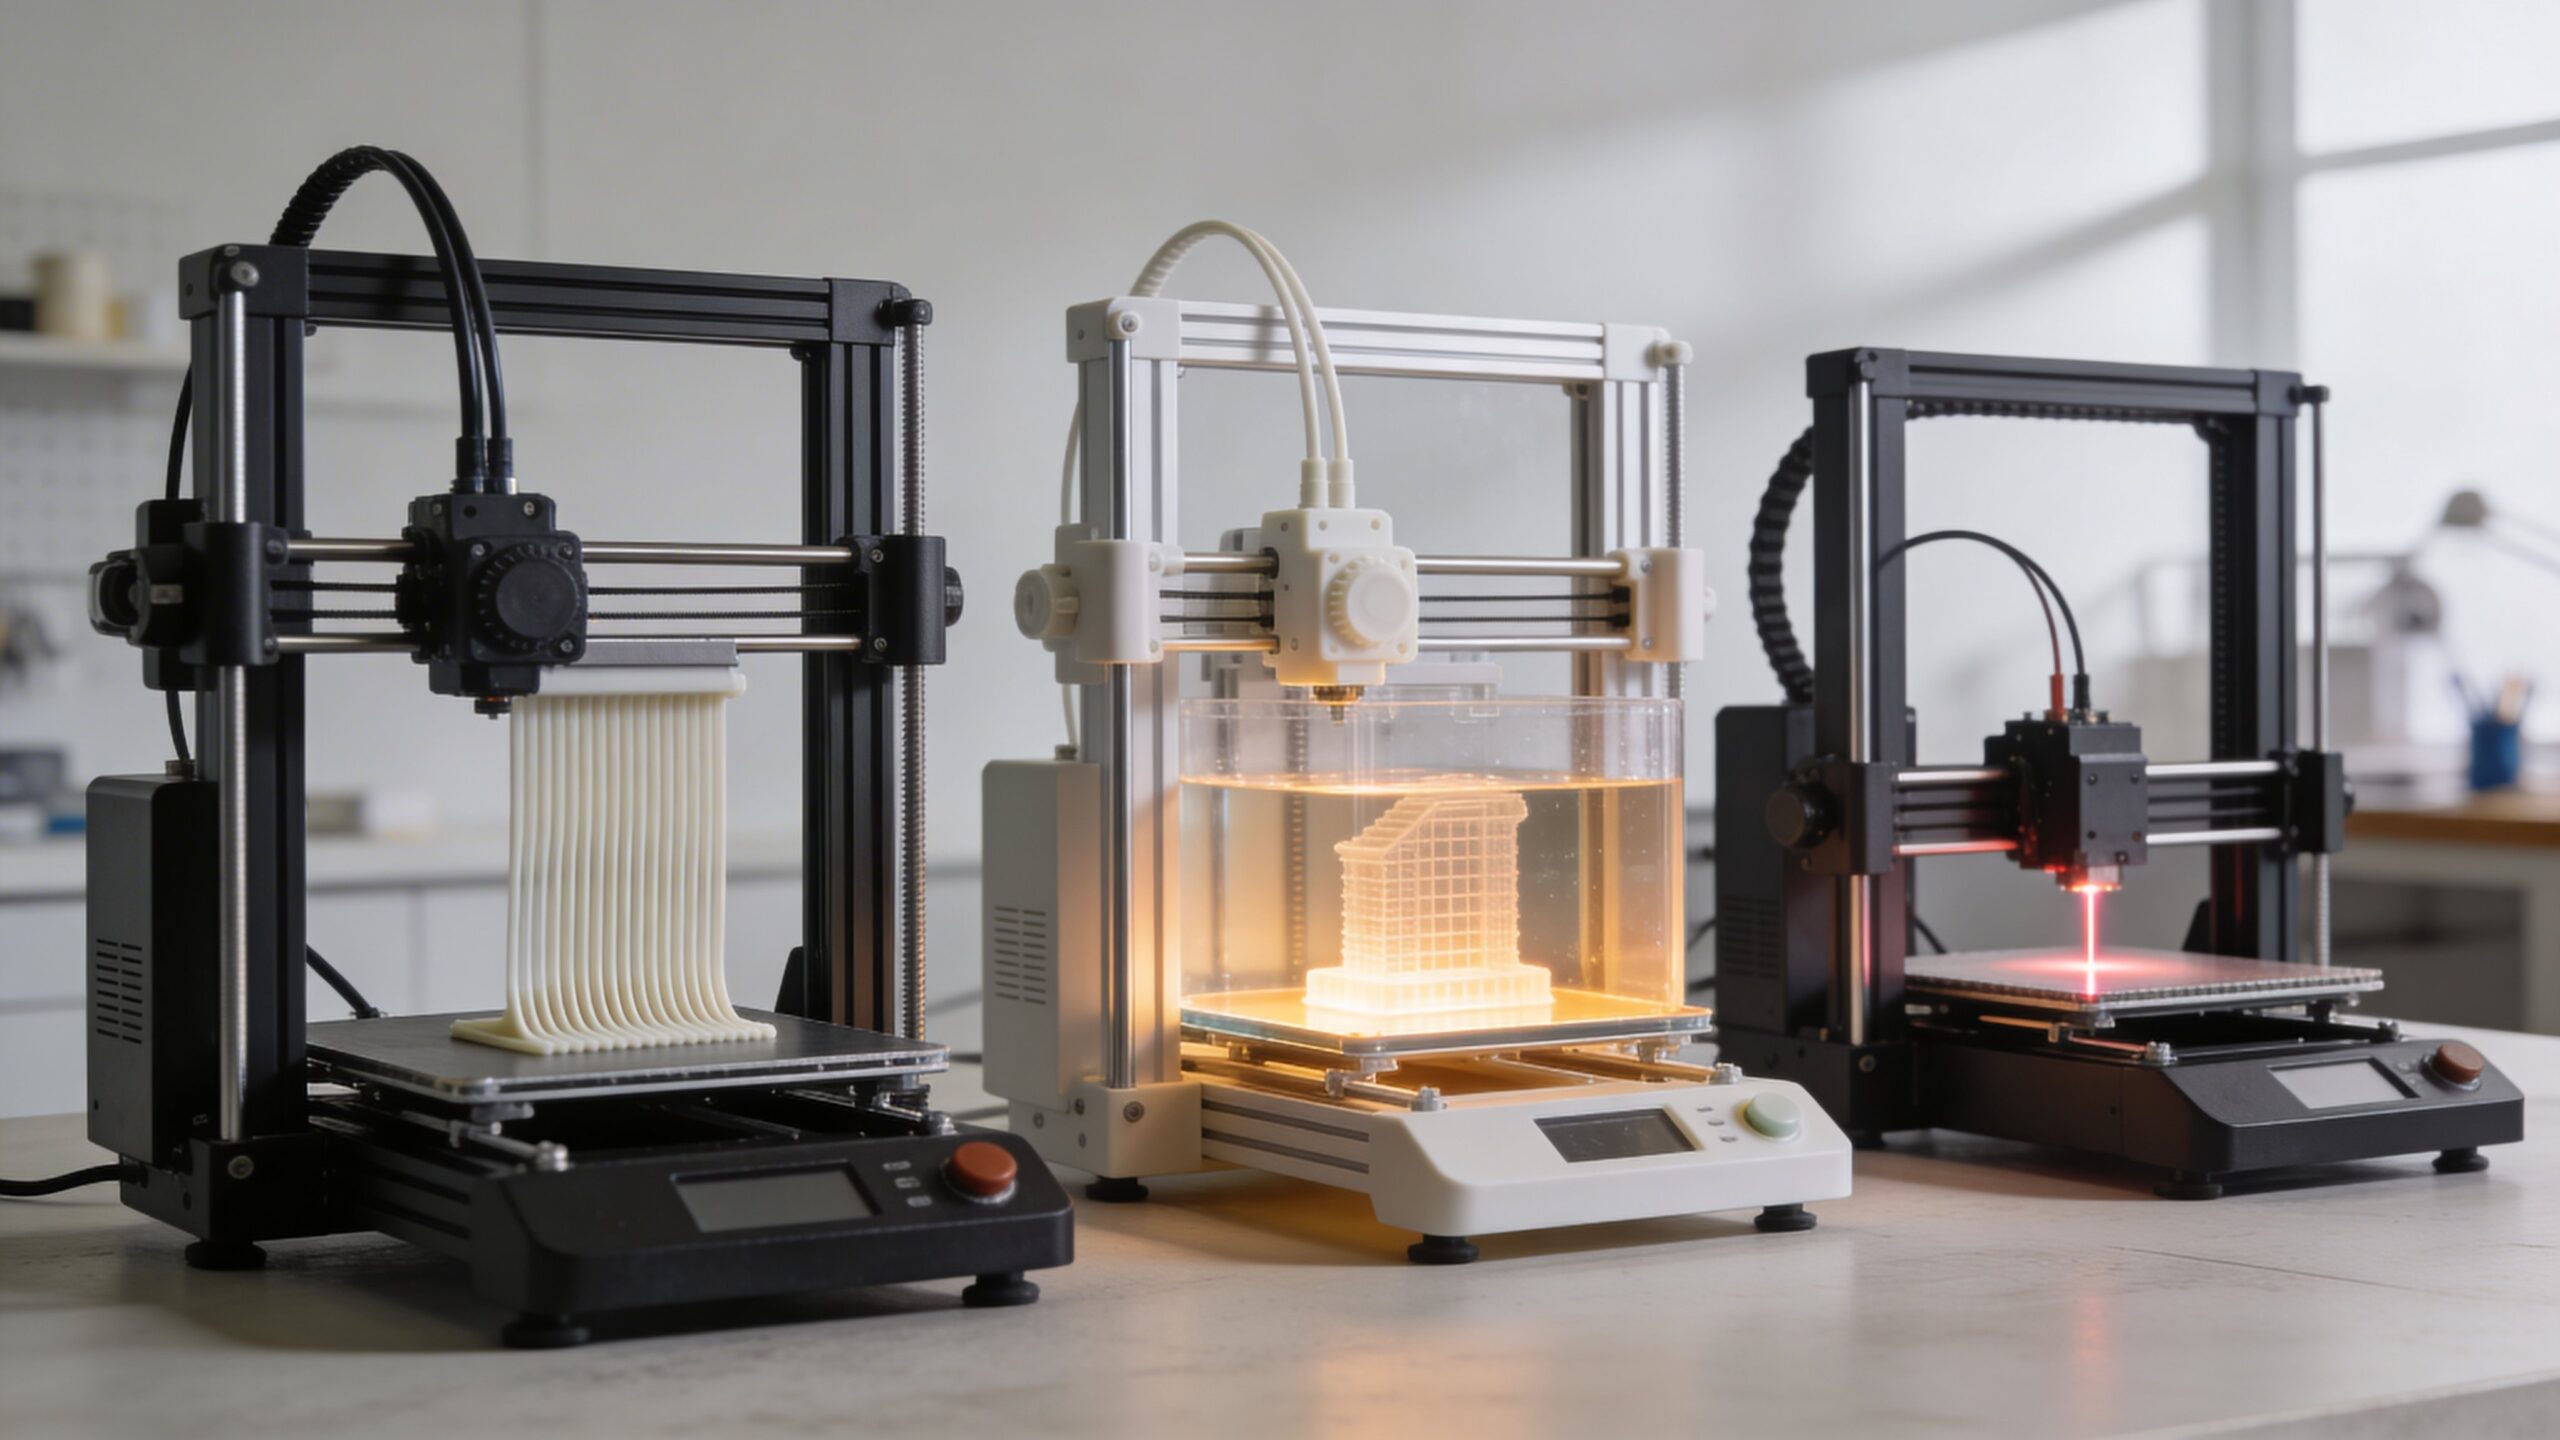
How SLA Compares With FDM and DLP
Beginners often encounter SLA in comparison with FDM and DLP. FDM is generally easier, cheaper, and better for many functional parts, but it usually cannot match SLA for fine detail and surface finish. DLP, on the other hand, is a close relative of SLA because it also uses resin and light. The main difference is that DLP cures entire layers at once, while traditional SLA uses a laser to trace each one.
That means SLA occupies an exciting middle ground in many conversations. It is more refined than typical entry-level filament printing, and it represents one of the classic high-detail resin technologies that helped define modern desktop manufacturing. For beginners exploring the field, understanding SLA provides a strong foundation because it teaches the core ideas behind resin printing while revealing why not all 3D printing methods are built for the same goals.
Is SLA the Right Starting Point for You?
If you care most about visual quality, detail, and smooth surfaces, SLA may be one of the most exciting places to begin. It offers results that often feel professional even at a small scale, and it introduces you to a more advanced side of desktop fabrication. Beginners who enjoy process, precision, and refinement often find SLA deeply rewarding because every successful print feels like a small technical and creative victory. If, however, you want the lowest cost, the simplest workflow, or the toughest everyday utility parts, you may want to weigh that against what SLA demands. The best beginner technology is not always the easiest one to admire from a distance. It is the one that matches your goals closely enough to keep you learning. For people drawn to craftsmanship, detail, and high-end presentation, SLA is often not just a good option. It is the technology that makes them fall in love with 3D printing.
Final Thoughts
Stereolithography is one of the most important and visually impressive technologies in the world of 3D printing. It transforms liquid resin into highly detailed, solid objects through precise light-based curing, creating parts that stand out for their finish, sharpness, and accuracy. For beginners, it offers a powerful introduction to what modern additive manufacturing can really achieve when quality takes center stage.
The best way to think about SLA is not as a universal answer, but as a specialized strength. It is a technology built for makers, designers, and professionals who want polished results and are willing to follow a more involved process to get them. Once you understand how it works and what it does best, SLA stops being mysterious. It becomes something even more exciting: a tool that can bring ambitious ideas to life with remarkable clarity.